How To Put Up Metal Siding

Ever looked at your house and thought, "Man, that siding is looking a little… sad"? Maybe it’s peeling like a bad sunburn, or faded like your favorite band t-shirt after too many washes. Well, my friends, it might be time to consider a glow-up for your humble abode, and metal siding is a seriously cool way to go about it.
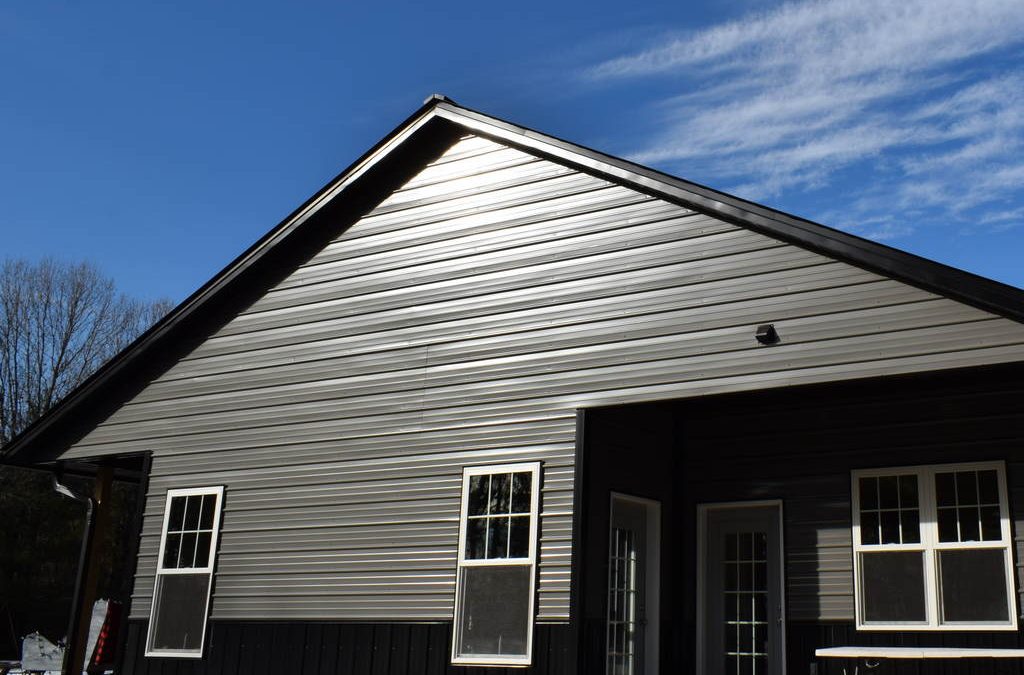
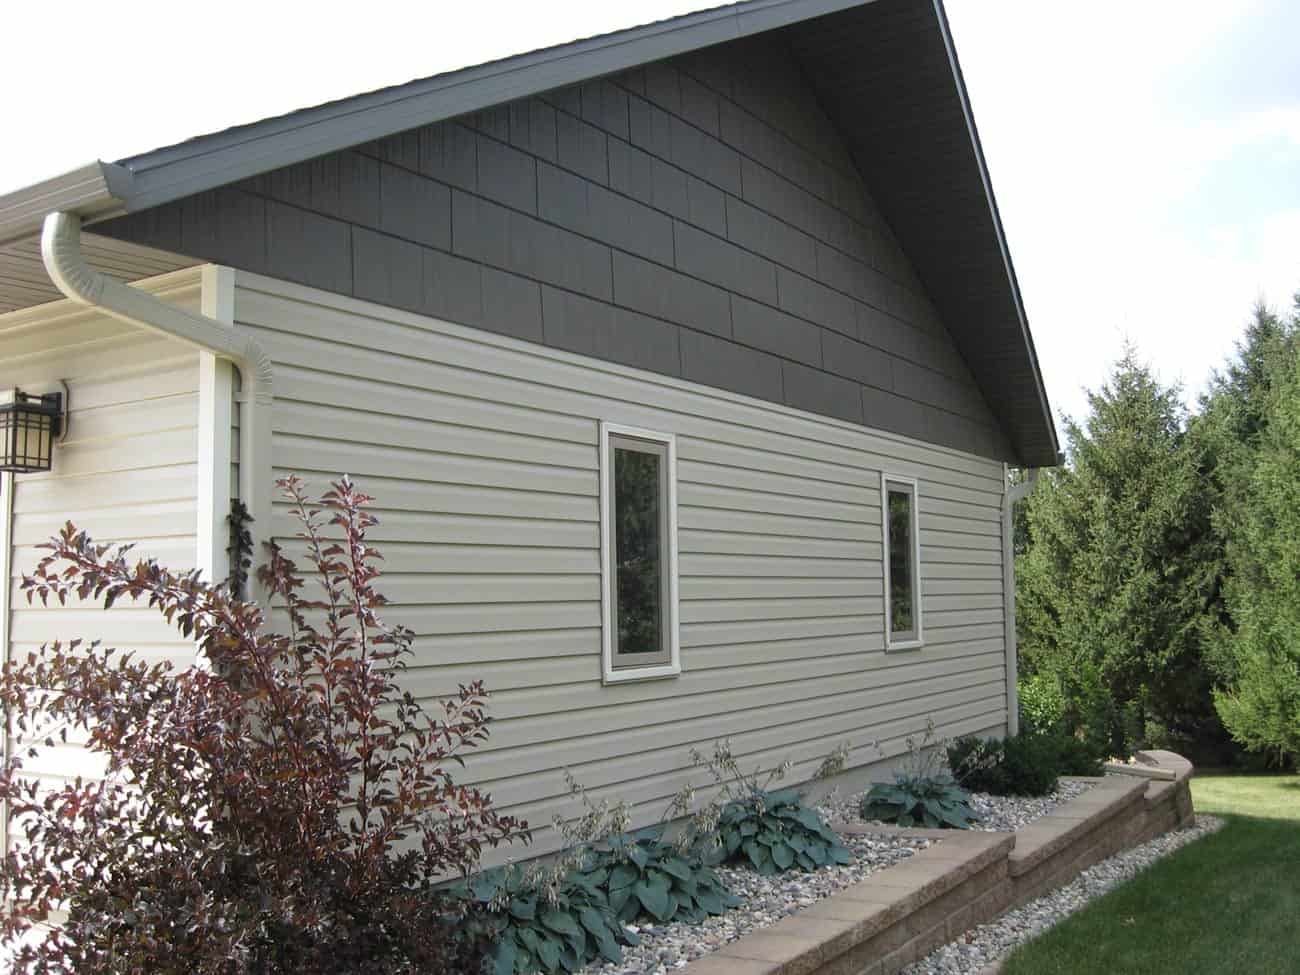
Now, before you picture a giant tin can, let’s set the record straight. Modern metal siding is sleek, stylish, and surprisingly versatile. Think of it less like a utilitarian shed and more like a sharp, new jacket for your house. It’s the kind of upgrade that not only makes your place look fantastic but also saves you a whole lot of future headaches. And who doesn’t want fewer headaches? We’ve got enough on our plates with figuring out what’s for dinner, right?
Why Bother With Metal Siding? Let’s Dish.
So, why should you even care about metal siding? Good question! Let’s break it down in a way that’s as easy as pie (and probably a lot less messy to install). First off, durability. This stuff is built to last. Imagine a knight in shining armor, but for your house. It laughs in the face of harsh weather – we're talking hail the size of golf balls (okay, maybe not that big, but you get the idea), relentless sun that bleaches everything else, and wind that tries to whisper secrets into your eaves. Metal siding just stands its ground, looking fabulous.
And let’s talk about maintenance. Oh, the sweet relief of low maintenance! Forget scraping, painting, or worrying about rot. You know how sometimes you just want to relax on a Saturday instead of wielding a paintbrush like a medieval warrior? With metal siding, that’s your future. A simple wash down every now and then is usually all it takes to keep it looking spick and span. It’s like a self-cleaning oven, but for your entire exterior.
Then there’s the energy efficiency. Some metal sidings are designed with special coatings that reflect solar heat. This means your house stays cooler in the summer, which translates directly to lower air conditioning bills. Think of it as giving your AC unit a much-needed vacation. And in winter? Well-insulated metal siding can help keep the warmth in, meaning your heating system can take a breather too. It’s like giving your house a cozy, warm hug all year round. You’re basically making your house happier, and a happy house is a good house.
Plus, let’s not forget about fire resistance. Metal is, well, not flammable. This is a huge plus for peace of mind, especially if you live in an area prone to wildfires or just like to be extra cautious. It’s like having a built-in bodyguard for your home.

So, You're Convinced! Now What? Putting Up the Metal.
Alright, you’re ready to ditch the drab and embrace the durable. The thought of tackling this yourself might feel a bit like trying to herd cats, but with the right approach, it’s totally doable. Think of it as a fun, albeit slightly more involved, DIY project. Remember when you assembled that flat-pack furniture? This is kind of like that, but on a grander scale, and the end result is much more impressive.
Step 1: Gearing Up Like a Pro
First things first, you need your tools. Don’t worry, you won’t need a full workshop. Essential items include: a good tape measure (because accuracy is key, like measuring twice and cutting once for that perfect slice of cake), a level (to ensure things are straight and not wonky like a Picasso painting), tin snips or a metal shear (for cutting those panels to size), a drill with appropriate bits, safety glasses (protect those peepers!), heavy-duty gloves (those edges can be sharp, like a poorly worded text message), and a sturdy ladder.
You’ll also need the metal siding panels themselves, of course, along with the necessary accessories like starter strips, corner pieces, and fasteners (screws or nails specifically designed for metal siding). It’s like putting together a puzzle, but the pieces are big and they’re going to protect your house.
Step 2: Prepping Your Canvas (Your House!)
Before you start slapping on the metal, your existing wall needs to be ready. This means removing any old siding that’s seen better days. If you’ve got wood siding, this might involve a bit of prying. If it’s vinyl, it’s usually a bit easier to detach. Think of it as decluttering your house’s wardrobe – getting rid of the old stuff to make room for the stylish new outfit.
Once the old stuff is off, inspect the underlying wall. You’re looking for any damage – rot, mold, or structural issues. Now is the time to fix them! It’s like checking for cracks in a foundation before you build a masterpiece on top. You want a solid base.
Step 3: The Foundation of the Finish – Starter Strips and Trim
This is where the magic begins to take shape. You’ll start by installing starter strips at the bottom of the wall. These are crucial for giving the first panel something to hook onto and ensuring everything is level. Imagine them as the sturdy base of a shelf – without it, everything else will just… fall over.
Next, you’ll work on the corners. Special corner pieces are used here, and they need to be installed snugly and securely. These are the elbows of your house’s new jacket, making sure it fits perfectly.
Step 4: The Main Event – Installing the Panels
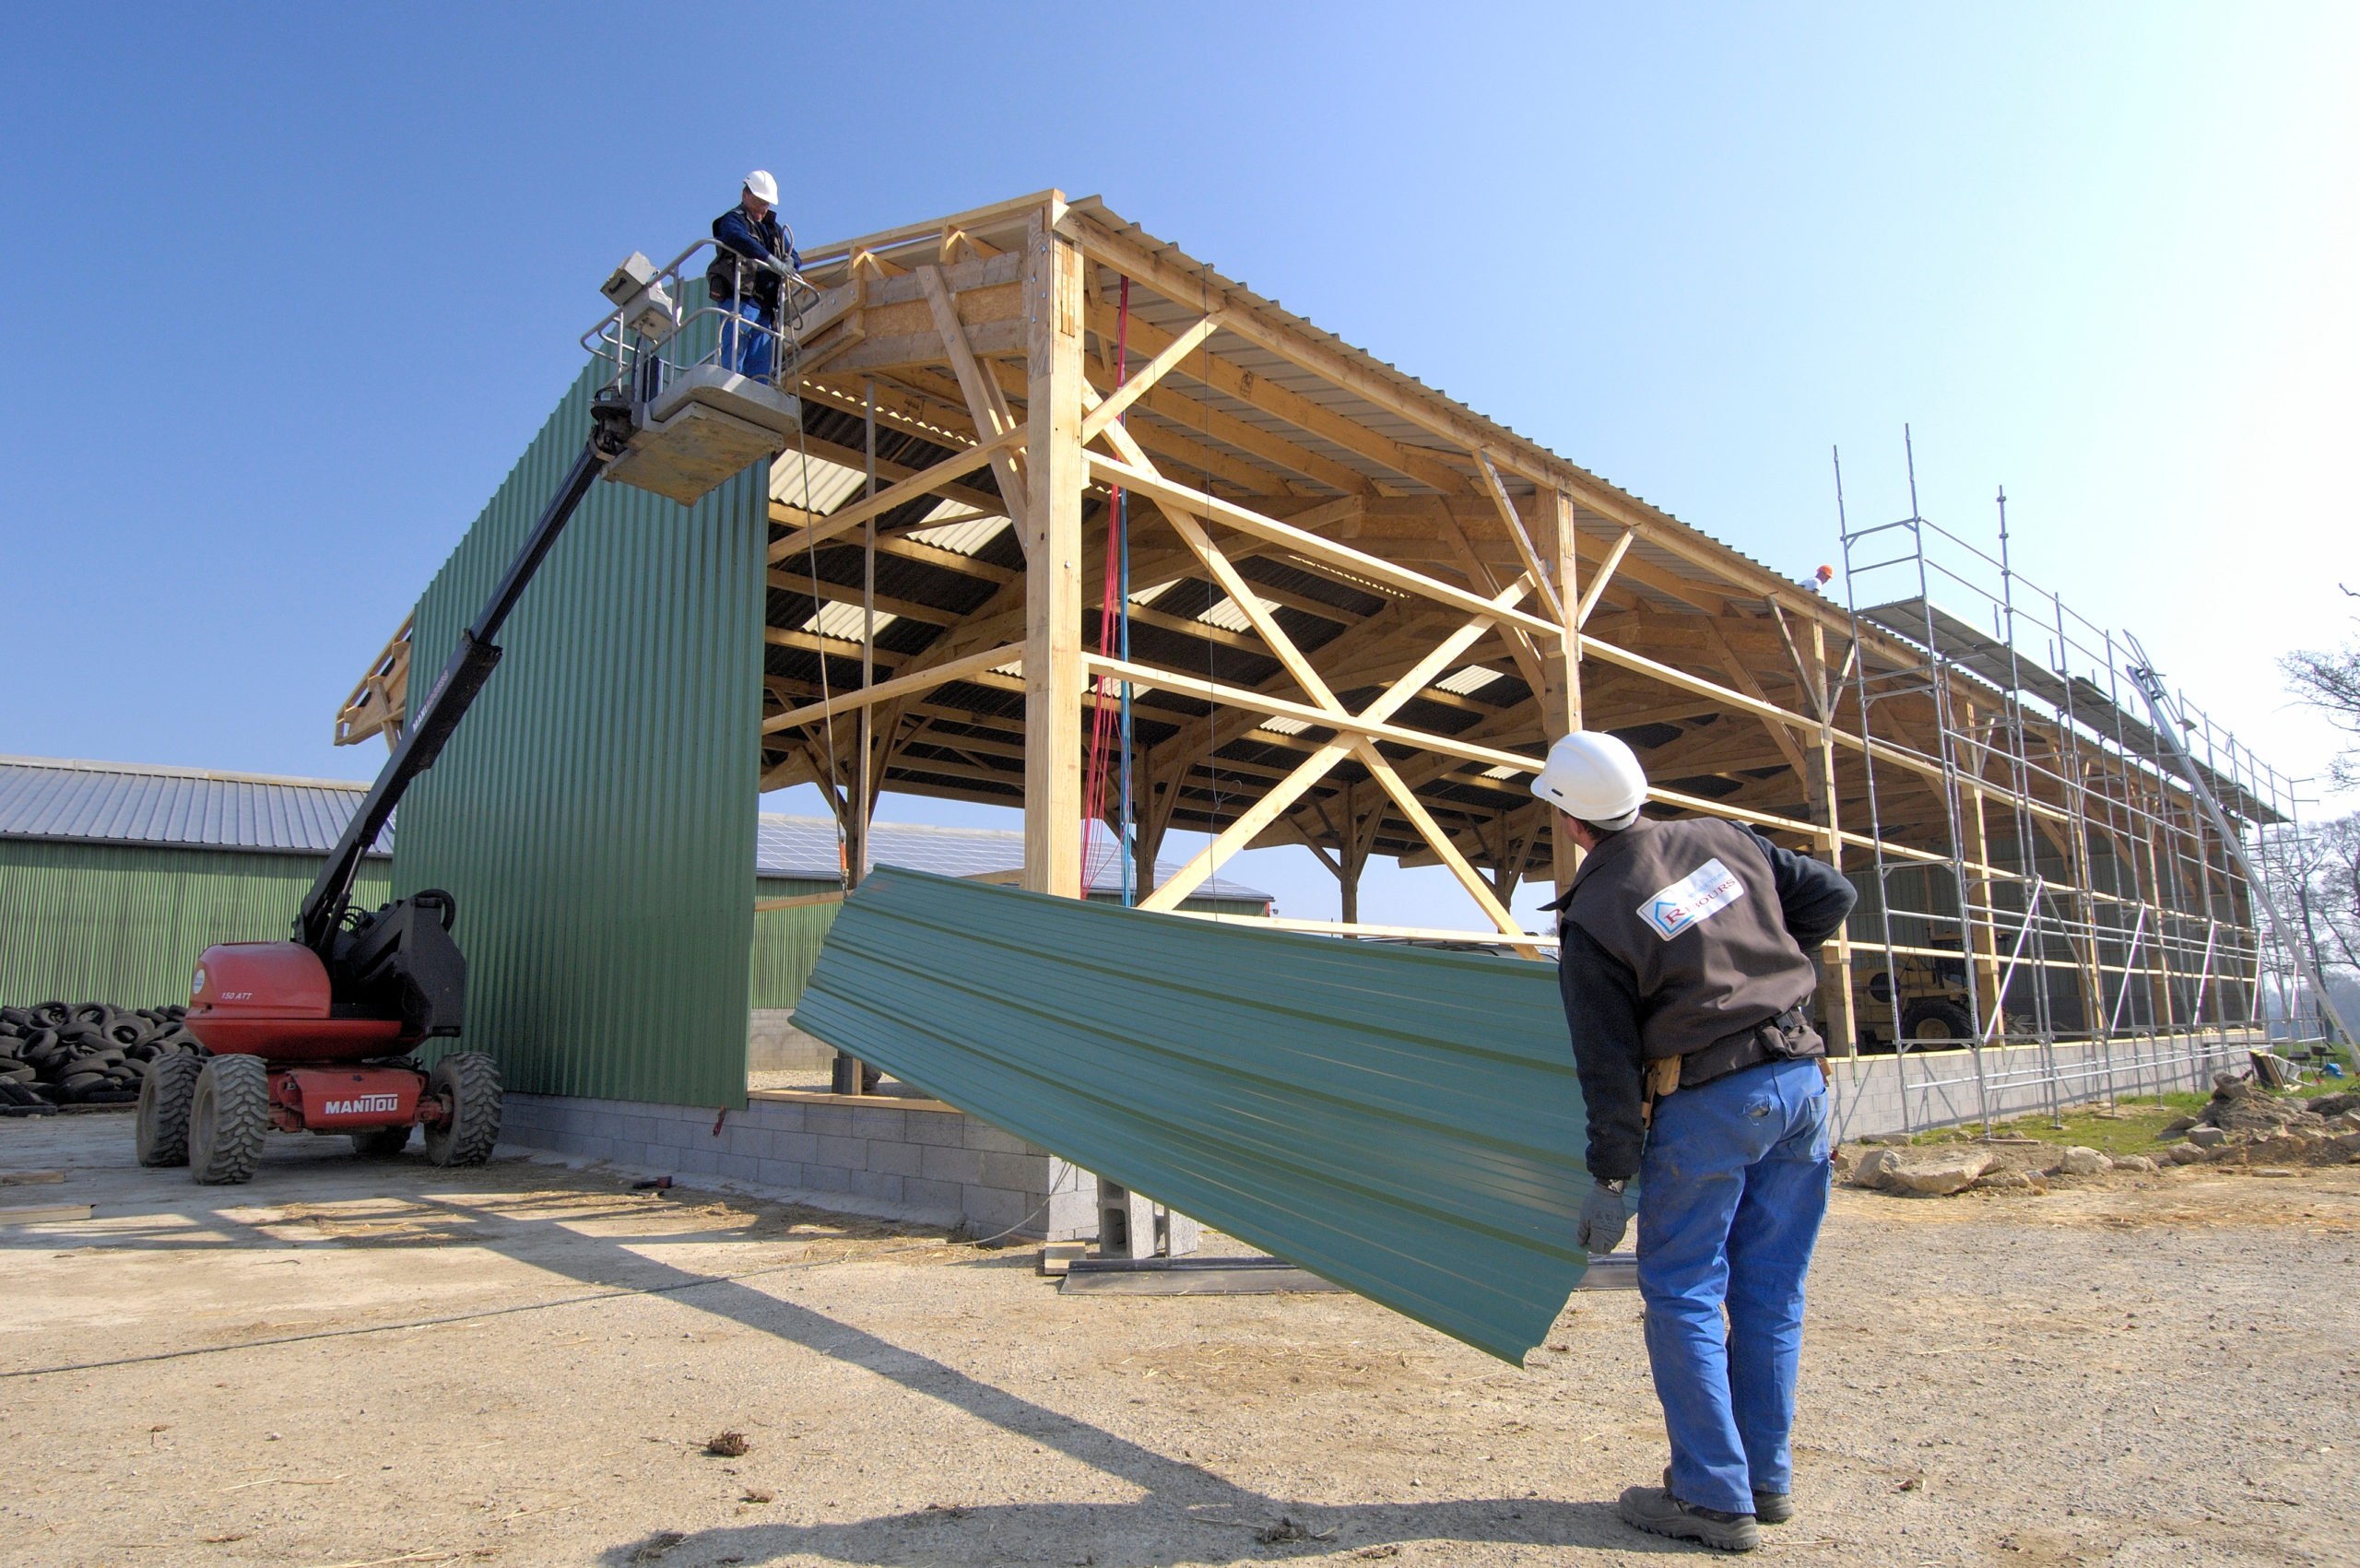
Now for the fun part! Starting from the bottom, you’ll begin attaching the metal siding panels. Typically, each panel has a lip or groove that interlocks with the one below it. You’ll use your drill and fasteners to secure them in place. Work your way up, ensuring each panel is level and tightly connected to the previous one.
This is where those tin snips come in handy. You’ll need to cut panels to fit around windows, doors, and other openings. Measure carefully! It’s like tailoring a suit – you want it to fit just right. Take your time, and don’t be afraid to make a practice cut on a scrap piece if you’re feeling unsure.
Remember to overlap panels according to the manufacturer’s instructions. This is key for weatherproofing and preventing any sneaky leaks from sneaking in. Think of it like shingles on a roof – they’re designed to shed water effectively.
Step 5: The Finishing Touches – Windows, Doors, and Vents
As you reach windows, doors, and vents, you’ll need to use trim pieces and carefully cut the siding to fit. This is where attention to detail really shines. Neatly finished edges around openings make a huge difference in the overall look. It’s like putting the frame on a beautiful picture – it completes the whole composition.
You might need to do some custom cutting here to get a perfect fit. Don’t rush it. A little extra time spent on these details will make your finished product look professionally done.
Step 6: The Grand Finale – A Clean Sweep
Once all the panels are up and everything is secured, give it a good once-over. Check for any loose fasteners, trim any sharp edges, and generally make sure everything looks clean and tidy. A quick brush or hose-down can get rid of any dust or debris from the installation process.
And there you have it! You’ve just given your house a fantastic, low-maintenance, and super-stylish makeover. It’s a project that can definitely be a bit of a workout, but the reward is a home that looks great and is protected for years to come. So go ahead, pat yourself on the back. You’ve earned it. Your house certainly will thank you for it, probably with a much-appreciated reduction in your energy bills!