
How To Remove A Scratch From Stainless Steel

Oh, the heartbreak! You’ve just bought that gleaming new stainless steel appliance, maybe it’s a fancy toaster that promises perfect golden-brown toast every time, or a sleek refrigerator that practically hums with coolness. You’re admiring its shine, picturing it as the crown jewel of your kitchen. Then, disaster strikes! A stray utensil slips, a belt buckle nudges it as you’re reaching for something, or perhaps a mischievous cat decides it’s the perfect scratching post. Suddenly, that beautiful, pristine surface is marred by a visible scratch. Suddenly, your kitchen’s shine is a little less… shiny.
We’ve all been there, right? It’s like finding a tiny wrinkle in your favorite shirt right before a big meeting. You want to fix it, to bring back that lovely, unblemished look. And the good news is, for many stainless steel scratches, you absolutely can! It’s not some magical incantation or a job that requires a team of highly trained professionals. Think of it more like giving your favorite mug a good scrub after a particularly enthusiastic coffee session. With a little patience and the right approach, you can banish those unsightly lines and restore your stainless steel’s former glory.
Why should you even bother, you might ask? Well, beyond the obvious aesthetic appeal – because, let’s be honest, we all like a nice-looking kitchen – there’s a practical side too. Scratches can sometimes become little hiding spots for grime and bacteria. Think of them as tiny valleys where crumbs and grease can take up residence. And who wants that? Plus, taking care of those little nicks and dings can actually prolong the life and beauty of your stainless steel items. It’s about maintaining what you’ve invested in, keeping it looking good for years to come, and avoiding the nagging feeling of “if only I’d done something about that scratch.”
The ‘Grain’ Truth About Stainless Steel
Before we dive into the nitty-gritty of scratch removal, there’s one crucial secret you need to know about your stainless steel: it has a grain. Just like wood has a grain, stainless steel does too. If you look closely, you’ll see faint lines running in a particular direction. This is super important because you always, and I mean always, want to work with the grain, not against it. Trying to buff out a scratch across the grain is like trying to comb your hair backwards with a fork – it’s going to be messy, ineffective, and probably a little painful!
How do you find the grain? Grab a flashlight and angle it over the surface. You’ll see those subtle parallel lines. If your appliance is rectangular, the grain usually runs horizontally or vertically along the longest side. Once you’ve identified it, you’re ready to proceed. It’s like learning to ride a bike – once you understand the balance, it becomes much easier!
Tackling Those Superficial Scratches: The Gentle Approach
So, what kind of scratches are we talking about here? Most of the time, the scratches that bother us the most are the ones that are just on the surface. These are usually caused by everyday wear and tear – a gentle nudge from your car keys as you’re rummaging in your bag, or the accidental scrape of a pot lid. These are the ones that are most amenable to a DIY fix.

For these lighter scratches, your first line of defense should be a mild abrasive cleaner. Think of something like baking soda. Yes, that pantry staple you use for baking cookies can also work wonders on your stainless steel! Mix a little baking soda with water to create a paste. It should be thick enough to stick to the scratch but not so dry that it’s crumbly. Then, using a soft cloth (microfiber is your best friend here – no paper towels that can leave lint!), gently rub the paste onto the scratch, always moving in the direction of the grain. Imagine you’re giving the scratch a very gentle massage. Don’t scrub aggressively; just let the mild abrasive do its work.
After a few minutes of gentle rubbing, wipe away the paste with a clean, damp cloth. Then, dry the area thoroughly with another soft, dry cloth. Peek at the scratch. Has it disappeared? Has it at least faded significantly? If so, great job! You’ve successfully nudged that scratch back into oblivion. It’s like coaxing a shy cat out from under the sofa with a tasty treat.
Another option for light scratches is a specialized stainless steel cleaner and polish. You can find these at most hardware or grocery stores. They often come with their own polishing cloths and instructions. Again, the key is to follow the product’s directions and, you guessed it, always rub with the grain. These cleaners are formulated to be gentle enough for stainless steel while still offering a bit of polishing power to help blend out minor imperfections.

When Scratches Are a Little Deeper: The Buffing Brigade
Okay, so maybe the baking soda paste and gentle buffing didn’t completely erase the scratch. Don’t despair! Sometimes, scratches are a little more stubborn, like a persistent houseguest who won’t leave. For these, we might need to bring in a slightly more robust approach: buffing. This is where you’re essentially trying to smooth down the edges of the scratch to make it less noticeable.
You’ll need a non-abrasive polishing compound for this. These are often found in automotive stores as they are used for buffing out scratches on car paint. You can also find specific stainless steel polishing kits. The principle is similar to the baking soda paste, but these compounds are designed to be more effective at gently abrading the metal. Again, use a soft cloth and apply the compound to the scratched area. This time, you’ll be doing a bit more vigorous (but still controlled!) buffing motion, always following the grain. Imagine you’re polishing a prize-winning apple to get that extra shine.
The goal here isn't to completely remove the scratch, but to blend it into the surrounding surface. You’re essentially making the scratch less of a stark line and more of a subtle imperfection. You might need to repeat this process a few times, applying more compound and buffing again. It’s a bit of a marathon, not a sprint! After you’re done buffing, thoroughly clean the area with a damp cloth and dry it completely. Then, admire your handiwork.
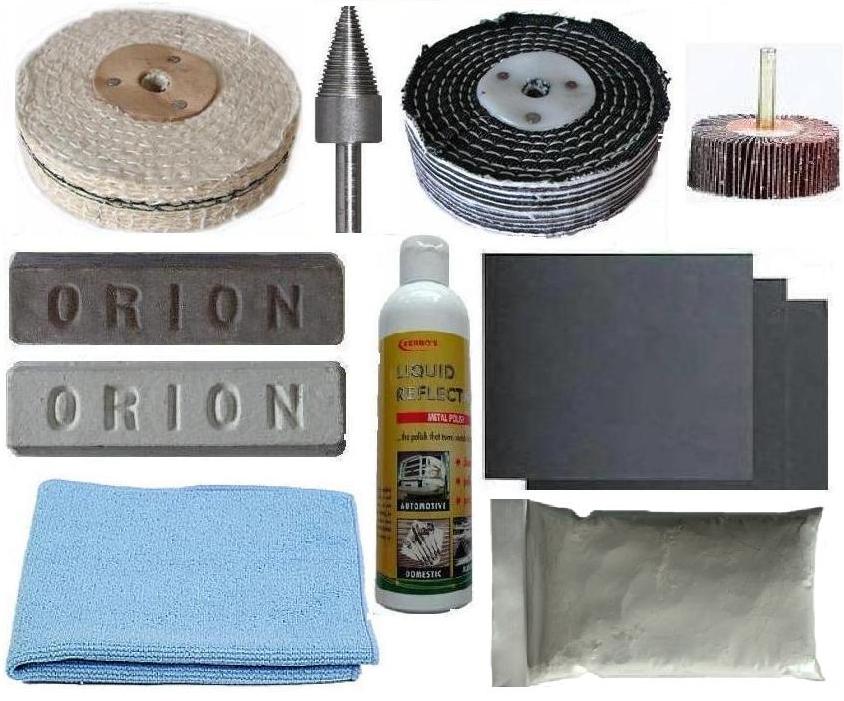
The Nuclear Option (Use with Caution!): Fine-Grit Sandpaper
Now, we’re entering territory where you need to be a little more careful. If you have a deeper scratch that just won’t budge, you might consider using very fine-grit sandpaper. I’m talking about something like 400-grit or even finer. This is the equivalent of bringing out the heavy artillery, and it’s not for the faint of heart. You have to be prepared for the possibility of creating a new, more uniform matte finish in that area if not done perfectly.
The absolute golden rule here is: work with the grain. Never, ever go against it. Apply very light pressure and sand in the direction of the grain, using long, smooth strokes. You’re essentially trying to gently smooth down the metal around the scratch. You’ll likely need to use a small sanding block or wrap the sandpaper around a soft cloth to ensure even pressure. After a few passes, check your progress. If the scratch is fading, you can continue. If you’re not seeing improvement or you’re worried about creating a wider, duller patch, stop.
Once you’ve done all you can with the sandpaper, you’ll need to follow up with a stainless steel polish or a polishing compound to restore some shine to the area. This is crucial to help blend the sanded area back into the rest of the surface. This method is best reserved for scratches that are really bothering you and where other methods haven’t worked. Think of it as a last resort, like calling in the cavalry when all else fails.

Prevention is Better Than Cure: Keeping Your Stainless Steel Pristine
Honestly, the best way to deal with scratches is to avoid them in the first place! It sounds simple, but it makes a huge difference. When you’re cleaning your stainless steel, always use a soft cloth and work with the grain. Avoid abrasive scouring pads or steel wool like the plague. They are the arch-nemesis of shiny stainless steel!
When you’re cooking, try to be mindful of where you’re placing utensils and pot lids. Consider using a trivet or a placemat to protect the surface if you’re prone to setting things down quickly. And when it comes to your appliances, a quick wipe-down after use can prevent food particles from hardening and becoming more difficult to remove, which can sometimes lead to accidental scratching during cleaning.
Think of your stainless steel as a beautifully polished piece of furniture. You wouldn’t drag heavy boxes across it, would you? Treat your appliances with that same respect, and they’ll thank you for it with years of beautiful shine. So, go forth and conquer those scratches! With a little know-how and a gentle touch, your stainless steel can be looking almost as good as new.