
How To Remove A Steel Door Frame
So, you’ve got a steel door frame staring you down. Maybe you're renovating. Maybe it’s an old security door you’re finally saying goodbye to. Whatever the reason, you’re wondering, "Can I actually do this?" And the answer, my friend, is a resounding heck yes!
Forget those fancy architectural shows. This isn't about delicate chiseling. This is about good old-fashioned elbow grease and a bit of know-how. Think of it as a little home improvement adventure. A metal puzzle, if you will.
Now, why is this even a fun topic? Because it’s unexpected. Most people think of wood when they think of door frames. But steel? Steel is the tough guy. The one that makes you pause. And conquering the tough guy? That's inherently satisfying.
Plus, let's be honest, there's a certain thrill in taking something apart that you didn't put together. It’s like being a secret agent of deconstruction.
The Steel Frame Conspiracy: What Are We Even Dealing With?
Before we grab our tools, let's get a tiny bit acquainted with our adversary. Steel door frames aren't just one solid piece. They're usually built in sections. There are the jambs (the vertical bits) and the header (the horizontal bit across the top). They're often joined together at the corners.
Sometimes, they’re welded. That's the advanced level. But more often, especially in residential settings, they’re held together with screws or bolts. And those are our best friends. Our very best friends.
Think about it: steel is strong. It’s durable. It’s used in skyscrapers for a reason. So, you're not going to just yank it out like a flimsy cardboard cutout. You're going to need a strategy.
Gather Your Gear: The Essential Arsenal
Alright, time to suit up. You don't need a full hazmat suit, but some safety gear is non-negotiable.
First up, safety glasses. Always. Those little metal shards can fly. And trust me, no one wants to explain a rogue piece of steel in their eyeball.
Next, work gloves. Steel edges can be sharp. You're going to be doing some pulling and prying. Protect those precious digits.
Now, for the tools. This is where it gets interesting.
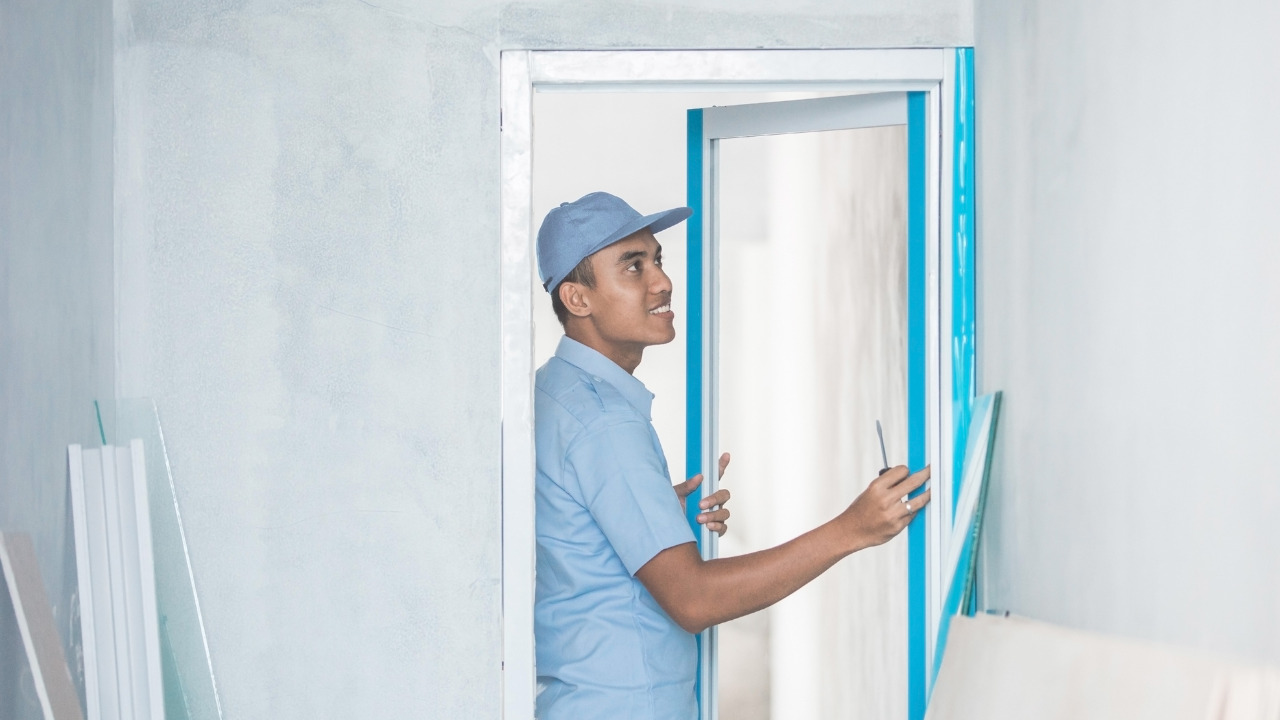
You'll definitely need a screwdriver or, better yet, a power drill with screw bits. This is your primary weapon for undoing any screws holding the frame together. If it’s a stubborn one, maybe a manual screwdriver for finer control.
A pry bar. This is your "persuasion tool." It's for gently (or not so gently) separating the frame from the wall. Think of it as the gentle nudge that becomes a firm shove.
A utility knife. This is for cutting through any caulk or sealant that might be holding the frame in place. It’s like surgery, but with a blade.
A hammer. For, you know, hammering. Sometimes a gentle tap is all you need. Sometimes... well, let's just say it can be helpful.
And if you're really feeling adventurous, a reciprocating saw (also known as a Sawzall). This is the heavy artillery. For when screws and prying just aren't cutting it. But use this with extreme caution. It’s powerful stuff.
Operation De-Frame: The Step-by-Step Adventure
Ready? Deep breath. Let's do this.
Step 1: Assess the Situation – The Reconnaissance Mission
First things first. Take a good look. Where is the frame attached? Are there visible screws? Is it embedded in the wall? Are there any weird clips?
Look for any trim or drywall that might be covering up the attachment points. You might need to gently remove some of that first. This is where your utility knife might come in handy for scoring along the edge.

Think of this as the "scouting mission." You're gathering intel before launching your main assault.
Step 2: Unleash the Screws – The Unfastening Frenzy
If you see screws, this is your moment. Grab your drill or screwdriver and start turning. Clockwise to tighten, counter-clockwise to loosen. Remember your basic physics!
Pay attention to the type of screw. Some might be Phillips head, others might be flathead. Make sure you have the right bit.
Don't force it if a screw is really stuck. A little WD-40 might help, or you might need to move to a different strategy for that particular screw.
This is often the easiest part, if it’s a standard frame. The satisfaction of seeing those screws come out is immense. It’s like winning a mini-battle.
Step 3: Caulk and Sealant – The Great Escape Route
Even if you've removed all the screws, there might be caulk or sealant holding the frame to the wall. This is where your trusty utility knife comes in.
Carefully run the blade along the edge where the frame meets the wall. You're essentially cutting through the "glue" that's holding it.
Be patient. Don't saw wildly. You're aiming for a clean cut.
This is a bit like peeling a stubborn sticker. It takes a bit of finesse.

Step 4: The Pry Bar Gambit – Gentle Persuasion
Once the screws are out and the caulk is cut, it's time for the pry bar.
Find a sturdy spot between the frame and the wall. Wedge the tip of the pry bar in.
Now, apply gentle, steady pressure. You're trying to create a small gap.
Work your way along the frame, prying in different spots. Don't try to rip the whole thing out at once. It's a marathon, not a sprint.
Sometimes, a few strategic taps with the hammer on the end of the pry bar can help it dig in a little deeper and get that leverage you need.
This is where you start to feel the frame giving way. It's a triumphant moment.
Step 5: The Reciprocating Saw – For the Truly Determined (and Brave!)
Okay, so you’ve tried screws, caulk, and the pry bar, and this thing is still stubbornly attached. Time to bring out the big guns.
The reciprocating saw is your secret weapon for cutting through any metal fasteners or even the frame itself if it’s really embedded.

Safety first, always! Make sure you're wearing your safety glasses and gloves. Keep a firm grip on the saw.
Identify where the frame is attached to the studs or the wall structure. You want to cut those attachment points.
This is noisy. This is messy. But it’s also incredibly effective. Imagine the satisfaction of cutting through that stubborn metal!
Quirky Fact Alert: Did you know the reciprocating saw was originally invented for… demolition and building? It’s not just for slicing through door frames, though it does a bang-up job.
Use short, controlled strokes. You’re not trying to win a lumberjack competition here. You’re trying to make precise cuts to release the frame.
The Grand Finale: The Frame is FREE!
With a final tug or a last cut, the steel door frame should come free. Congratulations! You’ve conquered the metal beast.
Now you have a pile of steel that might be a bit mangled. This is where you might need to dispose of it responsibly. Check with your local waste management for metal recycling options.
And as you stand there, looking at the empty doorway, a sense of accomplishment washes over you. You took on a challenge, you armed yourself with tools, and you emerged victorious.
It’s not just about removing a door frame. It’s about proving to yourself that you can tackle the unexpected. That you have the power (and the tools) to make changes. So, next time you see a steel door frame, don't just see an obstacle. See an adventure waiting to happen.