How To Remove Peg Tube

Alright, gather 'round, my fellow culinary adventurers and accidental medical marvels! Today, we're diving headfirst into a topic that might sound as glamorous as a root canal, but trust me, it’s less painful and potentially more… satisfying. We’re talking about the humble, yet mighty, PEG tube. You know, that little lifeline that sometimes decides to take up permanent residence in someone’s tummy. And for whatever reason, be it a grand healing, a triumphant recovery, or simply that your body has decided it’s time to unplug its internal cafeteria, you’re now faced with the ultimate challenge: Operation: De-Tube-ification!
Now, before you panic and start Googling "DIY surgery" (please, for the love of all that is holy, don't), let’s take a deep breath and approach this like the seasoned pros we are. Think of it as a really important, slightly less messy, home improvement project. You’ve probably assembled IKEA furniture with fewer instructions.
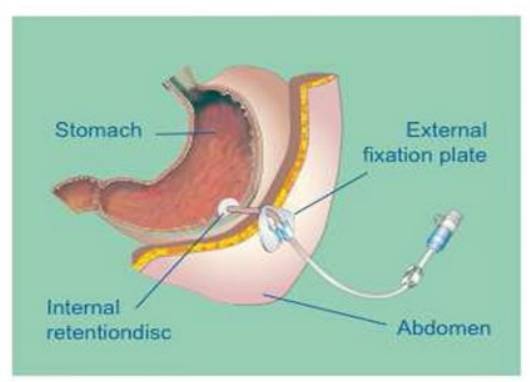
First things first, let's dispel some myths. A PEG tube isn't some kind of magical implant that’s been welded in by tiny, microscopic elves. It’s… well, it's a tube. And like most tubes, it has a designated purpose and, eventually, an end date. Imagine it as a very exclusive express lane for nutrients. But sometimes, the traffic clears, and the express lane isn't needed anymore. It's time to reroute!
Gathering Your Super-Secret Supplies
Before you channel your inner surgeon (minus the questionable hygiene and the terrifyingly large needles, we’re aiming for gentle here), you’ll need your trusty toolkit. Think of this as your ‘getting-out-of-tubes’ survival kit.
First up: gloves. Yes, the latex or nitrile kind. Unless you enjoy the lingering aroma of… well, whatever has been through that tube, let’s keep things hygienic. Think of them as your superhero gloves, ready for a mission of utmost importance.
Next, you'll need some gauze pads. Lots of them. Like, enough to build a small, fluffy cloud. You’ll also need some medical tape. This isn’t the kind you use to wrap a present; this is the industrial-strength, ‘this-stuff-is-not-coming-off-unless-you-want-it-to’ kind.

And the star of the show, the absolute MVP of tube removal: lubricant. Now, I’m not talking about anything you’d find in a… well, you get the picture. We’re talking about a medical-grade lubricant. Think of it as the WD-40 for your internal plumbing. It helps things… slide smoothly. Very important.
Finally, and this is crucial, you’ll need a container. A sealable plastic bag or a small container will do. This is where the departed tube will reside. Think of it as its final resting place, or perhaps its ticket to the recycling bin. Either way, it deserves a dignified exit.
The Moment of Truth: Operation "Pull & Pray" (Just Kidding!)
Alright, deep breaths everyone. You’ve got your gloves on, you’ve visualized your victory, and you’re ready to embark on this epic quest.
First, you'll want to gently clean the area around the PEG tube. Think of it as giving it a little farewell spa treatment. This will help prevent any unwanted guests from joining the party later. Use a saline solution or whatever your healthcare provider recommended. Just be gentle, as if you’re caressing a delicate flower. A very… internally-placed flower.
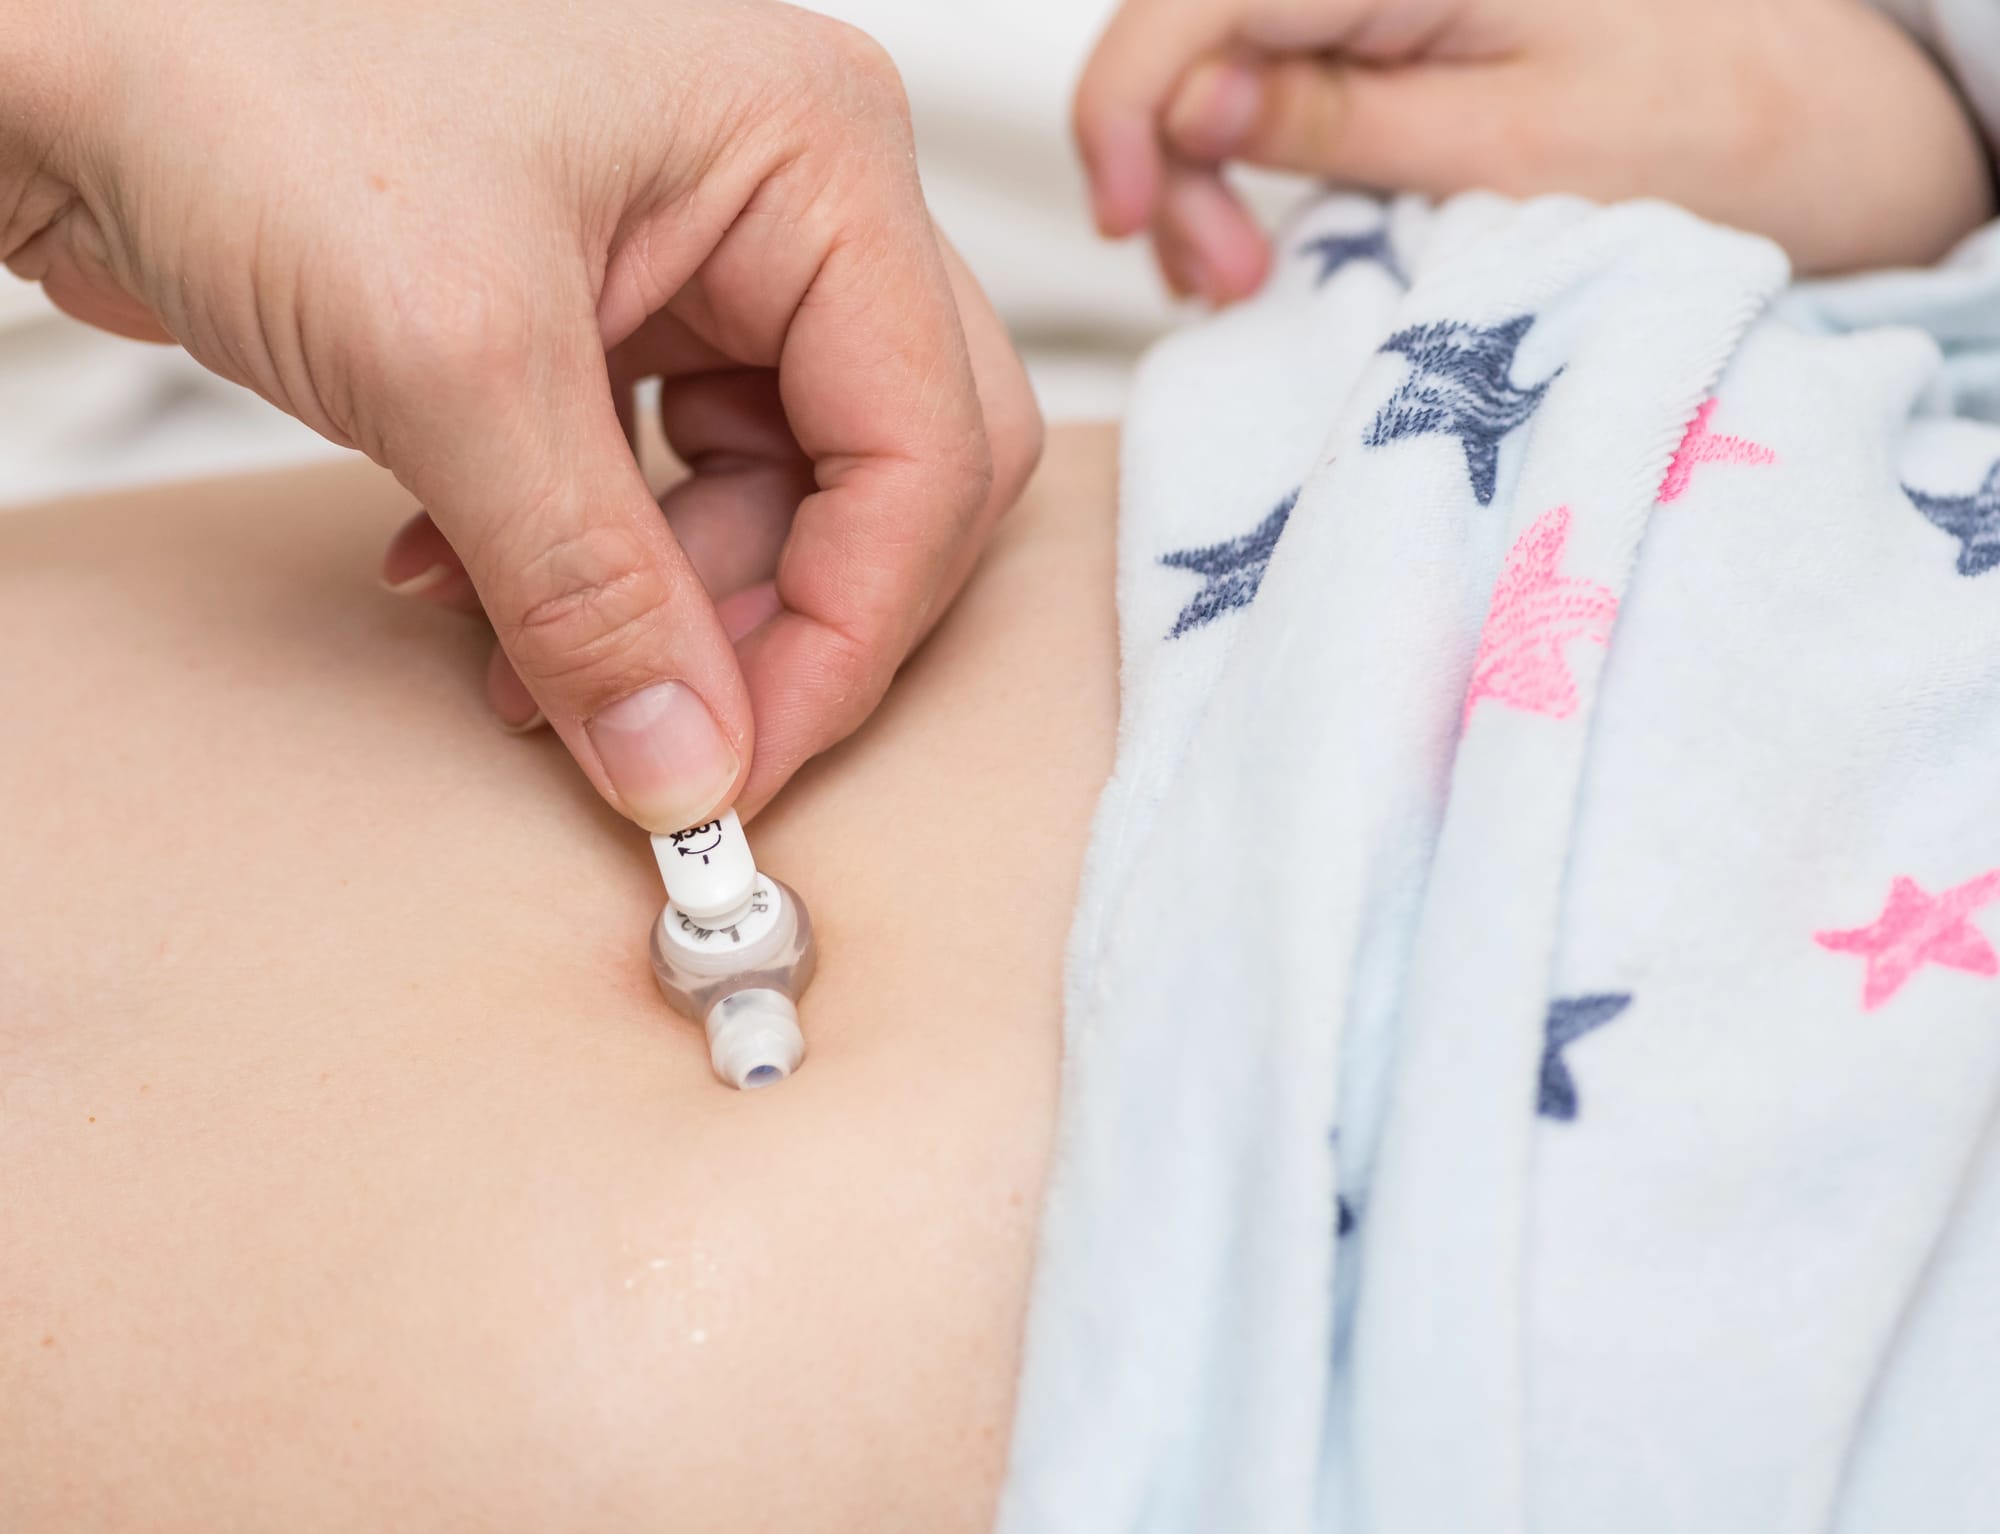
Now, here comes the main event. You’ll need to gently grasp the external portion of the PEG tube. Don’t yank! Seriously, no Hulk-smashing here. Imagine you’re trying to coax a stubborn cat out from under the sofa. Gentle, persistent persuasion.
Next, and this is where the magic happens (or at least, the sliding happens), apply a bit of lubricant to the tube where it exits your skin. A little goes a long way. You don’t want to turn your abdomen into an ice rink.
Then, with a steady and firm, but not aggressive, motion, pull the tube out. It might offer a little resistance. That’s normal! Think of it as the tube saying, "Are you sure about this? I’ve gotten quite comfortable here!" Just keep a consistent pressure. It should eventually slide out. And when it does, you might hear a tiny… pop or a faint… whoosh. Or maybe just the triumphant sound of your own cheering.
Post-Extraction Protocols (Because We’re Professional Rebels)
So, the tube is out! Congratulations, you magnificent specimen of human resilience! But wait, the adventure isn’t quite over. We’ve got some cleanup to do.
Immediately after the tube is out, apply gentle pressure to the site with your gauze. You might have a little bleeding. That’s perfectly normal. Think of it as your body’s way of saying, "Okay, new era begins!" Keep applying pressure until the bleeding stops. If it doesn't stop after a reasonable amount of time (like, a few minutes of steady pressure, not just a quick dab), then it's time to call your friendly neighborhood healthcare professional. They're the real superheroes in this story, after all.

Once the bleeding has subsided, cover the site with a clean gauze pad and secure it with medical tape. This is like a victory bandage. Wear it for a day or two, or as advised by your doctor. Think of it as a badge of honor for your successful de-tubing mission.
And the tube? Well, you’ve got that container for it, remember? Make sure it’s sealed tight. It’s time for the tube to embark on its next great adventure, whether that’s a sterile disposal or a fascinating new life as a… well, whatever tubes do when they retire. Perhaps they become artistic installations. You never know!
Now, a very important disclaimer, delivered with the seriousness of a thousand stern librarians: This is NOT a substitute for professional medical advice. If you are unsure about any step, or if you experience excessive pain, bleeding, or any other concerning symptoms, STOP immediately and contact your doctor or a qualified healthcare provider. They’re the ones with the fancy diplomas and the actual medical knowledge. We’re just here for the slightly more entertaining, albeit still informative, overview.
Removing a PEG tube can be a simple and straightforward process for many. It’s often a sign of positive progress, a testament to healing and recovery. So, celebrate your victory! You’ve navigated the world of internal feeding tubes and emerged victorious. Now go forth and enjoy your normal eating experiences. And perhaps, just perhaps, you’ve learned that you’re a lot more capable than you thought. Who knew a little tube could lead to such an empowering adventure? Now, if you’ll excuse me, I think I need a snack. A mouth-based snack.