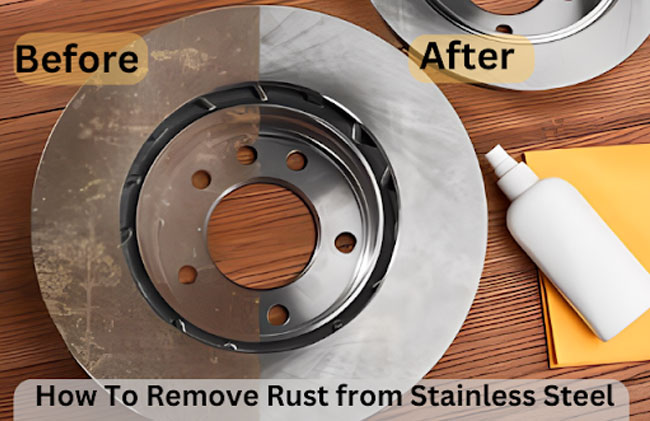
How To Remove Rust In Steel
Alright, let's talk about rust. That reddish-brown, gritty stuff that seems to have a personal vendetta against our beloved steel possessions. You know the drill. You’re about to tackle that garden shed, or maybe finally get to that old bicycle gathering dust in the garage, and BAM! Rust. It’s like the metal equivalent of a bad hair day, only way more persistent and a lot less fixable with a bit of hairspray. We’ve all been there, staring at that slightly-too-old wrench that’s suddenly decided to embrace its inner sandpaper. It’s a little annoying, a little disheartening, and a whole lot… well, rusty.
Think of rust as nature’s way of saying, "Hey, this metal isn't quite living its best life anymore." It’s like when your favorite jeans get that one stubborn stain that just won't budge, no matter how many times you wash them. Or when your car develops that little squeak that you swear wasn't there last week, but now it's your car's new signature tune. Steel, being the tough cookie it is, can handle a lot. But left exposed to the elements, especially moisture and oxygen, it starts to get a little… melancholy. It starts to oxidize, which is a fancy word for throwing a tantrum and turning into something else entirely. And that something else is rust. It’s basically the metal equivalent of a grumpy old man complaining about the weather.
So, how do we coax our steel friends back from the brink? Don’t worry, you don’t need a chemistry degree or a superhero cape. We’re going to tackle this like seasoned pros, armed with everyday items and a can-do attitude. It’s more about patience and a bit of elbow grease than anything else. Imagine you're trying to get that stubborn sticker off a new picture frame – it takes a little finesse, a little persuasion, and sometimes a bit of a strategic scrape.
The “Gentle Persuasion” Method: For Light Cases of Rusty Grumpiness
Let's start with the easy stuff. If your steel item is only lightly freckled with rust, like a dusting of cinnamon on a pastry, you might be able to sort it out with some good old-fashioned scrubbing. Think of this as giving your rusty friend a brisk wake-up call, not a full-blown spa treatment.
First up, the trusty baking soda paste. This is your go-to for when the rust is more of a suggestion than a full-blown takeover. Mix baking soda with a little bit of water to create a thick paste. It should be the consistency of toothpaste, something you can easily spread around. Then, grab an old toothbrush, a scouring pad, or even a crumpled-up piece of aluminum foil (yes, really!). Gently rub the paste onto the rusty areas. You’re not trying to scrub away your own skin here; it’s more of a tender caress. Let it sit for a bit, maybe 15-30 minutes, to let the baking soda work its magic. It’s like giving the rust a chance to reconsider its life choices. Then, wipe it off with a damp cloth. You’ll likely see a significant improvement. It’s the culinary equivalent of deglazing a pan – a little bit of effort, and you get a much cleaner surface.
Another buddy for light rust is vinegar. Yes, that pungent stuff you use on your fries. White vinegar is your best bet. You can either soak smaller items in a bowl of vinegar for a few hours, or for larger items, you can soak a cloth in vinegar and lay it over the rusty spots. Let it do its thing. Vinegar is acidic, which means it likes to eat away at rust. It’s like your boss finally giving you permission to take a break – it’s liberating! After soaking, scrub away the rust with a brush or steel wool. Rinse thoroughly and dry immediately. This is crucial, folks. Don’t let that freshly de-rusted steel get reacquainted with moisture. It’s like a newly cleaned car being immediately driven through a mud puddle – a tragedy!
And then there’s the legendary lemon juice and salt. This is like a DIY citrus spa treatment for your metal. Squeeze a couple of lemons over the rusty bits, then sprinkle a generous amount of salt over the lemon juice. The salt acts as a gentle abrasive, while the lemon juice’s acidity gets to work. Let it sit for a couple of hours. Then, scrub with a brush. It smells a whole lot better than vinegar, which is a bonus. Think of it as a refreshing facial for your metal. It leaves it feeling… zesty!
The “No-Nonsense” Approach: When Rust Gets Serious
Now, what happens when rust has really sunk its teeth in? We’re talking about those stubborn patches that look like they’ve been there since the dawn of time. This is when we bring out the heavy artillery, or at least, the slightly more industrial stuff. Don’t be intimidated; these are still perfectly accessible items that you might even have lurking in your pantry or garage.

Enter steel wool. This stuff is the workhorse of rust removal. You can get it in different grades, from fine to coarse. For most tasks, a medium-grade steel wool will do the trick. For lighter rust, you can use it dry. For tougher stuff, you can combine it with some of our previous buddies like vinegar or even a little bit of dish soap. Just remember to rub in the direction of the metal grain if you can see it. It's like giving your rusty metal a really vigorous massage. You might need a bit of a workout for this one, so put on some tunes and channel your inner gym enthusiast. Just be careful not to scratch the underlying metal too much if that's a concern. It's a balancing act, like trying to parallel park perfectly on the first try.
For really stubborn, thick rust, you might need to consider a rust remover chemical. These are readily available at hardware stores and come in various forms – liquids, gels, sprays. Always, and I mean always, follow the manufacturer’s instructions. These are usually more potent, so wear gloves and ensure good ventilation. It’s like when you’re dealing with a particularly tricky stain on a shirt – sometimes you need a specialized cleaner. You’re essentially dissolving the rust. After the chemical has done its job, you’ll likely need to scrub and then rinse thoroughly. Remember, these chemicals are strong, so treat them with respect, like you would a powerful but slightly grumpy friend.
The “Mechanical Marvel” Method: For the Truly Committed
Sometimes, you need to bring in the big guns. These are methods that involve a bit more machinery or a more involved process, but they’re incredibly effective for significant rust problems.
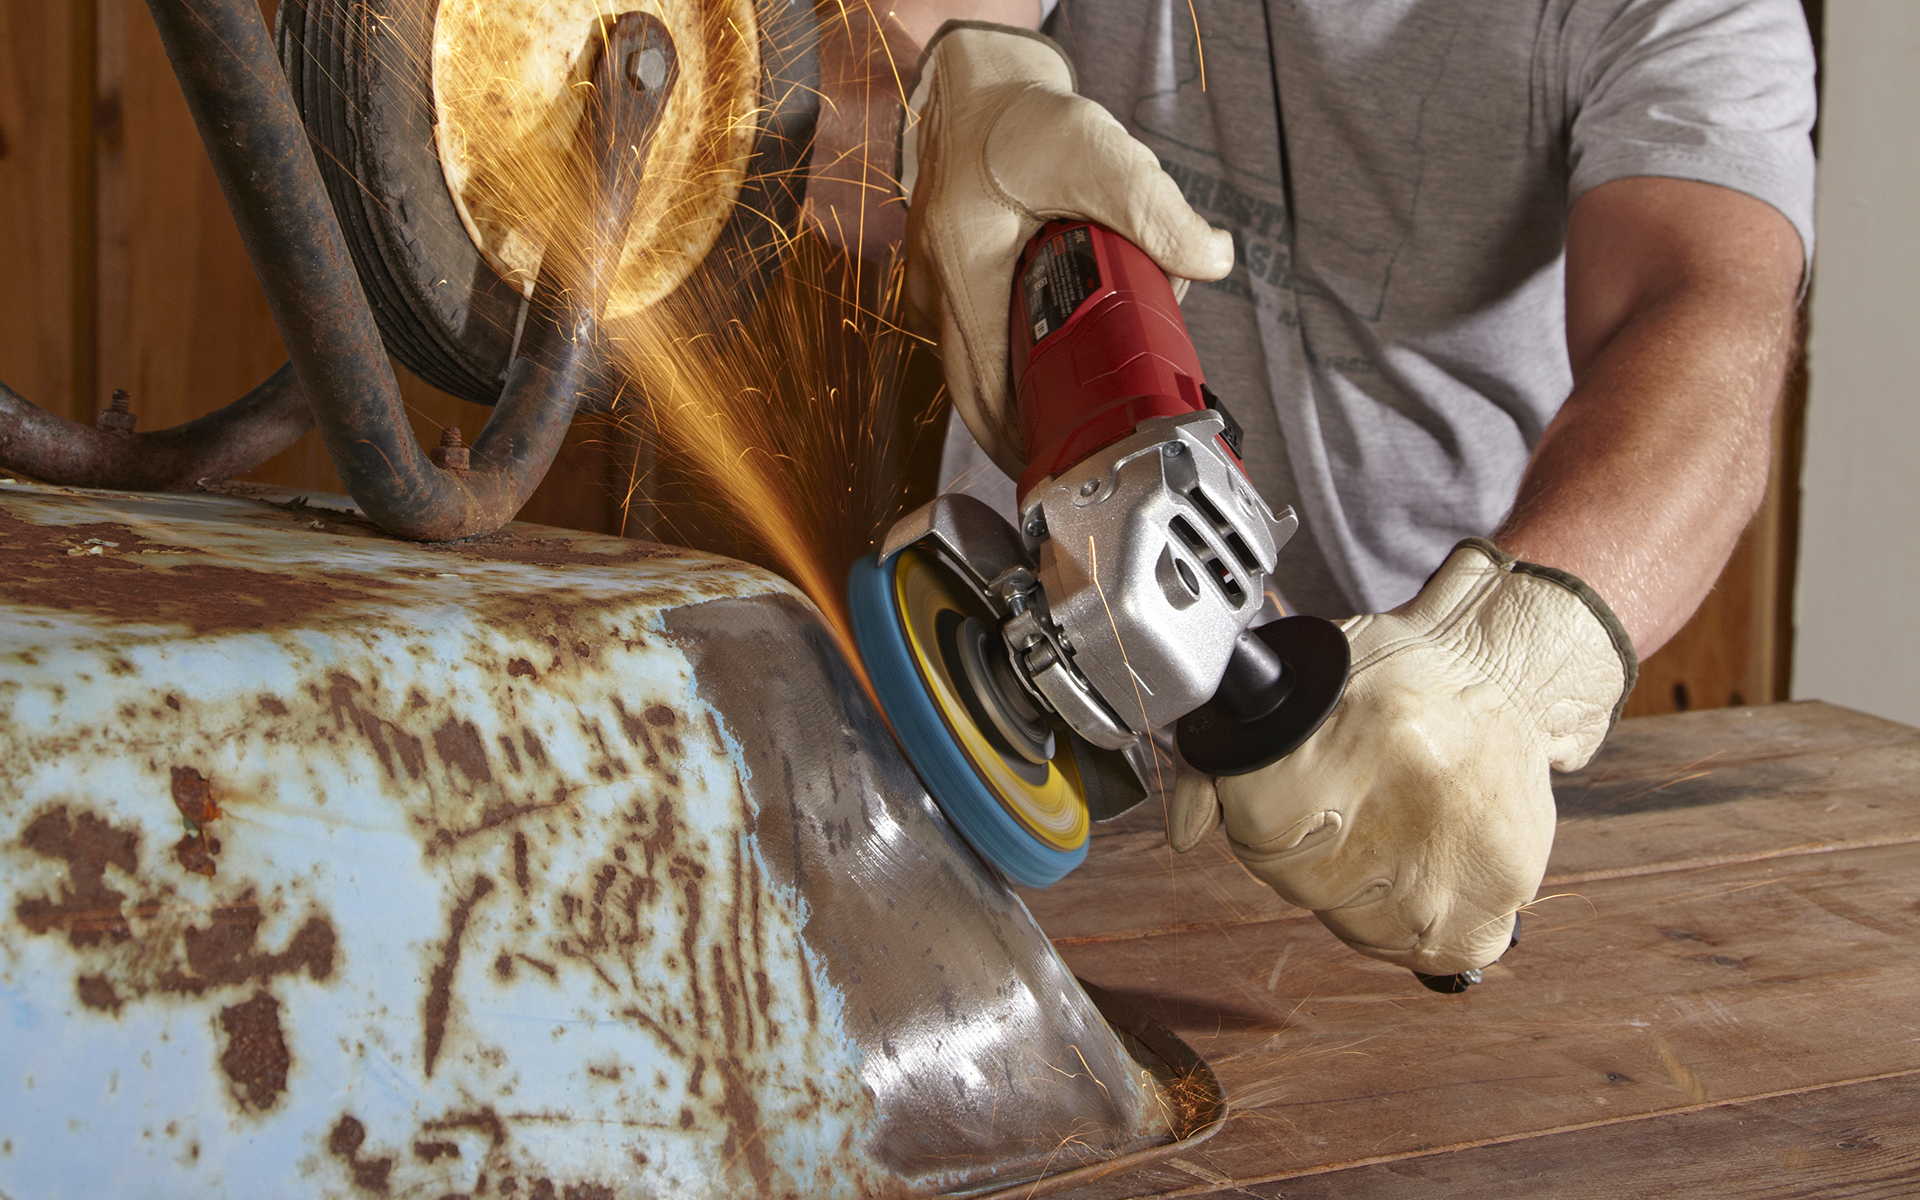
A wire brush attachment for a drill or angle grinder can be a game-changer. This is for when you’re dealing with a large surface area or very deep rust. It’s like sending in a tiny, but very determined, metal army to wage war on the rust. The spinning wires essentially blast the rust away. Again, safety first! Wear safety glasses and gloves, and be aware of flying debris. This method is fast and efficient, but it can be a bit aggressive. It’s the equivalent of a power wash for your rusty items. You’ll want to go slowly and methodically, especially on delicate pieces. Think of it as a high-energy cleaning session, not a casual tidy-up.
For those who are really serious about their metal restoration, sandblasting is the ultimate solution. This involves shooting abrasive particles at high speed onto the surface to strip away rust and old paint. It’s the most effective way to get back to bare metal, but it’s usually a job for professionals or requires specialized equipment. It’s the extreme makeover: rust edition. Unless you have a dedicated sandblasting booth in your backyard, this is probably best left to the experts. But if you do have access to it, it’s a marvel to behold.
Prevention is Key: The Best Rust Defense
Now that you’ve heroically defeated the rust monsters, the real battle begins: prevention. Rust is like that annoying relative who shows up uninvited; once you get rid of them, you want to make sure they don’t come back. The number one rule is to keep steel dry. Moisture is rust’s best friend, its partner in crime. After washing any steel item, dry it thoroughly. Don’t just pat it down; really get it dry. If it’s an item that’s going to be stored, consider applying a protective coating.

A light coat of oil can work wonders. Think WD-40, or even a good quality machine oil. A quick spray and wipe can create a barrier against moisture. It’s like putting on a raincoat for your metal. For tools, this is especially important. After each use, give them a quick clean and a light oiling. It’s a small effort that makes a huge difference.
For things that are going to be stored long-term, or items exposed to harsh environments, consider a protective coating. This could be paint, a clear sealant, or even a specialized rust inhibitor. A good quality primer and paint job can make your steel items look fantastic and protect them from the elements. It’s like giving your metal a stylish and protective outfit. And remember, regular inspection is your friend. A quick check every now and then can catch rust in its early stages, making it much easier to deal with.
So there you have it. Rust happens. It’s a part of life, like stubbing your toe or finding a stray sock. But with a little knowledge, a few common household items, and some good old-fashioned effort, you can banish that rusty menace and keep your steel possessions looking and performing their best. Happy de-rusting!