
How To Remove Scratches In Stainless Steel

So, you've got that gorgeous stainless steel appliance, maybe a fancy fridge or a sleek toaster, and it's looking pretty sweet, right? But then, BAM! A little mishap happens. A stray fork, a carelessly placed pan, or even just the daily grind of life leaves a tiny, irritating scratch. Ugh. Suddenly, that pristine shine feels a little… tarnished. Don't you just hate that? It’s like finding a tiny smudge on a brand-new pair of sunglasses. You know it’s there, and it’s all you can see.
But before you start picturing your beautiful stainless steel friend heading to the great appliance graveyard in the sky, hold on a sec. What if I told you that those little battle scars aren't necessarily permanent? And what if getting rid of them is actually a bit… satisfying? Like solving a tiny, domestic puzzle.
Stainless steel, for all its shiny glory, can be a bit of a drama queen sometimes. It’s tough, sure, but those scratches can really bring it down. But here's the cool part: most of the time, these are surface-level boo-boos. Think of it like a scratch on your car's paint job versus a dent. We're aiming for the former, and thankfully, that's often exactly what we're dealing with.
Now, before we dive into the nitty-gritty of scratch removal, there's a super important rule to remember. Stainless steel has a grain, much like wood. You know, those tiny lines you can see if you look closely? It’s crucial to always work with the grain, not against it. Going against the grain is like trying to paint a picture with your eyes closed – you're just gonna end up with a mess. Trust me on this one.
The Gentle Approach: Your First Line of Defense
Okay, so you’ve spotted a minor scratch. It's not deep, just an annoying little white line. What's your go-to? For these kinds of superficial scuffs, we're going to start with the least abrasive methods. Think of it as coaxing the scratch into submission, not wrestling it into submission.
First up, let's talk about baking soda. Yep, that pantry staple that makes cookies fluffy can also work wonders on stainless steel. Mix up a paste with baking soda and a little water. You want a consistency like toothpaste – not too runny, not too stiff. Then, grab a soft cloth or a sponge (the non-scratchy kind, obviously!) and gently rub the paste onto the scratch, following the direction of the grain. Keep at it for a few minutes, applying light pressure. Rinse with water and dry thoroughly. Sometimes, this is all it takes to make that scratch disappear like a ninja in the night.

Another trusty sidekick is non-gel toothpaste. Seriously! Grab a plain white, non-gel variety (no fancy stripes or whitening beads for this job). Apply a small amount to your soft cloth and rub it into the scratch, again, going with the grain. The mild abrasives in toothpaste can do a surprisingly good job of buffing out those tiny imperfections. Rinse and buff dry. Easy peasy, right?
When Things Get a Little More Serious (But Still Chill)
What if those first-line defenses don't quite cut it? Don't despair! We have a few more tricks up our sleeve, but they require a bit more caution. We're stepping up the game slightly, but we're still staying in the "relaxed and curious" zone.
Enter the world of specialized stainless steel cleaners and polishes. You can find these at most hardware stores or even your local supermarket. They're specifically formulated to tackle scratches and restore shine. Always read the instructions carefully, and remember that golden rule: work with the grain. These products often contain very fine abrasives that can gently buff out scratches. Apply a small amount to a soft cloth and rub in the direction of the grain. You might need to repeat the process a couple of times.

Now, for those slightly deeper scratches, you might consider a mild abrasive pad. We're talking about something like a Scotch-Brite pad that's specifically designed for non-stick cookware or delicate surfaces. Crucially, make sure it's the grey or white variety, NOT the green one, which is far too harsh and will likely create more scratches. Use this with even more care. Apply a small amount of your stainless steel cleaner or even a bit of that baking soda paste to the pad. Rub gently, always, always, always in the direction of the grain. You're essentially trying to blend the scratch into the surrounding surface. This method requires a delicate touch; think of it like a gentle whisper rather than a shout.
The "Extreme Makeover" (Use with Caution!)
Okay, we're entering slightly more adventurous territory now. For those stubborn scratches that just won't budge, there are some more intensive options. But I must preface this with a big, flashing neon sign: proceed with extreme caution. These methods are more likely to alter the finish of your stainless steel, so they’re best for situations where the scratch is really bugging you and you're willing to accept a slight change in appearance if things don't go perfectly.
This is where wet/dry sandpaper comes into play. Yes, sandpaper! But we're not talking about a coarse grit that'll rip your appliance apart. You'll want to start with a very fine grit, something like 400 or 600, and then gradually move to even finer grits (like 800, 1000, or even 2000). You'll be working this wet, so have a spray bottle of water handy. Lightly sand the scratch, always in the direction of the grain. The goal is to feather the scratch, making it less noticeable. After sanding with each grit, rinse and dry, and then assess. You'll likely need to follow up with a polishing compound to restore some shine. This is a more advanced technique, and it's easy to go too far, so really take your time and test on an inconspicuous area first if you can.
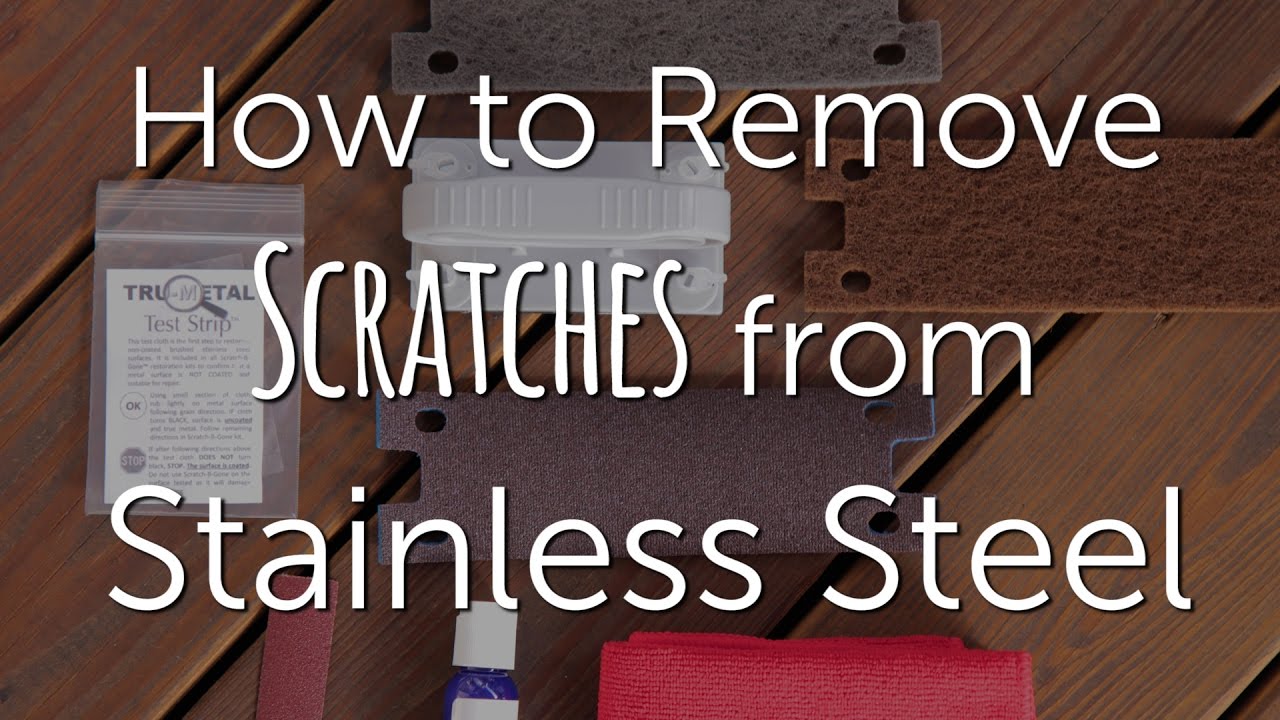
Another option, often recommended for deeper scratches, is a scratch removal kit for stainless steel. These kits typically contain a series of abrasive pads and polishing compounds. They're designed to guide you through the process, starting with the coarsest grit needed and progressing to finer ones. Again, read the instructions religiously and always work with the grain. These kits are generally more forgiving than using sandpaper on its own, but they still require a mindful approach. Think of them as a guided tour of scratch elimination.
The Art of Prevention
Now that you're armed with the knowledge to tackle those scratches, let's talk about the best kind of scratch removal: prevention! Wouldn't it be nice to avoid the problem altogether? It’s like eating your veggies – you know it’s good for you, even if it’s not always the most exciting part.
The simplest way to prevent scratches is to be mindful. Use soft cloths or sponges for cleaning. Avoid abrasive scrubbers or steel wool. When placing pots and pans down, use trivets or mats. It's like giving your stainless steel appliances a little hug and a gentle pat. Sounds simple, but it makes a huge difference.

For those appliances that get a lot of use, like kitchen counters or backsplashes, consider a protective coating. There are spray-on sealants and waxes specifically designed for stainless steel that can add a layer of defense against everyday wear and tear. It’s like giving your appliance a tiny shield.
And finally, if you’re buying new stainless steel appliances, pay attention to the finish. Brushed stainless steel is generally more forgiving with scratches than a mirror-polished finish. It’s like choosing a matte paint finish versus a high-gloss one – the matte tends to hide imperfections better.
So there you have it! Those frustrating scratches on your stainless steel don't have to be a permanent eyesore. With a little patience, the right approach, and a whole lot of working with the grain, you can often restore that beautiful, gleaming finish. It’s a satisfying little victory, don’t you think? A testament to the fact that even the most stylish surfaces can sometimes be nursed back to their former glory. Now go forth and conquer those scratches!