
How To Remove Tarnish From Stainless Steel

Oh, the sheer joy of unboxing a brand new, gleaming stainless steel appliance. You know the feeling, right? That pristine, almost otherworldly shine that promises effortless cooking, chic kitchen vibes, and a lifetime of superior performance. I remember the first time I got a new stainless steel kettle. It was so beautiful, so… unblemished. I practically polished it hourly, convinced it was the most important thing in my kitchen. Fast forward a few months, and that same kettle, bless its shiny little heart, started looking like it had seen better days. A faint, dull film had appeared, particularly around the base and where water splashed. "What is this?" I mumbled, staring at it with betrayal in my eyes. "I thought this was supposed to stay this way!"
Sound familiar? Yeah, I thought so. It’s like a tiny kitchen tragedy, isn’t it? You invest in the sleek, modern look of stainless steel, expecting it to be the low-maintenance superhero of your home. And for a while, it is! But then… tarnish. Or what we think is tarnish. It's this dull, hazy, sometimes even slightly discolored layer that creeps in, making your once-proud possessions look… well, neglected. Don't let that happen to your beloved pots, pans, appliances, or even that fancy cutlery you only bring out for special occasions. Because thankfully, banishing this unwelcome guest is usually a lot easier than you might imagine. And the best part? You probably already have most of the weapons you need right in your pantry.
So, let's dive into the nitty-gritty of how to bring back that glorious, mirror-like finish to your stainless steel. We’re talking about a few surprisingly simple, super effective methods that will have you rediscovering the beauty of your stainless steel all over again. Forget those fancy, expensive specialty cleaners that promise the moon and deliver a smudge. We’re going DIY, baby!
The Mystery of the Dullness: What's Really Happening?
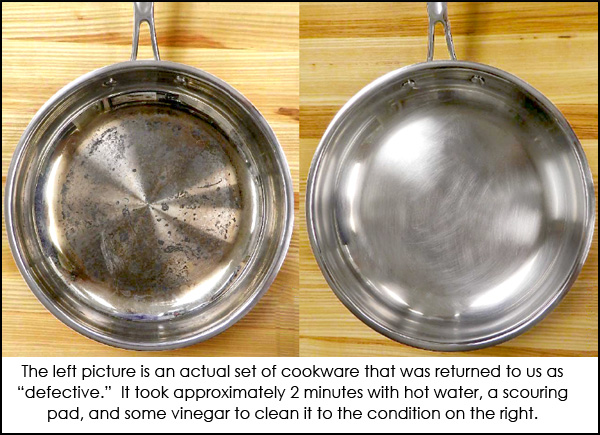
Before we grab our cleaning arsenal, let’s get a tiny bit technical. What exactly is this dull film we’re battling? It’s not quite the same as the copper developing a green patina, or silver turning black. Stainless steel, by its very nature, is pretty resistant to rust and corrosion. That’s thanks to chromium, which forms a passive oxide layer on the surface. Think of it as a built-in shield. Pretty neat, huh?
However, this shield isn’t invincible. The dullness we often see isn’t typically true tarnish in the traditional sense. More often, it’s a buildup of:
- Mineral deposits: From hard water. You know, those stubborn white rings left behind after water evaporates.
- Grease and grime: Everyday cooking splatters and fingerprints.
- Residue from cleaning products: Sometimes, even the "gentle" cleaners can leave a film behind.
- Food particles: Especially sticky or acidic ones that can etch the surface if left too long.
So, while we might call it tarnish, it's more about a layer of stuff obscuring the shine, rather than the metal itself changing color. Which is actually good news, because these kinds of buildups are generally easier to remove than deep-seated corrosion.
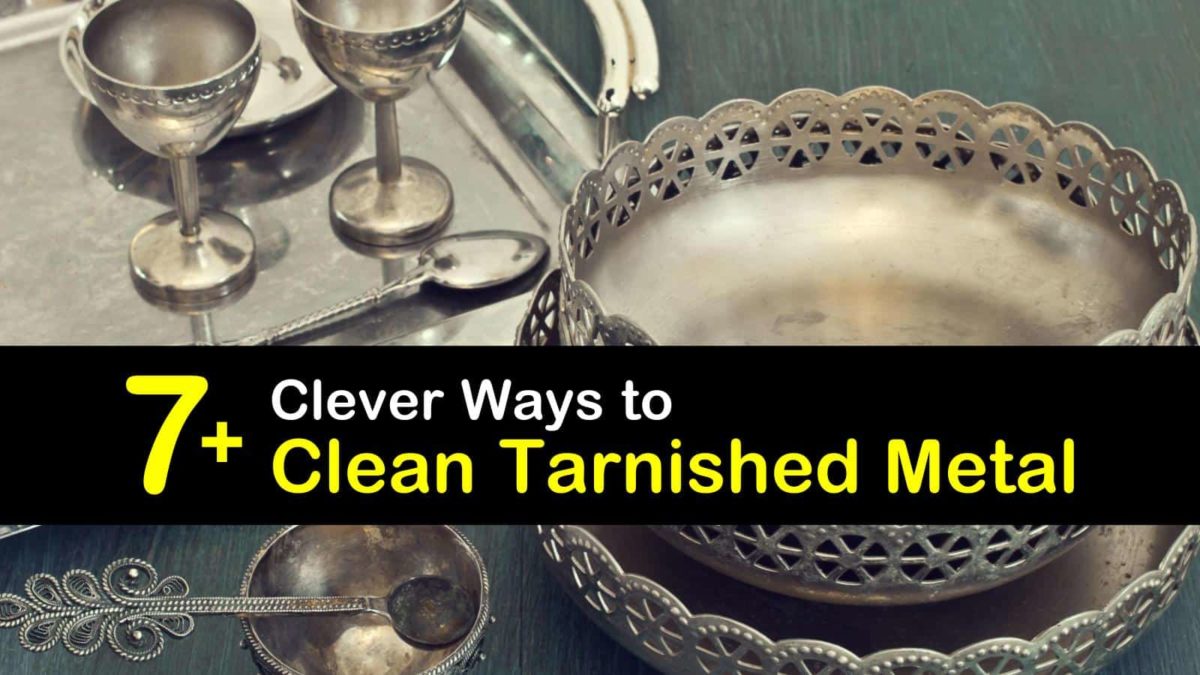
Method 1: The Power of Baking Soda (Your Pantry's Secret Weapon!)
Ah, baking soda. The unsung hero of the kitchen. It cleans, it deodorizes, it leavens cakes (that’s for a different article!), and it’s a fantastic gentle abrasive. This is usually my first line of defense, and for good reason. It’s incredibly effective and about as gentle as you can get.
Here’s how you do it:
- Make a Paste: In a small bowl, mix baking soda with a little water. You’re aiming for a consistency that’s like toothpaste – thick enough to stick to the surface but not watery.
- Apply and Scrub (Gently!): Using a soft cloth, sponge (non-abrasive, please!), or even an old toothbrush for those tricky spots, apply the paste to the dull areas of your stainless steel. Then, gently scrub. Remember, you're not trying to sand it down. Use small, circular motions or follow the grain of the steel.
- Rinse and Dry: Once you’ve worked your magic, rinse the item thoroughly with clean water. Then, the crucial step: dry it immediately and completely with a soft, lint-free cloth. This prevents water spots from forming, which would just undo all your hard work!
Seriously, this method often surprises people with how well it works. It’s so simple, so cheap, and so satisfying to see that dullness disappear, revealing the original shine underneath. For stubborn spots, you might need to let the paste sit for a few minutes before scrubbing, but always be gentle.

Method 2: Vinegar – The Acidic All-Rounder
Another kitchen staple, vinegar, is a superhero in its own right, especially when it comes to tackling mineral deposits and grime. Its acidity helps to break down those stubborn buildups. Just a heads-up: if your stainless steel has a coated or colored finish, you might want to tread a little more carefully with vinegar, or test it on an inconspicuous spot first. But for standard stainless steel, it's generally safe and effective.
Here's the vinegar approach:
- Dilute (or Don’t!): You can use plain white vinegar, or for a milder approach, dilute it with an equal part of water.
- Spray or Wipe: Pour some vinegar into a spray bottle and lightly mist the affected areas, or dampen a soft cloth with the vinegar solution.
- Let it Sit (Briefly): Allow the vinegar to sit for a few minutes to work its magic. Don’t let it sit for hours, though.
- Wipe and Rinse: Wipe away the loosened grime with a soft cloth. Then, rinse the stainless steel thoroughly with clean water.
- Dry, Dry, Dry! Again, this is your best friend. A quick buff with a dry, lint-free cloth will make all the difference.
Some people even use vinegar to polish their stainless steel. After cleaning, they’ll wipe it down with a vinegar-dampened cloth and then buff it dry. It can leave a lovely shine, but be mindful of the smell – it’s not exactly a lavender spa experience!
Method 3: Olive Oil or Mineral Oil – The Polishing Pro
Once you’ve cleaned your stainless steel and it’s looking pretty decent, you might want to give it a final polish to enhance the shine and create a bit of a protective barrier. This is where a tiny bit of oil comes in handy. And yes, I’m talking about the kind you use for cooking!
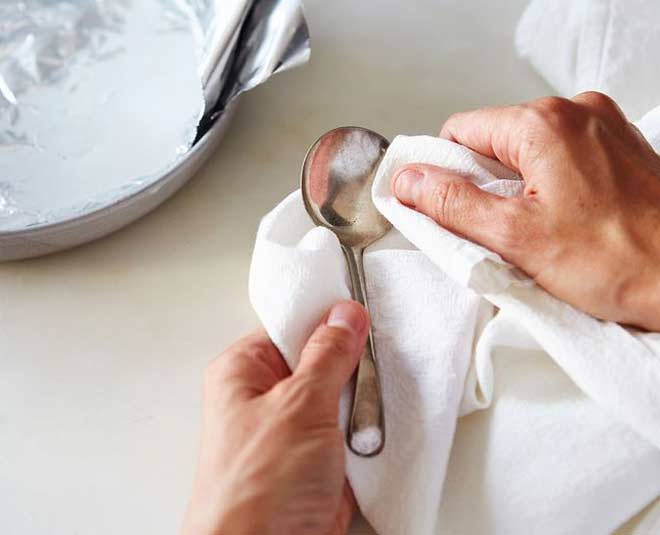
Here's how to achieve that showroom gleam:
- Clean First: Make sure your stainless steel is already clean and dry from the previous steps. This method is for polishing, not heavy-duty cleaning.
- Apply a Tiny Amount: Put just a few drops of olive oil or mineral oil onto a clean, soft cloth. You want the cloth to be barely damp, not oily. Too much oil will just make things greasy and attract more fingerprints.
- Rub with the Grain: Gently rub the oil onto the surface of the stainless steel, always moving in the direction of the grain.
- Buff to a Shine: Take a separate, clean, dry cloth and buff the surface. This is where the magic happens! You’ll be amazed at how this simple step brings out a beautiful, deep shine and even helps repel future smudges.
This trick is fantastic for appliances like refrigerators and dishwashers. It not only makes them look amazing but also makes them easier to wipe down in the future. It’s like giving them a protective, shiny shield!
Method 4: The Commercial Cleaners (When You Need a Little Extra Oomph)
Now, I’m a big fan of the DIY approach. It’s cheap, it’s effective, and you know exactly what’s in it. But sometimes, you encounter a particularly stubborn patch of grime or a stain that just won’t budge with the usual suspects. In those cases, a good quality commercial stainless steel cleaner can be your friend.
A few things to keep in mind:
- Read the Label: Seriously, read it! Make sure the cleaner is specifically designed for stainless steel and check for any warnings about coatings or finishes.
- Patch Test: Always, always test a new cleaner on an inconspicuous area first. You don’t want to discover it’s problematic on your prized pot.
- Follow Instructions: These cleaners often have specific application and rinsing instructions. Stick to them!
- Ventilate: Some of these cleaners can have strong fumes, so make sure your kitchen is well-ventilated.
Look for cleaners that offer both cleaning and polishing properties. Many of them are oil-based, similar to our DIY oil polishing trick, but formulated to tackle tougher grime.
Tips to Keep Your Stainless Steel Sparkling Longer
Once you’ve gotten your stainless steel looking its best, you’ll want to keep it that way, right? Here are a few proactive steps you can take:
- Wipe Up Spills Immediately: This is probably the single most important tip. Don’t let liquids, especially acidic ones or those with high mineral content, sit on the surface for too long. A quick wipe with a damp cloth can prevent a lot of future scrubbing.
- Dry After Washing: As we’ve harped on about, drying is key to preventing water spots and mineral buildup. Make it a habit!
- Use Soft Cleaning Tools: Avoid steel wool, abrasive scrubbers, and harsh brushes. These can scratch the surface and create dull spots that are hard to fix. Stick to soft cloths, sponges, and microfiber towels.
- Clean with the Grain: Always wipe and scrub in the direction of the stainless steel’s grain. You’ll notice a subtle linear pattern on most stainless steel items. Cleaning against the grain can cause micro-scratches and make the surface look duller over time.
- Be Mindful of Harsh Chemicals: Things like bleach and oven cleaners can damage stainless steel. If you have a tough baked-on mess on a pot, use the baking soda paste method first, rather than resorting to harsh chemicals.
Honestly, keeping stainless steel looking good isn’t rocket science. It’s mostly about a little bit of regular maintenance and using the right tools and techniques. That initial dullness you noticed? It’s usually just a temporary setback, a cry for a little TLC. And with these methods, you can give your stainless steel the spa treatment it deserves and get it looking as good as new. So go forth and shine! Your kitchen (and your appliances) will thank you for it.