
How To Repaint Metal Gate
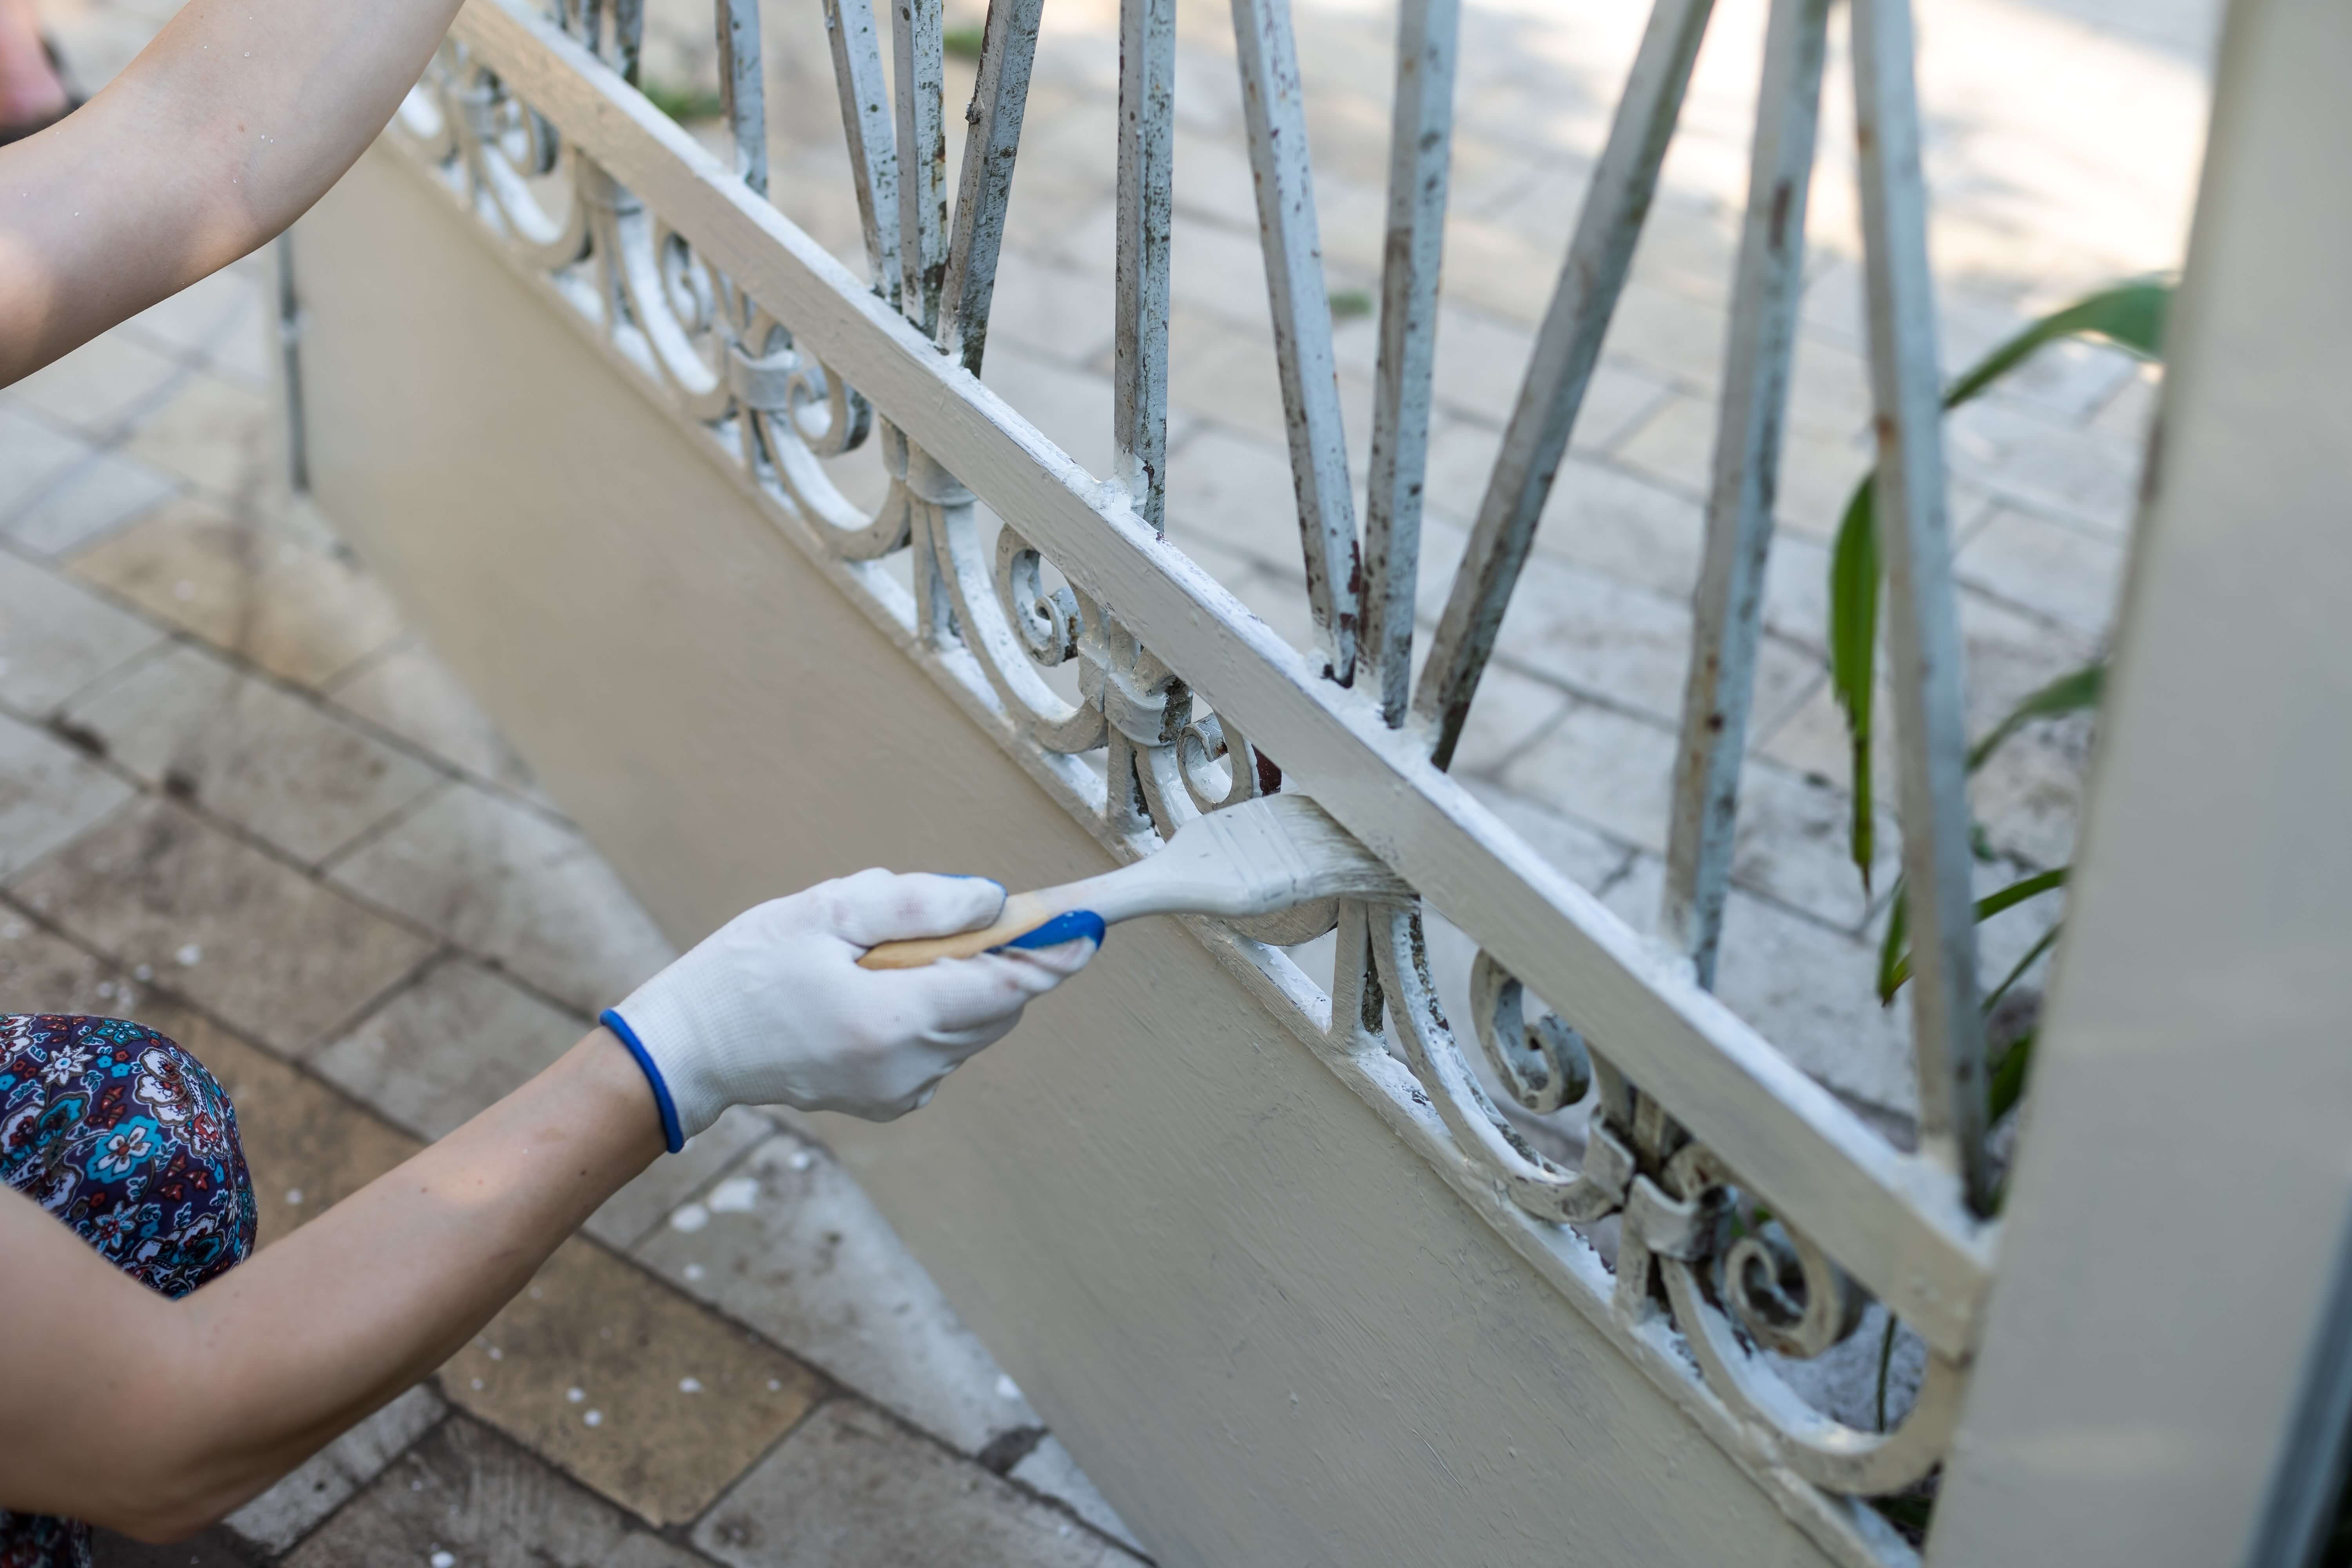
Ever looked at your garden gate and thought, "You know, you've seen better days"? That trusty sentinel of your outdoor space, the one that greets guests and keeps pets (and the occasional runaway frisbee) in check, might be looking a little… tired. But fear not, fellow homeowners! Giving your metal gate a fresh coat of paint isn't just about sprucing up your curb appeal (though it absolutely will do that in spades). It's a surprisingly satisfying and empowering DIY project that can transform your entryway from drab to fab. Think of it as giving your home a whole new handshake – a welcoming, vibrant one!
Why bother with this metal marvel? Well, beyond the obvious aesthetic upgrade, repainting your gate serves a bunch of fantastic purposes. For starters, it's a powerful form of protection. Metal, especially exposed to the elements, can be susceptible to rust and corrosion. A good paint job acts like a superhero cape for your gate, shielding it from rain, sun, and whatever else Mother Nature throws its way. This not only keeps it looking good but also significantly extends its lifespan. Imagine avoiding a costly replacement down the line – now that’s a smart investment!
Moreover, a freshly painted gate can dramatically boost your home's kerb appeal. It's often the first thing people see when they approach your house, and a well-maintained gate creates a fantastic first impression. It signals pride of ownership and attention to detail. Plus, think about the possibilities for personalization! You can match your house colors, go for a bold contrasting statement, or even add a touch of metallic sheen. It’s a canvas waiting for your creative flair.
Getting started might seem a little daunting, but we’ll break it down into simple, manageable steps. You don’t need to be a seasoned pro; just a willingness to get a little hands-on and a desire for a great result.
Gather Your Gear
Before we dive into the nitty-gritty, let’s make sure you’ve got everything you need. Think of this as your gate-painting toolkit. You'll want:

- Safety First! Safety glasses and gloves are a must.
- Cleaning Supplies: A stiff brush or wire brush, a bucket of soapy water, and a hose or pressure washer.
- Rust Treatment: If you find any rust spots, a rust converter or metal primer specifically designed for rust is your best friend.
- Sandpaper: Medium-grit and fine-grit sandpaper will help create a smooth surface.
- Primer: A good quality metal primer will ensure your paint adheres well and provides an extra layer of protection.
- Paint: Exterior-grade metal paint is essential. Choose a color that complements your home and style.
- Applicators: High-quality paint brushes (different sizes for different areas) and a paint roller for larger flat sections can speed things up.
- Drop cloths or old newspapers: To protect your driveway, lawn, or any surrounding areas from drips.
- Painter's tape: For masking off any areas you don’t want painted.
The Prep is Key!
This is arguably the most important part of the whole process. Don't skimp here! A well-prepped gate means a beautiful, long-lasting finish.
Step 1: Clean Like You Mean It! Give your gate a thorough cleaning. Use the stiff brush and soapy water to scrub away dirt, cobwebs, and any loose paint. If you have a pressure washer, this can make quick work of it. Rinse it off really well and let it dry completely. Seriously, let it dry!
Step 2: Tackle the Rust. If you discover any rusty patches, now’s the time to deal with them. Use your wire brush to scrub away as much rust as possible. Then, apply your rust converter or primer according to the product’s instructions. This stuff is magical and will stop rust in its tracks.
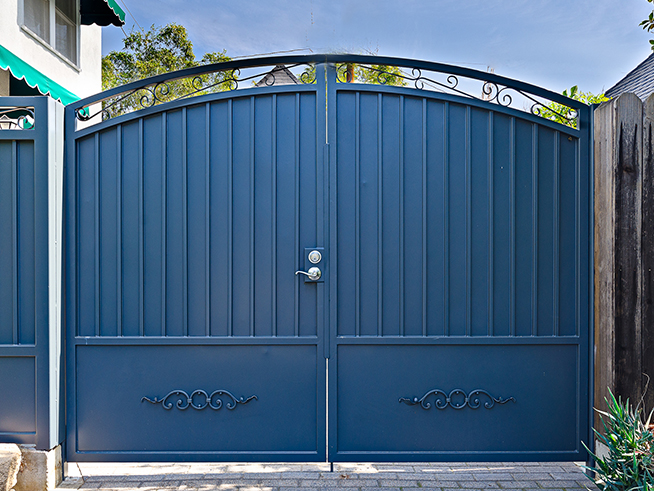
Step 3: Smooth Operator. Once everything is dry, it’s time for a light sanding. Use your medium-grit sandpaper to scuff up any remaining glossy surfaces and smooth out any rough spots. Follow up with the fine-grit sandpaper for an even smoother finish. Wipe away all the dust with a clean, damp cloth and let it dry again.
Prime Time!
Primer is like the foundation of your painting project. It helps the paint stick better and provides a uniform base color.
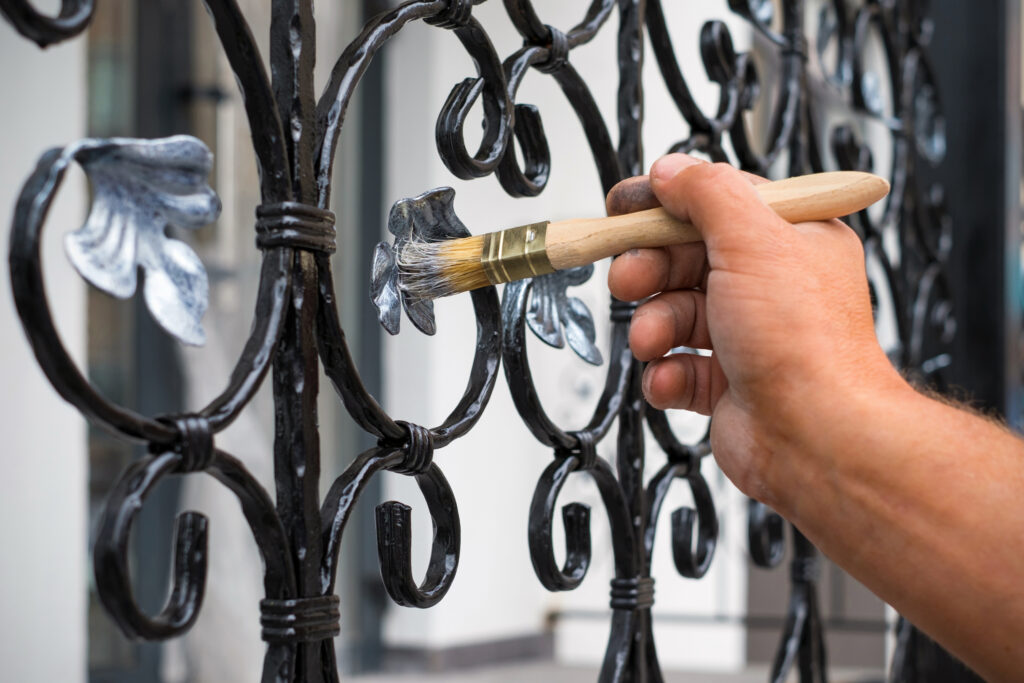
Step 4: Apply the Primer. Using your chosen brushes and roller, apply a thin, even coat of metal primer to the entire gate. Make sure to get into all the nooks and crannies. Let the primer dry completely according to the manufacturer’s instructions. You might even want to do a light sanding with fine-grit sandpaper after the primer has dried and then wipe it down again – this will give you an unbelievably smooth canvas for your paint.
Let the Painting Begin!
This is the fun part where your gate starts to look like a whole new entity!
Step 5: First Coat of Color. Now for the paint! Apply your first coat of exterior metal paint. Again, work in thin, even strokes. If you’re using a roller for larger sections, be sure to overlap your strokes slightly to avoid any missed spots. Don’t try to get perfect coverage with the first coat; it’s better to apply multiple thin coats than one thick, gloopy one. Let this coat dry completely.

Step 6: Second Coat (and maybe a third!). Once the first coat is dry, assess the coverage. You’ll likely need at least a second coat to achieve a rich, opaque finish. Apply your second coat in the same way as the first. If there are any areas that still look a little patchy, don’t hesitate to apply a third coat. Patience is key here for a professional-looking finish.
Step 7: The Grand Finale. Once your final coat of paint is completely dry – and we mean completely dry (give it at least 24 hours to be safe) – you can remove any painter’s tape you used. Stand back and admire your handiwork! You’ve just transformed your gate from a tired old structure into a vibrant, protective feature of your home.
Repainting your metal gate is a project that offers big rewards for a relatively small effort. It’s a chance to add personality, protect your investment, and boost your home's beauty. So, next time you’re looking at that gate and feeling inspired, remember these steps, grab your gear, and get ready to create something wonderful. Happy painting!