
How To Replace A Tube Light

Hey there, DIY superstars and adventure-seeking homebodies! Ever stared up at a flickering, sad-looking tube light and thought, "You know what? I bet I could fix that!" Well, guess what? You absolutely can! And you know what’s even cooler? It’s not just about banishing the gloom; it’s about unlocking a whole new level of "I’ve got this!" that can make your whole day brighter. Seriously, who knew conquering a little bit of electricity could feel so empowering?
Let’s be honest, sometimes the most exciting part of our day is figuring out how to make our own little corner of the world a bit better. And what’s more fundamental than good lighting? A dim, sputtering light can cast a pall over everything, turning your cozy reading nook into a spooky den. But a crisp, bright tube light? That’s pure productivity and cheerfulness! So, grab your virtual toolkit, and let’s dive into the surprisingly simple, utterly satisfying world of replacing a tube light.
Why Bother With This Little Adventure?
First off, you might be thinking, "Why should I learn to do this myself? Can't I just call someone?" And sure, you could. But where's the fun in that? This isn't rocket science, my friends. It’s more like… beginner-level wizardry. You're literally bringing light back into your life with your own two hands. Think of the bragging rights! "Oh, this light? Yep, I fixed it myself. Felt like a superhero for an afternoon." Plus, think of the money you'll save! That's more cash for fun stuff, like, you know, more light bulbs (kidding! Mostly).
Beyond the practicalities, there’s a profound satisfaction in understanding how things work. It’s about demystifying the everyday. When you can troubleshoot and fix a simple electrical component like a tube light, you start to see your home not as a collection of mysterious boxes, but as a system you can understand and, dare I say, even improve. It’s like unlocking a secret level in the game of life!
Gathering Your Trusty Sidekicks (Tools and Materials)
Before we embark on our grand lighting quest, let's make sure we're prepared. A little bit of foresight goes a long way, and it prevents those "oh no, I forgot the..." moments that can dampen the mood. You’ll need a few key things:

The New Star of the Show: Your Replacement Tube Light
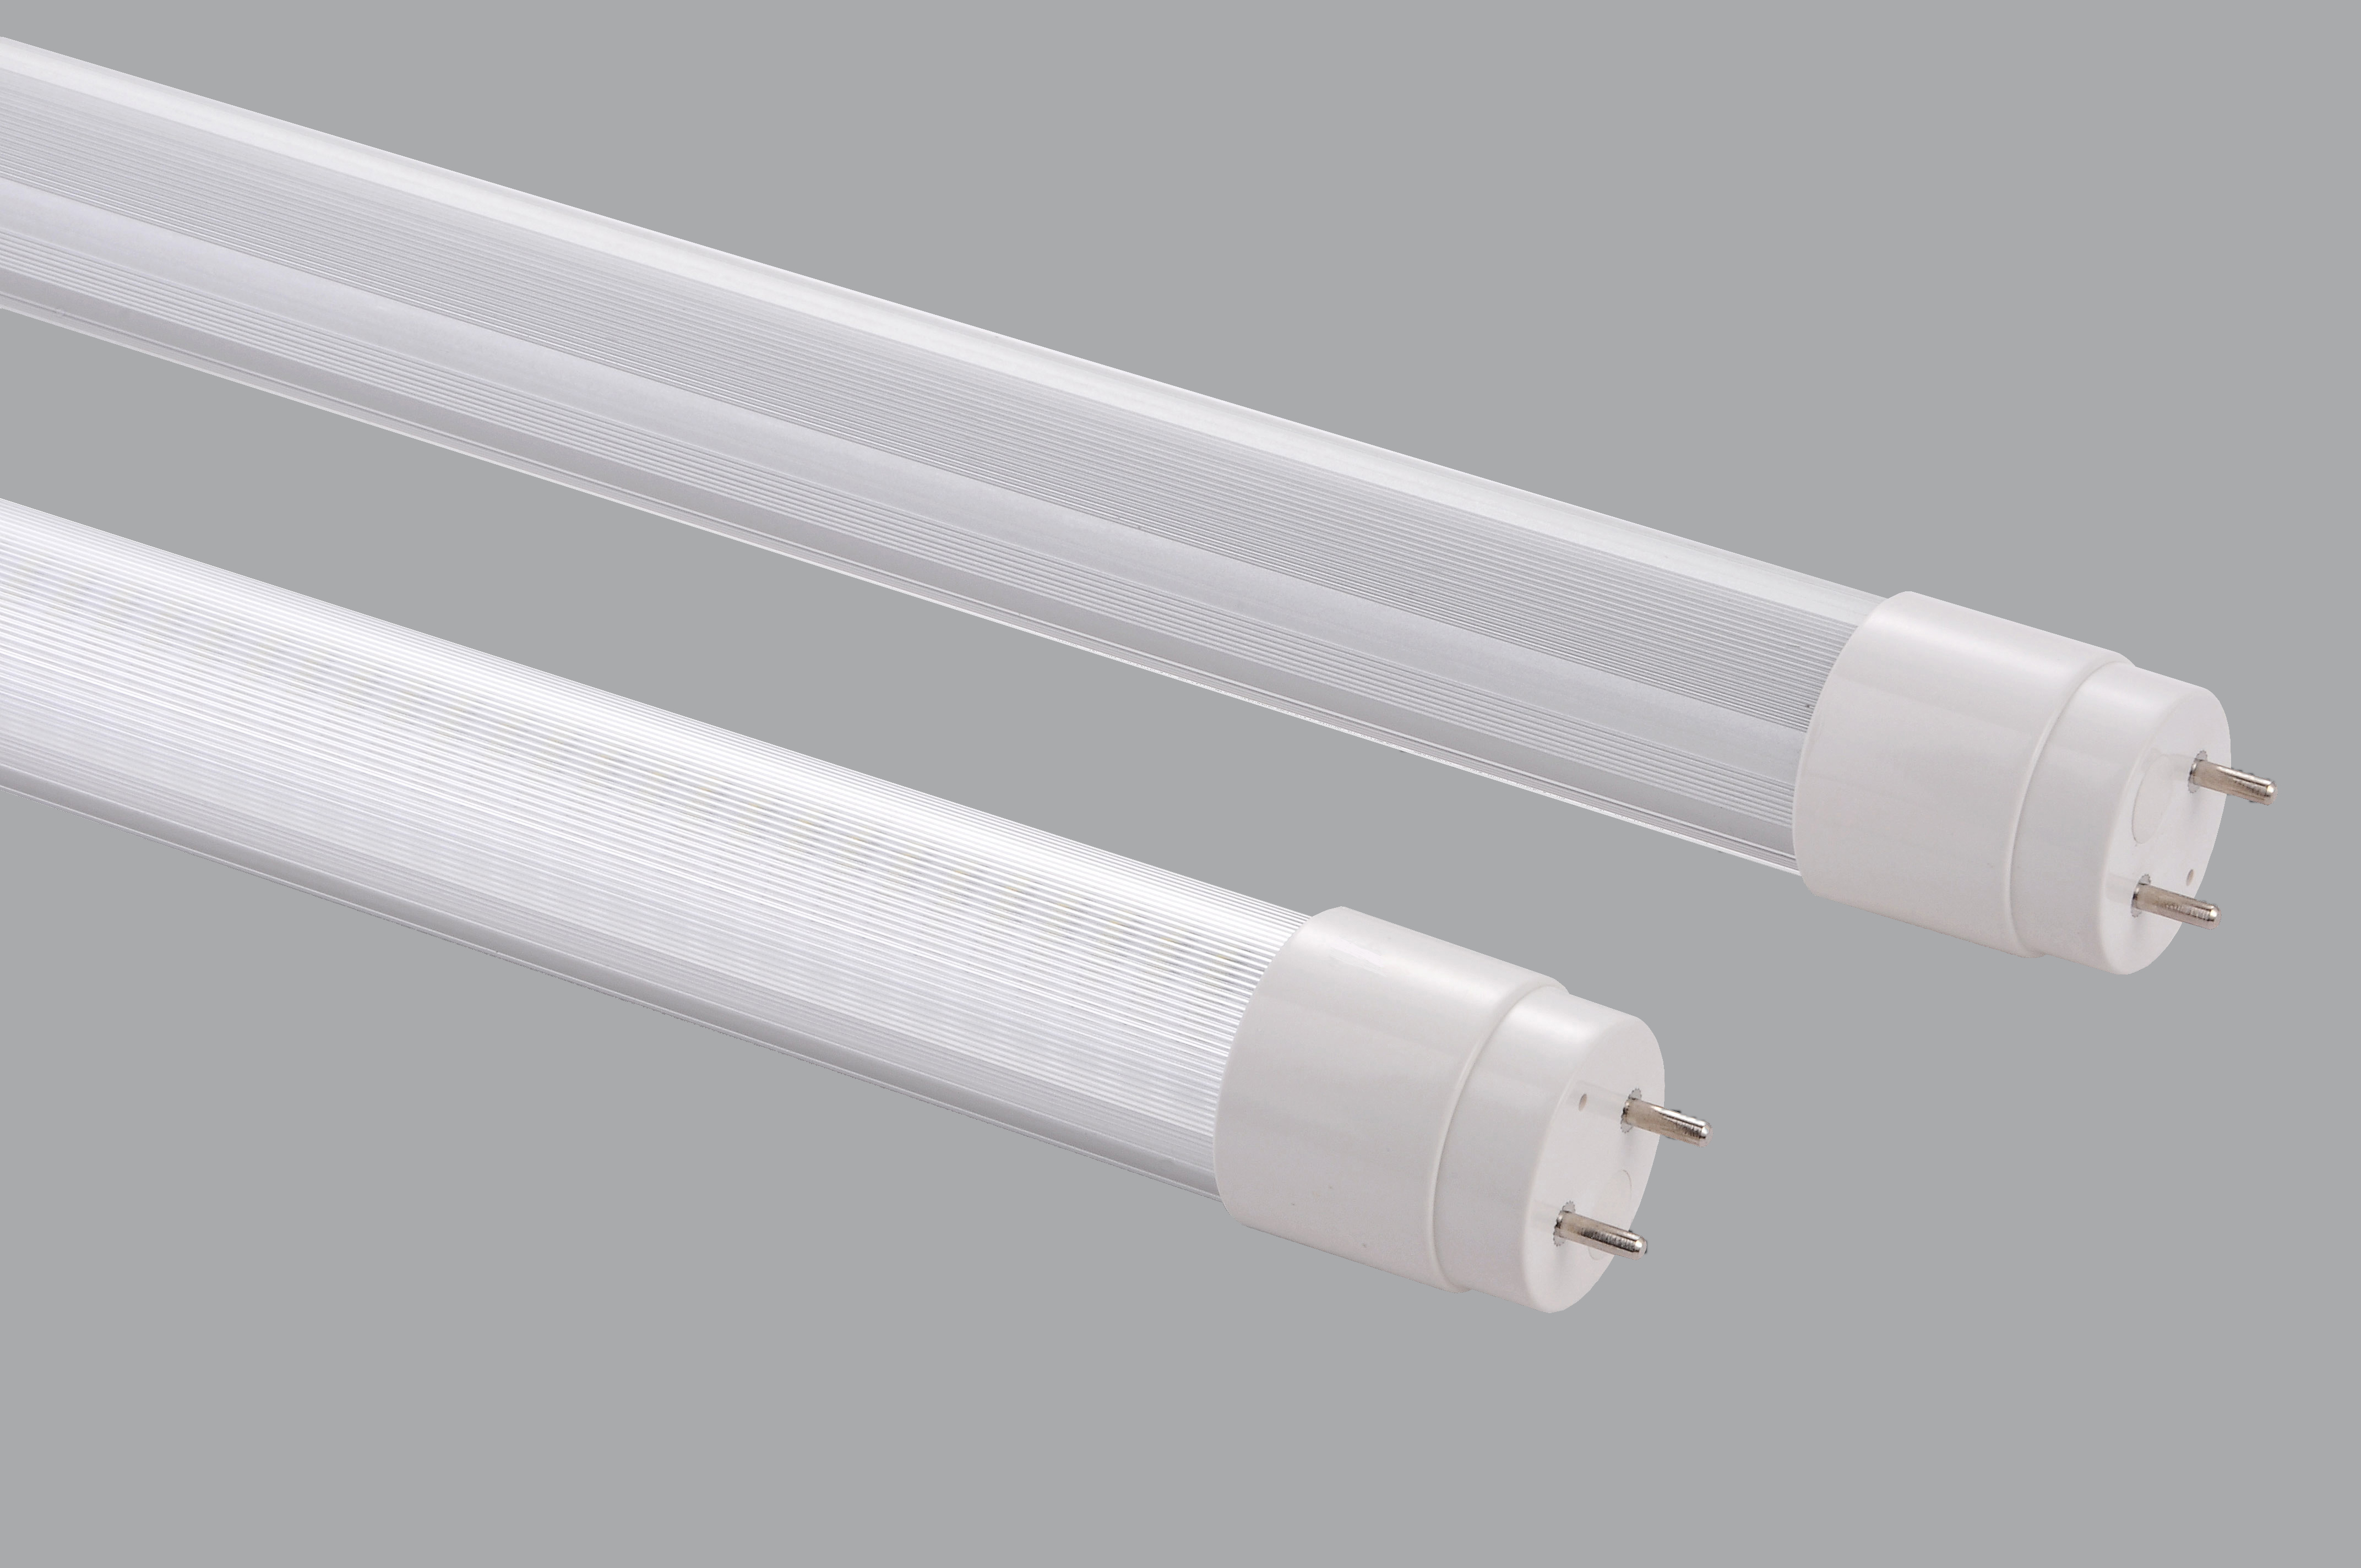
This is the most crucial ingredient! When you're buying a new tube light, pay attention to a couple of things. Firstly, the type. Are you replacing an old fluorescent tube? Then you'll likely need a new fluorescent one. Or are you upgrading to an LED? That’s a fantastic choice for energy efficiency and longevity, but sometimes the fixtures are different, so make sure you’re getting one that’s compatible. Check the length and the connector type – you don’t want to get home and realize it’s the wrong size. Think of it as picking the perfect companion for your fixture.
The Essential Gear: Tools of the Trade
You won’t need a whole workshop, just a few trusty companions:
- A sturdy ladder or step stool: Safety first, always! Make sure it's stable and won't wobble like a jelly on a trampoline.
- A screwdriver: Usually a Phillips head is all you need for the fixture cover, but it’s good to have a flathead handy too, just in case.
- Safety glasses: A little protection for your peepers never hurt anyone. Dust and tiny bits can fall, and we want to keep our vision clear for all our future DIY triumphs!
- Gloves (optional but recommended): Especially if your old tube is a bit dusty or grubby. It’s just a good hygiene practice.
- A damp cloth: For a quick clean-up of the fixture once the old tube is out.
Operation: Light Brigade - The Step-by-Step Saga
Alright, deep breaths! This is where the magic happens. And remember, safety is your superpower. Never, ever work on electrical fixtures while the power is on. That’s a one-way ticket to a very unfun experience.

Step 1: Power Down! The Ultimate Safety Dance
This is non-negotiable, folks. Head to your breaker box (that mysterious panel in your home that controls the flow of electricity) and find the circuit that controls the light you’re working on. Flip that switch to the 'OFF' position. If you're not sure which one it is, you can always turn off the main breaker for the whole house if you're feeling extra cautious, but usually, you can isolate the specific circuit. To be absolutely, positively sure, you can use a non-contact voltage tester (another handy tool to add to your arsenal!) to check if the power is truly off at the fixture. It’s like a little beep of reassurance!
Step 2: Accessing the Luminary's Lair
Now, climb your ladder or step stool with confidence. Most tube light fixtures have a cover or a diffuser that needs to be removed. This might be held in place by clips, screws, or by sliding into grooves. Gently pry or slide it off. Be careful not to force anything; if it feels stuck, double-check for hidden screws or clips. Think of it as revealing the treasure chest!
Step 3: The Grand Extraction: Removing the Old Guard
Once the cover is off, you'll see the old, probably quite grimy, tube light. Most fluorescent tubes are held in place by rotating them slightly. Look at the ends of the tube; you'll see pins that fit into sockets. Gently twist the tube about a quarter turn (usually counter-clockwise) and it should disengage from the clips or holders. Then, carefully pull it straight out. If you have a ballast (the part that regulates the power to the tube), don't worry about that for now; we're just replacing the tube itself. Be mindful of how the tube is sitting, so you can remember how to install the new one. It’s like learning a secret handshake.

Step 4: Welcoming the New Champion
Now, take your shiny new tube light. Align the pins on the ends with the sockets in the fixture. Gently push the tube into the sockets, and then twist it the opposite way you removed the old one (usually clockwise) until it feels secure. You might hear a satisfying little 'click' – that's the sound of victory!
Step 5: Reassembly and The Moment of Truth
Put the cover or diffuser back on the fixture, making sure it's securely in place. Now for the thrilling part: head back to your breaker box and flip that circuit breaker back to the 'ON' position. Take a deep breath, climb down, and… flick the light switch!
Did it light up like a Christmas tree? Hooray! You did it! Stand back and admire your handiwork. You’ve just successfully battled the darkness and emerged victorious. If it didn't light up, don't despair! It's a learning opportunity. Sometimes the tube isn't seated correctly, or there might be an issue with the starter or the ballast (if you have them). These are all things you can troubleshoot further, but for a first-timer, getting it to light up is a massive win!
Beyond the Glow: The Ripple Effect of DIY Confidence
See? It wasn't so scary, was it? In fact, I bet it was a little bit… fun. That feeling of accomplishment, of conquering something you might have previously thought was beyond your reach, is incredibly potent. It’s like finding a hidden superpower you never knew you had. This small victory can be the spark that ignites a whole new passion for home improvement, for learning new skills, and for feeling more connected to your living space.
When you start tackling these little tasks, you begin to see your home in a new light (pun absolutely intended!). You realize you have the agency to shape your environment, to fix what's broken, and to make things work for you. This sense of control and capability is incredibly empowering and can spill over into other areas of your life. So, the next time a light bulb burns out, or a squeaky hinge starts to annoy you, don't just sigh. Think, "What adventure awaits?"
Learning to replace a tube light is more than just a practical skill; it's an invitation to explore, to learn, and to grow. It’s a reminder that we are capable of more than we often give ourselves credit for. So go forth, embrace the DIY spirit, and let your inner fixer shine! The world is your brightly lit oyster!