
How To Replace The Dip Tube In Water Heater

Hey there, water heater wizards and curious homeowners! Ever had that moment where your hot water just… isn't quite right? Maybe it's sputtering, or maybe you're getting less hot water than you used to. Well, before you start dreaming of a brand new, shiny water heater, let's talk about a sneaky culprit that's often the real troublemaker: the dip tube. Sounds a bit mysterious, right? Like something out of a secret agent movie. But trust me, it's way less dramatic and actually pretty fascinating once you get into it.
So, what exactly is this elusive dip tube? Think of your water heater tank like a giant thermos. Cold water comes in, gets heated up, and then hot water comes out. The dip tube is basically a little plastic pipe that hangs down from the cold water inlet. Its job is super important: it makes sure that the cold water you're adding goes all the way to the bottom of the tank. Why is that a big deal? Because the heating element or burner is usually at the bottom too. If the cold water just dumped in at the top, it would mix with the hot water, effectively chilling your precious hot supply. So, the dip tube is like a traffic director, keeping the cold stuff and hot stuff politely separate until it's time for the hot water to leave.
Now, here's where things get interesting. Over time, these little plastic dip tubes can decide to retire. They can get brittle, crack, or even disintegrate. It's like a favorite old toy that's been loved to pieces! When this happens, it’s no longer doing its job of directing that cold water to the bottom. What’s the consequence? Well, it starts acting like a leaky faucet in your tank. Cold water can bypass the heating area, and you end up with less hot water or water that's not as hot as it should be. It can even lead to sediment issues because the broken pieces can float around and clog things up. Talk about a plumbing party pooper!
So, if you’re experiencing those lukewarm showers or that disappointing dribble of hot water, replacing the dip tube might just be your DIY superhero move. And honestly, the fact that you can fix a core component of your hot water system yourself is pretty darn cool, isn't it? It’s like discovering you have a hidden talent for being a master plumber. Plus, it’s often a lot cheaper than calling in a professional for a full tank replacement. You're basically getting a performance upgrade for your existing water heater!
Ready to Roll Up Your Sleeves?
Okay, so you're intrigued. You've done some troubleshooting, and you're thinking, "Yep, this dip tube needs a vacation." What's next? Well, it's not exactly brain surgery, but it does require a bit of caution and some basic tools. Think of it like building a LEGO set, but with water and, you know, a bit more consequence if you mess up. The good news is, most people can tackle this with a bit of patience and a willingness to learn.
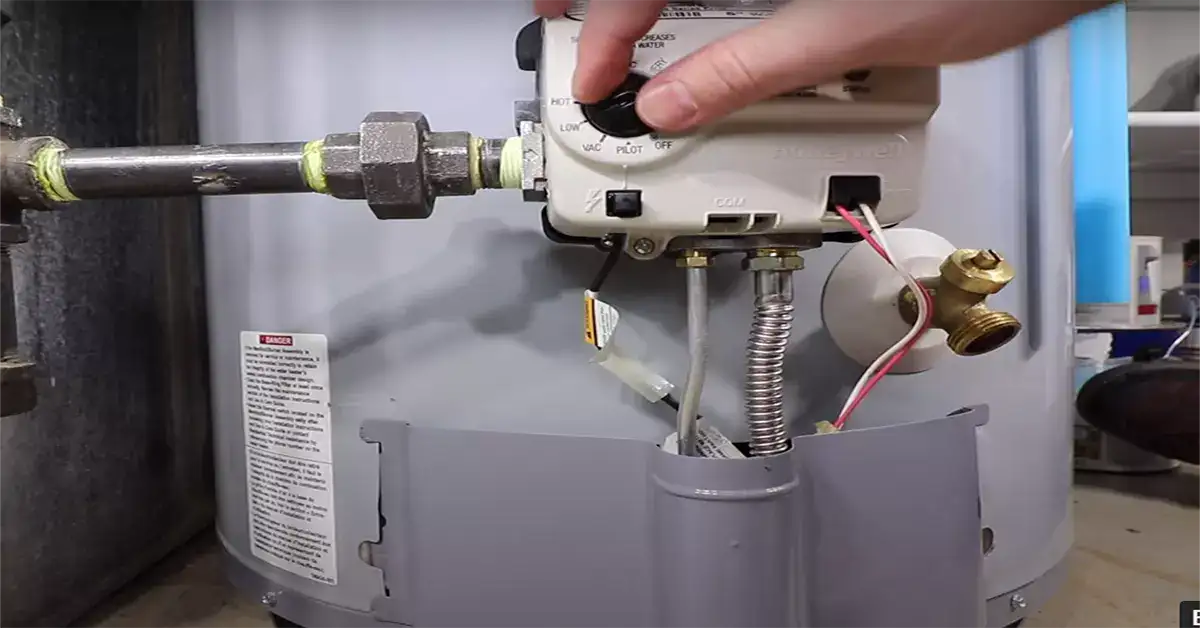
First things first, safety is paramount. You're dealing with water and potentially electricity or gas, so we need to be super careful. The absolute, non-negotiable first step is to turn off the power to your water heater. If it's an electric water heater, find the breaker in your electrical panel and flip it. If it's a gas water heater, turn the thermostat knob to the "OFF" position. And, of course, you'll want to shut off the cold water supply to the heater. Look for a valve on the pipe leading into the top of the tank. Turn it all the way off.
Next up, you need to drain some water from the tank. You don't need to drain it completely, but you'll need to lower the water level below the level of the dip tube opening. There’s usually a drain valve at the bottom of the tank. Hook up a garden hose to it and run it to a floor drain, a bucket, or outside. Opening this valve will let gravity do the work. While that's happening, you might want to grab a snack or just admire your handywork so far. You're already halfway to becoming a plumbing guru!
The Dip Tube Rendezvous
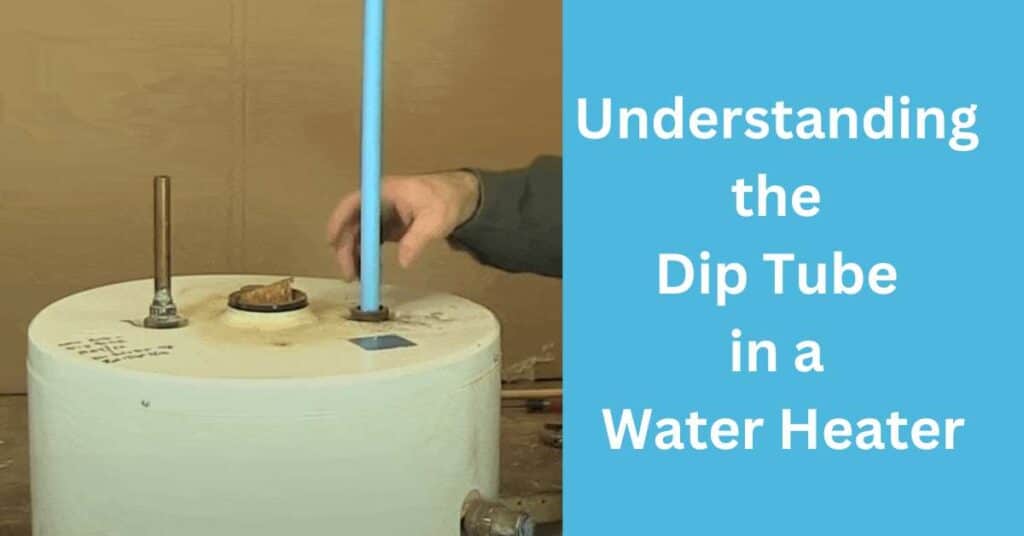
Now for the main event! With the water supply off and the tank partially drained, you'll be looking at the top of your water heater. You'll see where the cold water pipe enters the tank. This is where the magic (or the old dip tube) resides. You'll likely need a wrench to unscrew the fitting that connects the pipe to the tank. This is where you might see the top of the old dip tube peeking out, or it might already be broken off.
If it's broken, you might need a pair of pliers to carefully extract the remaining pieces. Be gentle! You don't want to damage the threads inside the tank. Think of it as carefully removing a stubborn cork from a wine bottle. Once you've got the old tube out, take a moment to appreciate its service. It did its best! Now, prepare its replacement. You can usually find universal replacement dip tubes at your local hardware store or plumbing supply shop. They often come in a few different lengths, so measure your old one or the opening to make sure you get the right fit. These new ones are usually made of a more durable plastic, designed to last.
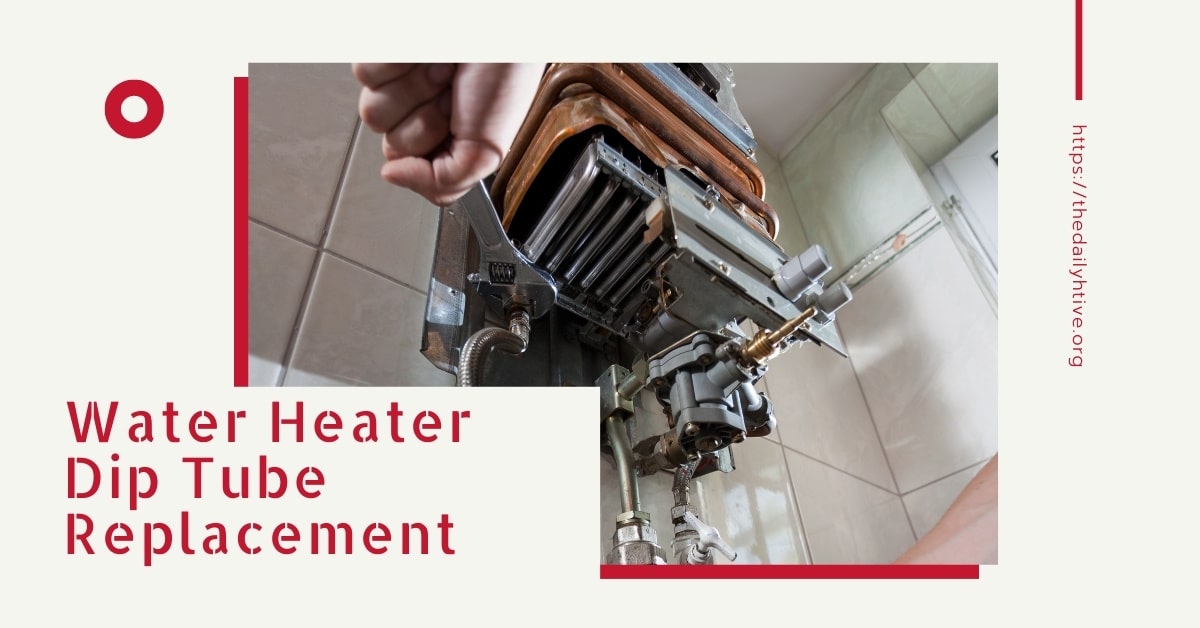
Installing the new dip tube is essentially the reverse of removing the old one. You'll insert the new tube into the opening and then reconnect the cold water pipe fitting. Make sure it's snug, but don't overtighten it. You've got this!
The Grand Finale: Refilling and Testing
Once the new dip tube is in place and the fitting is secure, it's time to bring your water heater back to life. You'll want to turn the cold water supply back on slowly. As the tank fills, listen for any leaks around the fitting you just reattached. This is your last chance to catch anything before you reintroduce power.

Before you flip that breaker or turn that gas knob back on, there's one crucial step: you need to bleed the air out of the hot water lines. Open up a hot water faucet somewhere in your house (a sink or tub works best). As the tank fills, air will be pushed out of the lines. Let the water run for a minute or two until it's flowing smoothly. This prevents any air pockets from causing issues when you turn the power back on.
And then, the moment of truth! Restore power to the water heater. Electric? Flip that breaker back on. Gas? Turn the thermostat back to your desired temperature. Now, you wait. Give the heater some time to do its job and heat up the water. Once you think it's ready, go test it out. Hop in for a shower, run the dishwasher, or just enjoy the satisfaction of a nice, hot faucet. If everything's working as it should, you've just successfully replaced your dip tube!
Isn't that neat? You've not only fixed a problem, but you've also gained a little more understanding of how this essential appliance in your home works. It’s a small victory, but in the world of home maintenance, these victories are sweet. So next time your hot water starts acting up, don't just sigh and accept it. Take a curious peek, and who knows, you might just find your inner plumber waiting to be discovered, all thanks to a little plastic tube.