
How To Restore Cast Aluminum Patio Furniture
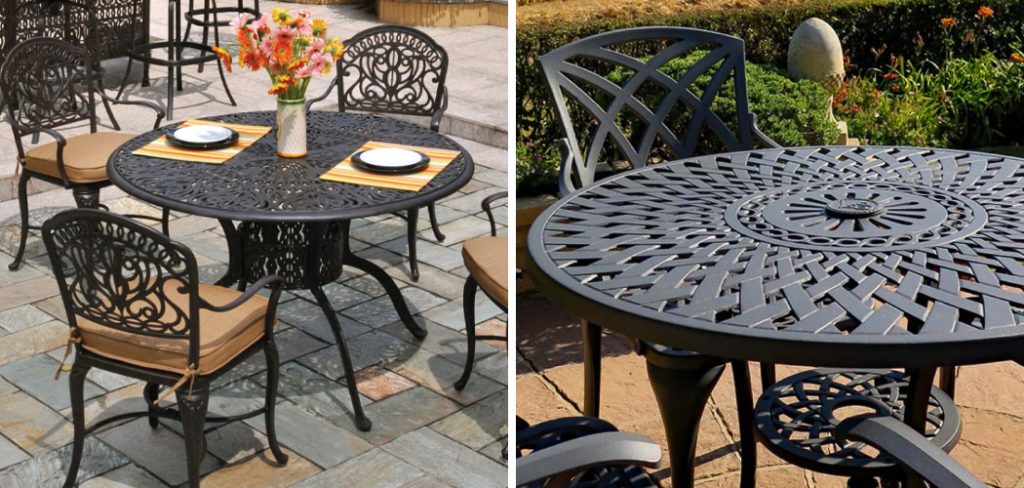
Remember that gorgeous cast aluminum patio furniture you snagged a few seasons back? The kind that looks like it’s straight out of a fancy garden magazine, with those intricate swirling patterns and that satisfyingly heavy feel? Yeah, that stuff. It’s like the wise old grandparent of outdoor furniture – built to last, full of character, but sometimes, just sometimes, it needs a little pampering to keep it looking its best. If yours is starting to look a bit… tired, maybe a little faded, or even sporting some uninvited white powdery spots, don't fret! We're going to dive into how to bring that beautiful cast aluminum furniture back to its former glory, and honestly, it’s way easier than wrestling with a stubborn jar lid.
Why bother, you ask? Well, think of it this way: your patio furniture is the stage for so many of life’s little dramas and comedies. It’s where you sip your morning coffee, pretending you’re on a Mediterranean balcony (even if you’re just in your backyard). It’s where you host those impromptu BBQs that turn into epic singalongs, or where you curl up with a good book on a lazy Sunday afternoon, completely lost in another world. These are precious moments, and your furniture is right there with you, silently supporting all the laughter, the quiet contemplation, and yes, even the occasional spilled ice cream cone. Giving it a little TLC is like giving a high-five to your favorite hangout spot. It deserves it!
Now, before we grab our tools, let’s talk about what might be going on with your furniture. The most common culprit, especially if you live somewhere with more than two seasons, is oxidation. Cast aluminum is pretty tough, but over time, exposure to the elements – sun, rain, salty air (if you’re near the coast) – can cause a protective layer to break down. This often manifests as that chalky, whitish residue. It’s not rust like you’d see on iron, but it’s definitely not the sleek finish you once adored. It’s like when your favorite black t-shirt starts to look a little faded and grey after too many washes. Still wearable, but not quite the same statement piece.
Another common issue is just plain ol' dirt and grime. Bird droppings, pollen, leaves that have staged a daring escape from the tree – they all add up. Think of it like your kitchen counter after a busy baking day; sometimes, even after you’ve made something delicious, there’s a bit of flour dust left behind. We just need to give it a good wipe-down.
Let’s Get Started: The Pre-Game Warm-Up
First things first, you’ll need a few supplies. Don’t worry, this isn’t a trip to a high-tech laboratory. We’re talking simple stuff you might even have lurking in your garage or under the sink already. You’ll want a bucket, some warm water, and a mild dish soap. Think of dish soap as the gentle hug your furniture needs. A soft scrub brush or an old toothbrush for those nooks and crannies is a must. For the tougher oxidation, we’ll need something a little more robust, like a fine-grit sandpaper (around 220-grit is a good starting point) or some steel wool (again, use the finer grades, like #0000). And finally, some clean rags for drying and maybe a good quality exterior furniture polish or a specific aluminum cleaner to give it that extra sparkle.
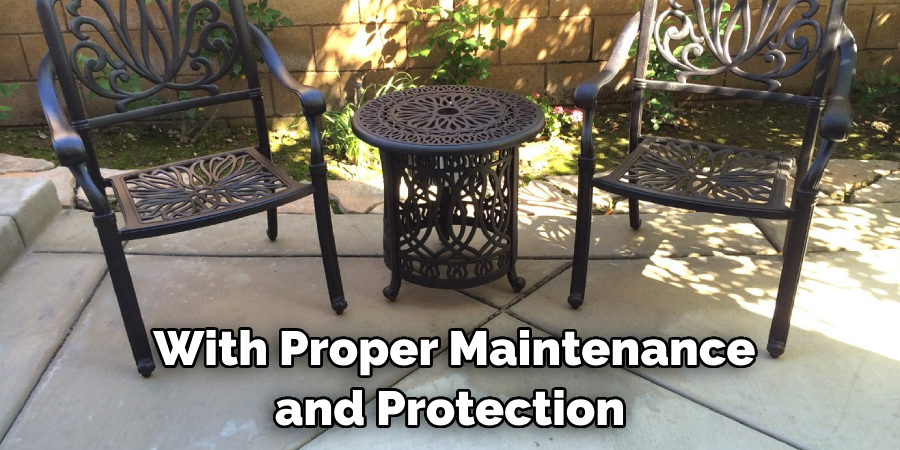
Find a nice spot to work. A driveway, a patio, or even a patch of grass on a dry day works perfectly. You don’t want to be wrestling with a damp chair in the pouring rain, that’s a recipe for a less-than-enjoyable experience. Think of it like setting up for a picnic – you want good weather and a comfortable space.
The Cleaning Cavalry: Washing Away the Woes
Okay, time to roll up your sleeves! In your bucket, mix a good squirt of mild dish soap with warm water. Dip your soft scrub brush into the soapy water and start giving your furniture a good scrub. Get into all those decorative swirls and edges. Don’t be afraid to use a little elbow grease! This is where you can really make a difference, dislodging all that stubborn dirt and grime. It’s like giving your favorite sneakers a good wash after a muddy hike – they always look so much better afterward.
Once you’ve scrubbed the whole piece, rinse it thoroughly with clean water. You can use a garden hose or even just a bucket of clean water and a rag. Make sure you get all the soap residue off, because leftover soap can sometimes attract more dirt.
Now, let it air dry completely. This is crucial. Trying to sand or polish damp aluminum is like trying to butter toast that’s still in the toaster – it’s not going to work well and you’ll probably just make a mess.
Tackling the Tough Stuff: Conquering Oxidation
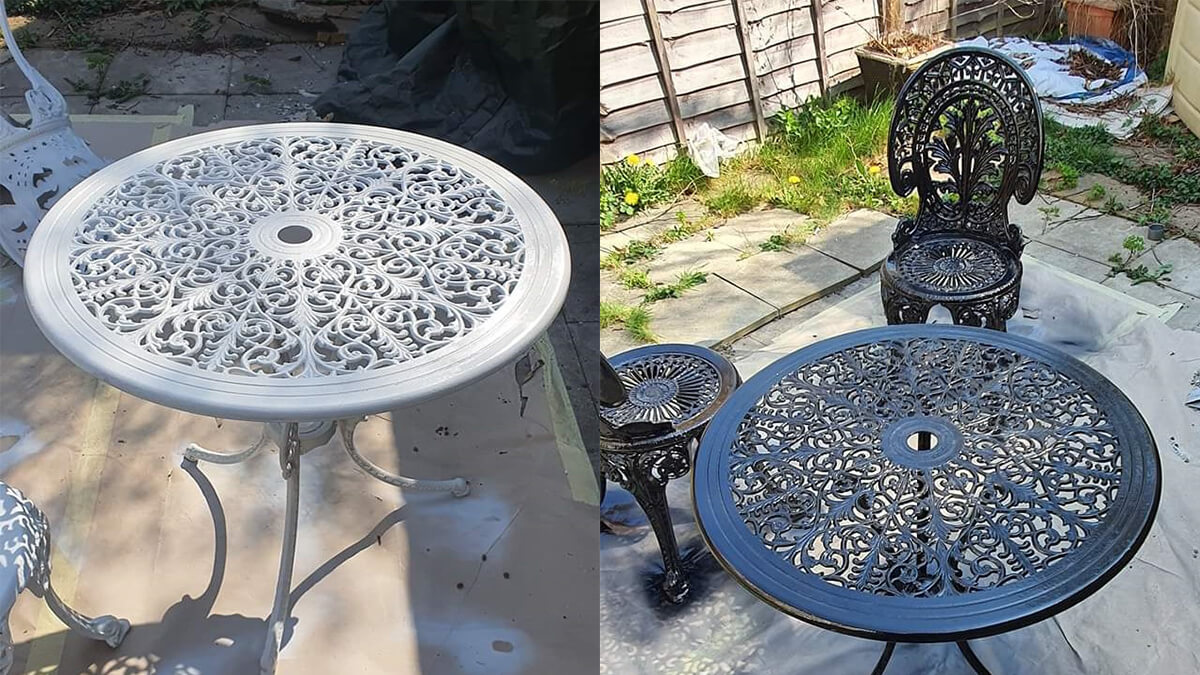
This is where we address those chalky white spots. If the soap and water didn't do the trick, it's time for the sandpaper or steel wool. This might sound a little scary, but remember, we’re using the fine-grit stuff. The goal isn’t to remove all the aluminum, but just the oxidized layer. It’s like gently buffing out a scratch on your car; you’re not erasing the whole panel, just smoothing things over.
Start in an inconspicuous area, like the underside of a chair leg, to get a feel for how much pressure is needed. Gently sand the oxidized areas in a consistent direction. You’ll see the white powder disappear and the duller aluminum underneath start to show through. If you’re using steel wool, use it in a gentle, circular motion.
Again, after you’ve sanded, you might want to give the furniture a quick rinse with water to remove any aluminum dust. Then, let it dry completely.
The Grand Finale: Polishing and Protecting
Once your furniture is clean and dry, it’s time for the satisfying part – the polish! This is where it all comes together. If you’ve just sanded, you might want to use a dedicated aluminum cleaner or polish. These are designed to restore the shine to aluminum. Follow the product’s instructions carefully. Typically, you’ll apply a small amount to a clean rag and rub it onto the surface of the furniture in a circular motion. It’s like applying a good moisturizer to your skin after a shower – it leaves it feeling refreshed and looking healthy.

If you’re not dealing with heavy oxidation and just want to add some shine and protection, a good quality exterior furniture polish will work wonders. Again, apply it to a clean cloth and buff it onto the aluminum. You’ll be amazed at how much brighter and richer the finish becomes. It’s like seeing your reflection clearly in a window after you’ve cleaned it; everything just looks so much better.
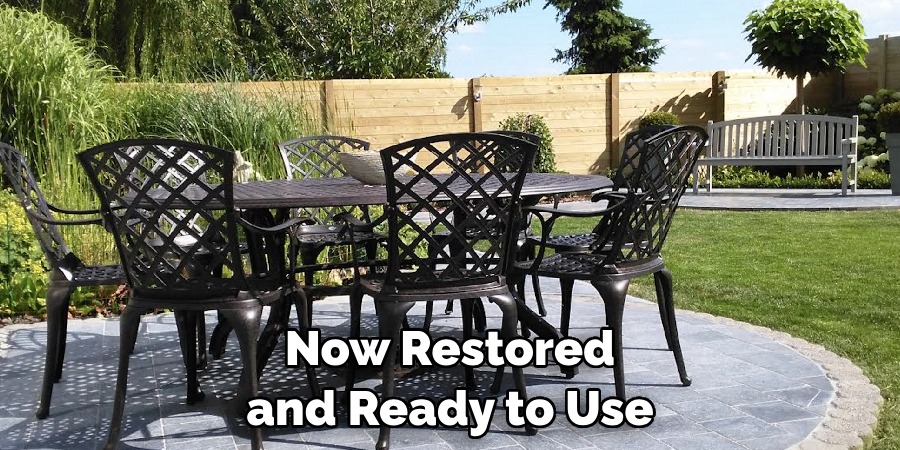
Don’t forget to use a dry, clean cloth to buff off any excess polish and to bring out that beautiful sheen. Stand back and admire your handiwork! Your cast aluminum patio furniture will look almost as good as new, ready to host all your summer gatherings and quiet moments for seasons to come.
So there you have it! A little bit of effort, a few basic supplies, and your cast aluminum patio furniture will be back in the game. It’s a rewarding process, knowing you’ve given these hardworking pieces a second chance to shine. And isn’t that what life’s all about? Taking care of the things we love, big and small, so they can continue to bring us joy and comfort.