
How To Rust Proof Metal
So, you’ve got some metal bits. Maybe a garden gnome that’s seen better days. Or that vintage bike you’re planning to restore. Whatever it is, you’ve probably noticed it’s… rusting. Yep, that reddish-brown menace. It’s like metal’s embarrassing acne. But don’t fret! We’re about to dive into the wonderfully weird world of rust-proofing. It’s not rocket science, but it’s definitely more interesting than sorting socks.
Think of rust as a chemical reaction. It’s basically iron throwing a tantrum when it meets oxygen and water. Like a tiny, metallic drama queen. And the more it throws a tantrum, the weaker your metal gets. Suddenly, your sturdy toolbox is looking a bit… crumbly. Not ideal, right?
But here’s the cool part: we can totally shut down this tantrum. We can become metal’s superhero. Our mission? To keep it looking shiny and strong, defying the forces of oxidation. It’s like giving your metal a tiny, protective force field. Pretty neat, huh?
The Nitty-Gritty: What Exactly Is Rust?
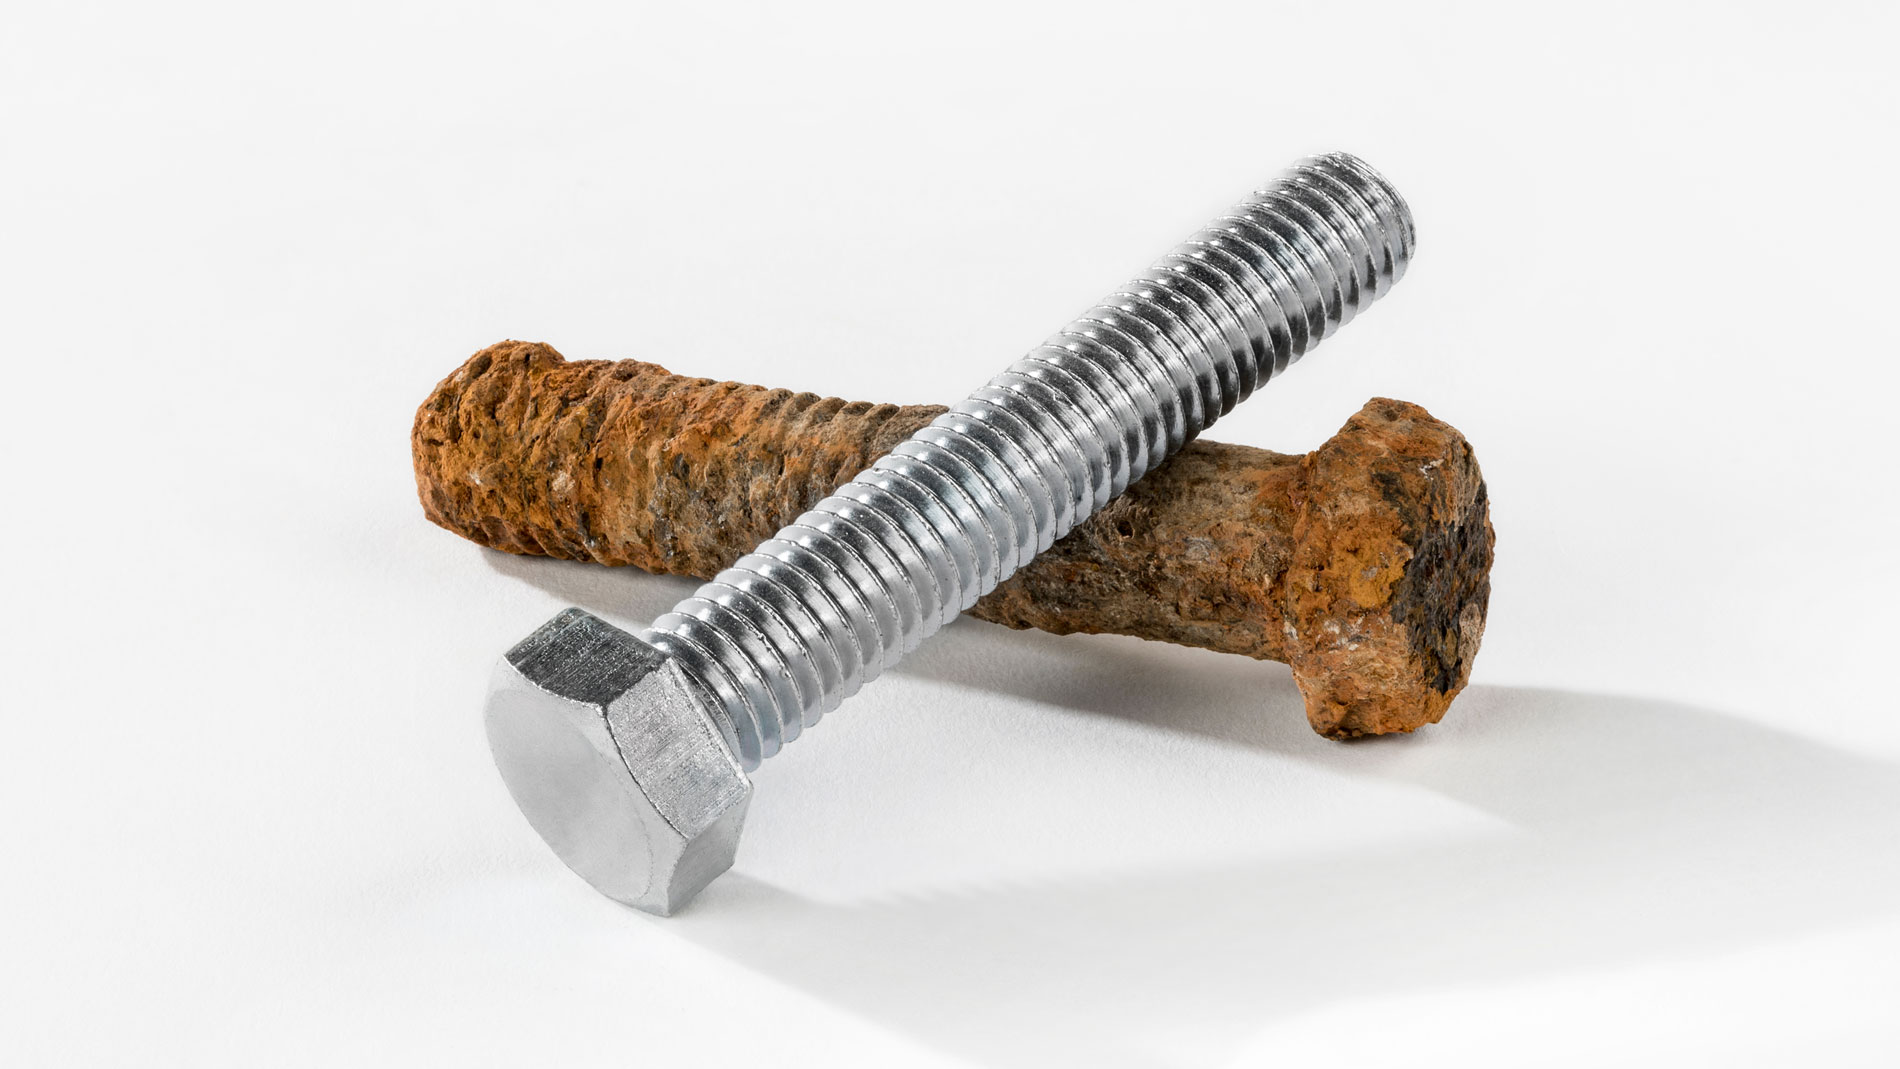
Okay, a tiny bit more science. Rust is officially iron oxide. When iron (or alloys containing iron, like steel) gets exposed to oxygen and moisture, a chemical reaction happens. It’s like a three-way dance party gone wrong. The iron starts to break down, forming that familiar flaky, crumbly stuff. It’s an exothermic reaction, meaning it actually releases heat. So, while it looks nasty, it’s technically a little furnace of destruction!
Did you know rust is paramagnetic? That means it’s weakly attracted to a magnet. This is different from iron itself, which is ferromagnetic. So, if you try to pick up rust with a super-strong magnet, it’ll give a weak little tug. It’s like rust is playing hard to get with magnets. Funny, right?
The rate of rust formation depends on a bunch of things. Humidity is a big one. Salt is a super-accelerator. That’s why coastal areas and roads treated with salt in winter see more rust. It’s like salt is the heckler in the rust party, egging everyone on. So, if you live by the sea, your metal needs extra TLC. Think of it as a spa day for your metal.
Your Rust-Proofing Arsenal: Tools of the Trade
Alright, let’s get practical. What do you need to fight the rust invasion? It’s not a vast, complicated collection of gizmos. You can probably find most of what you need around the house or at your local hardware store.
First up, cleaning supplies. You’ll need brushes (wire brushes are great for scrubbing off existing rust), sandpaper, and maybe even some degreaser. Getting rid of the old rust is step one. You can’t put a fresh coat of paint on a moldy cake, right? Same principle applies here.
Then, you’ll need your protective coatings. This is where the magic happens. We’re talking paints, primers, sealants, oils, and waxes. Each has its own superpower. Some are like a thick, impenetrable shield. Others are more about creating a smooth, uninviting surface for rust to latch onto.
And don’t forget safety gear! Gloves are a must. Eye protection is a good idea, especially when you’re scrubbing or spraying. Metal dust isn’t exactly a spa treatment for your eyeballs. Plus, some of these coatings can be a bit… fragrant. So, good ventilation is key. Think of it as setting the mood for your metal’s makeover.
Step 1: The Great Rust Excavation
Before you can protect, you gotta clean. If your metal is already showing signs of rust, you need to get rid of it. Start with the loose stuff. A stiff brush or scraper can do wonders. For more stubborn rust, break out the sandpaper. Start with a coarser grit and move to finer grits to get a smooth surface.
Wire brushes are fantastic for this. They’re like tiny metal scrubbers that can get into all the nooks and crannies. Just be aware, they can shed little wires. So, keep those eyes protected! It’s like an archaeological dig, unearthing the good metal underneath the rusty rubble.
If you have really deep rust, you might consider a rust remover. These are chemicals that actually dissolve the rust. Follow the instructions carefully, and always wear gloves and eye protection. These guys mean business. They’re the demolition crew of the rust world.
Once you’ve scrubbed and sanded, you’ll want to wipe the metal down. Use a clean cloth, maybe with a bit of rubbing alcohol or a degreaser. You want a clean, dry surface. Any grease or dirt left behind will compromise your rust-proofing efforts. It's all about creating a blank canvas.
Step 2: Building the Barrier: Paints and Primers
This is where the fun really begins. Painting! It’s not just about making things look pretty; it’s about defense. The most common way to rust-proof is by applying a protective coating.
Your first line of defense is often a primer. Specifically, a rust-inhibiting primer. These primers are formulated to stick well to metal and, you guessed it, prevent rust. They create a fantastic base for your topcoat. Think of it as the foundation of your rust-proof castle.
Apply the primer in thin, even coats. Don’t try to go too thick in one go, or you’ll get drips and an uneven finish. Let each coat dry thoroughly according to the product instructions. Patience is key here, my friend.
After the primer is dry, it’s time for your topcoat. This is usually a durable paint designed for metal. Again, thin, even coats are your best friend. You might need two or three coats for maximum protection. Colors are optional, but highly recommended. Who doesn't love a splash of color?
There are specialized metal paints out there. Some are enamel, some are epoxy. They offer different levels of durability and protection. For outdoor items, you’ll want something weather-resistant. For something that gets handled a lot, you’ll want something tough.
Step 3: The Oily Defense: Waxes and Oils
Not everything needs a paint job. For tools, machinery, or items where a painted finish isn't practical, oils and waxes are your go-to. These create a barrier that repels moisture.
Think of paste wax. It’s great for things like garden tools or cast iron cookware. You rub it on, let it dry to a haze, and then buff it off. It leaves a subtle, protective sheen. It’s like giving your metal a little lip balm.
Then there are penetrating oils. These are fantastic for things like chains, hinges, or intricate metal parts. They get into all the tiny spaces and leave a thin, protective film. WD-40 is a classic, though it’s more of a water displacer and lubricant. For longer-term rust prevention, dedicated metal protectant oils are better.
There are also specialized anti-rust sprays. These often leave a waxy or oily film that provides excellent protection, especially for stored items. They’re great for car undercarriages, tools in a shed, or anything that’s going to sit for a while.
A funny thought: ancient Egyptians likely used animal fats to protect their bronze statues. So, this whole oil/wax protection thing is ancient history. We’re just updating the technology. From animal fat to fancy aerosol cans. Progress!
Step 4: The "Galvanizing" and "Plating" Wonders
Now, for some of the more heavy-duty, often factory-applied methods. You might not do this at home, but it’s cool to know about.
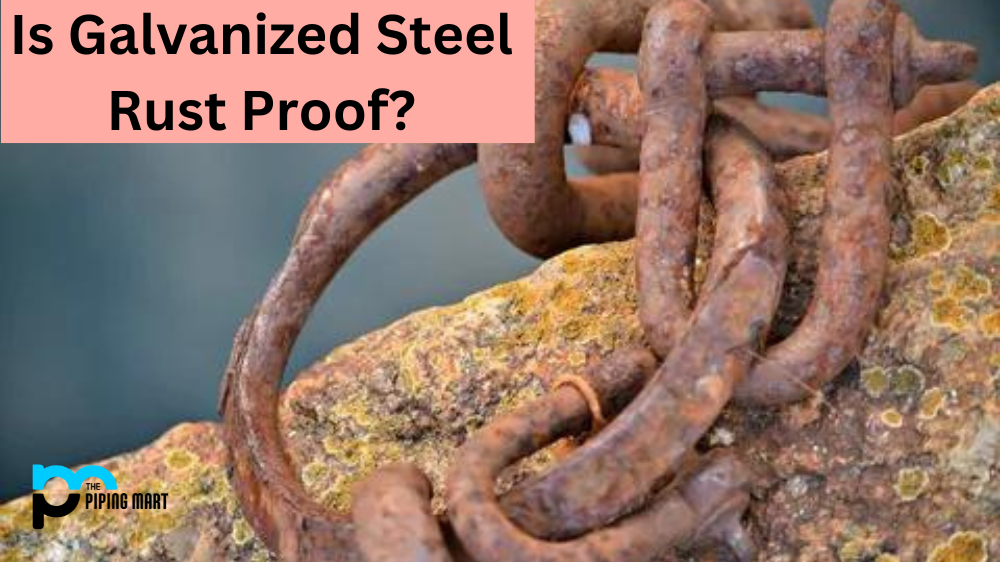
Galvanizing is a process where steel is coated in a layer of zinc. This is super common for things like fences, nails, and outdoor furniture. The zinc acts as a sacrificial coating. If the coating gets scratched, the zinc corrodes instead of the iron. It’s like the zinc heroically sacrifices itself for the good of the metal. Pretty noble!
Plating involves coating metal with another, less reactive metal. Think chrome plating on car parts or nickel plating on faucets. It’s not always about rust prevention; it can be for aesthetics or hardness too, but it definitely adds a layer of protection.
There are also things like powder coating, which is a dry finishing process where a powder is applied electrostatically and then cured under heat. It creates a super tough, durable finish. It’s like a really, really tough layer of plastic armor for your metal.
Quirky Facts and Fun Details
Did you know that rust doesn’t weigh more than the original metal? It’s the same amount of iron, just in a different, more oxidized form. The "extra weight" is just oxygen atoms that have bonded to the iron. It's like the iron gained some new, airy friends.
Speaking of rust, it’s also been used as an art medium. People deliberately rust metal to create interesting textures and colors. Who knew something so destructive could be so beautiful? It’s like finding a wild, untamed beauty in decay.

And that reddish color? It’s mainly due to the presence of iron(III) oxide. The intensity of the red can vary depending on the specific compounds present. It’s like nature’s own color palette, but a bit more aggressive.
The smell of rust, or rather, the smell of newly rusted metal, is actually a sensation you experience when you cut yourself. The metallic smell you associate with blood is thought to be caused by the breakdown of iron-containing molecules in your blood, similar to how rust forms. So, that coppery tang? It's kind of like a tiny, biological rust event.
Keeping Your Metal Happy: Maintenance is Key
Rust-proofing isn’t a one-and-done deal. It’s more like a continuous relationship. You need to check on your metal friends periodically.
If you’ve painted something, keep an eye out for chips or scratches. Touch them up as soon as you see them. A small scratch is a gateway for rust. Deal with it promptly!
If you’re using oils or waxes, reapply them every so often, especially if the item is exposed to the elements. It’s like reapplying sunscreen on a hot day. You gotta keep that protection topped up.
Store metal items in a dry place whenever possible. If they’re going to be outside, consider a cover or a tarp. Minimizing exposure to moisture and salt is your best defense.
So there you have it! Rust-proofing your metal is all about understanding its weaknesses and giving it the right armor. It’s a bit of science, a bit of DIY, and a whole lot of fun. Now go forth and protect your metal treasures!