
How To Season Stainless Steel Grill Grates
Alright, so you’ve got that shiny new stainless steel grill. Fancy! But wait, those grates are looking a bit… naked. Like a freshly baked cookie before the chocolate chips go in. We gotta do something about that! We gotta season ‘em.
Now, before you start picturing a tiny chef in a toque meticulously painting spices onto your grill, let’s be clear. Seasoning grill grates isn't about flavor. It’s about protection. Think of it as giving your grates a superhero cape made of oil. Pretty cool, right?
Why stainless steel, though? Good question! Stainless steel is tough. It resists rust like a champ. But even superheroes have a kryptonite, and for stainless steel grates, it’s often sticking. Nobody wants their perfectly seared steak to become a permanent resident of the grill. Eww.
So, seasoning creates a non-stick surface. It’s like magic, but with heat and oil. And who doesn't love a little bit of everyday magic, especially when it involves burgers and brats?
Let's Get This Party Started!
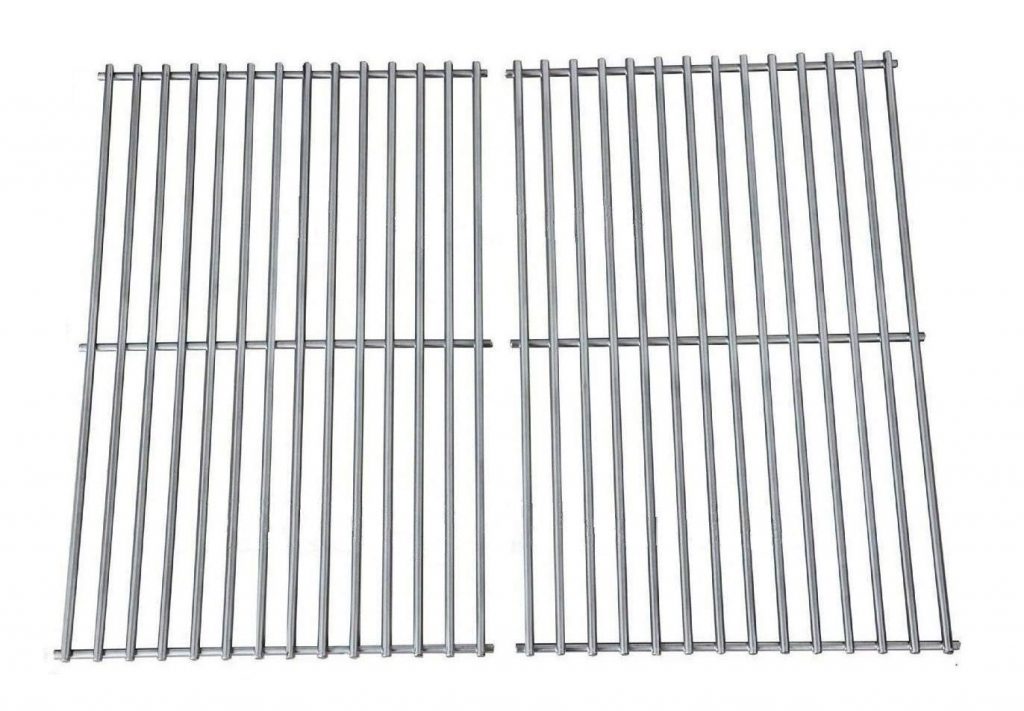
First things first: make sure your grates are clean. Like, really clean. If they’re brand new, they’re probably sparkling already. If they’re used, give ‘em a good scrub. No one wants to season over old gunk. That’s just… gross.
You’ll need some high-heat cooking oil. What does that mean? Think of oils that can take the heat without burning up like a forgotten marshmallow. Grapeseed oil is a popular choice. Canola oil works too. Even plain ol' vegetable oil will do the trick. Avoid super fancy extra virgin olive oil for this part. It’s a bit too delicate for our rugged grill needs.
Grab a lint-free cloth or some paper towels. You'll be using these to slather on the oil. Don't use your favorite dish rag; this is a high-heat, greasy operation. We're talking primal. Caveman-level cooking, but with better tools.
The Oiling Ritual
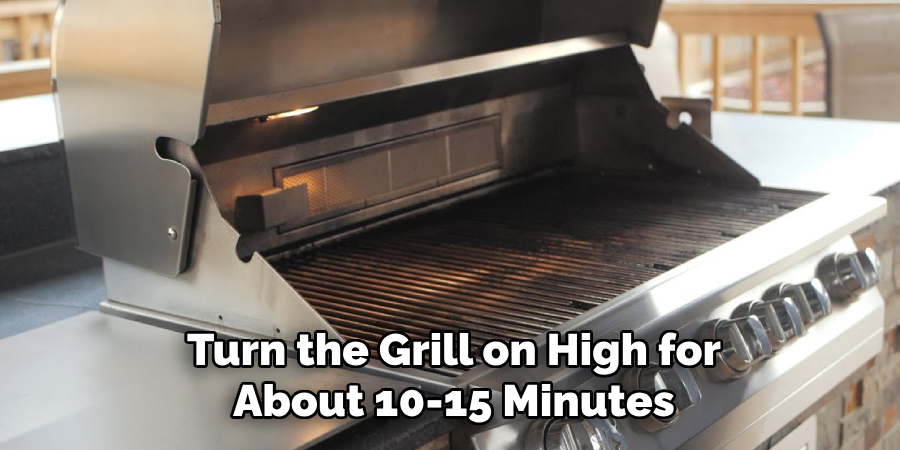
Alright, time to get your hands (or at least your tools) a little greasy. Heat your grill up to a medium-high heat. We're talking around 400-450 degrees Fahrenheit. Let it get nice and toasty.
Now, carefully (we don't want any oil fires, folks!), apply the oil to the grates. You can do this a couple of ways. Some people like to dab oil onto a folded paper towel and then rub it over the grates. Others use tongs to hold the oiled paper towel. Just make sure you get a nice, even coat everywhere.
Think of it like painting a masterpiece, but your canvas is a grill grate and your paint is delicious, heat-resistant oil. Get into all the nooks and crannies. No one likes a patchy oil job. It leads to uneven browning, and nobody wants a patchy steak. That’s just sad.
The Heat Treatment
Once you've got that beautiful, shiny coat of oil, close the lid and let it cook. We want that oil to heat up and essentially bake onto the grates. This process is called polymerization. Fancy word for oil turning into a hard, protective layer. Science, people! It’s happening on your grill.
Let it do its thing for about 15-30 minutes. You might see a little bit of smoke. That's perfectly normal. It's the oil doing its job. If it starts looking like a bonfire, maybe turn the heat down a notch. We’re aiming for a gentle bake, not an inferno.
After that time, turn off the grill and let it cool down completely. Don't be impatient! Hot oil and impatient hands are a recipe for… well, you guessed it, a bad time.
Repeat, Repeat, Repeat!
The key to a truly awesome, non-stick, rust-resistant grill grate is multiple layers. So, guess what? You’re going to do this whole oiling and heating process again. And again. And maybe even a fourth time.
Some folks recommend 2-3 coats, others swear by 5. The more, the merrier (and the less sticking you'll experience later). Each layer builds up that protective barrier. It’s like adding more armor to your grill’s knight. This is where the fun really begins, because you're basically building your grill's superhero suit, one oily layer at a time.

Think of it as a spa treatment for your grill. It’s getting pampered, oiled, and baked to perfection. It's almost therapeutic, isn't it? You're actively making your grilling life easier with every step.
Why is This Even Fun?
Okay, so maybe "fun" is subjective. But let’s be honest, there’s a certain satisfaction in taking something from "meh" to "wow." Plus, you're setting yourself up for epic grilling success. No more frantic scraping, no more food stuck to the grates. Just pure, unadulterated grilling joy.
And let's not forget the little quirky details. The smell of the oil heating up, the gentle hiss and pop, the way the grates start to look a little darker and more seasoned with each round. It’s a sensory experience! It's like the grill is whispering secrets of deliciousness to you.
Plus, you can brag to your friends. "Yeah, my grates? Oh, they're seasoned. Like, really seasoned. It's a whole thing." You'll be the grill guru, the master of non-stick. And all it took was a little oil and some heat.
Ongoing Care: Keep the Magic Alive
Once your grates are seasoned, you're not completely off the hook. But it's way easier from here on out! After each grilling session, when the grill is still warm (but not scorching hot), give those grates a quick brush. A stiff wire brush is your best friend.
This little bit of maintenance will remove any food bits and help maintain that seasoned layer. Think of it as a quick dusting for your grill’s armor. You can also apply a light coat of oil to the grates after cleaning, especially if you won't be using the grill for a while. This helps prevent rust and keeps that non-stick magic going.
And every now and then, especially if you notice food starting to stick again, give your grates a little refresher course. Another round of oiling and heating. It’s like a tune-up for your grill’s performance. Because who wants a sluggish grill when there are burgers to be grilled and memories to be made?
So go forth, my grilling friends! Embrace the oil. Embrace the heat. Embrace the seasoning. Your taste buds (and your spatula) will thank you. Happy grilling!