
How To Smelt Iron Ore In Minecraft
Ah, Minecraft. The ultimate sandbox where you can build castles, conquer dragons, and, if you're feeling particularly industrious, even forge your own metal. Today, we’re diving deep into the surprisingly satisfying world of smelting iron ore. Think of it as your starter pack for becoming a true Minecraft artisan, moving beyond the humble stone axe and into the realm of reliable, shiny tools and armor.
Forget those complicated, multi-stage industrial processes you see in documentaries. In Minecraft, it’s wonderfully straightforward. We're talking about turning lumpy, rust-colored rocks into gleaming ingots that unlock a whole new tier of gameplay. It’s the kind of progression that feels genuinely earned, and let’s be honest, there’s a certain primal satisfaction in taking raw materials and transforming them into something useful.
So, grab your pickaxe and let’s get our hands dirty. We’re about to embark on a little adventure that’s as much about discovery as it is about crafting. Think of this as your chill guide to becoming a Minecraft metallurgist, no lab coat required.
Unearthing the Goods: Finding Your Iron Ore
First things first, you can’t smelt iron if you don’t have any iron ore. This is where your trusty pickaxe comes into play. Iron ore usually spawns in caves, underground tunnels, or on the sides of mountains. You’ll recognize it by its distinctive, mottled brown and grey texture.
It’s a common ore, thankfully, so you won’t have to go on an epic quest for days. Start exploring any caves you find, or go on a scenic hike up a mountain face. Keep an eye out for those familiar brown flecks. The deeper you go, the more likely you are to find larger veins, but even a few blocks on the surface can get you started.
Pro Tip: Bring plenty of torches! Caves can be dark, and you don’t want to get lost while hunting for that precious iron. Also, make sure you have a stone pickaxe or better. You can’t mine iron ore with anything less, and trust me, trying will just be frustrating.
You'll typically find iron ore in veins, clusters of 4 to 10 blocks. Sometimes you'll stumble upon a truly massive deposit that’ll make your heart sing. It’s like finding a treasure chest, but instead of gold doubloons, you’re getting the building blocks of power.
The Smelting Setup: What You Need
Once you’ve gathered a decent haul of iron ore, it’s time to set up your smelting station. This isn’t going to be a sprawling industrial complex. In Minecraft, simplicity is key. You’ll need two fundamental items:

1. A Furnace
This is your workhorse, your fiery heart of the operation. If you don’t already have one, crafting a furnace is a breeze. You’ll need 8 cobblestone blocks. Yes, just 8. Arrange them in a ring on your crafting table, leaving the center empty, and voilà! You have a furnace. It’s that easy. This is where the magic happens, where raw ore transforms into usable metal.
Cobblestone is abundant, so you’ll likely have plenty of it lying around after digging for your ore. If not, a quick trip to a nearby cliff face with your pickaxe will solve that problem in no time. Think of your furnace as your personal forge, ready to serve your every metal-working need.
2. Fuel
Every fire needs fuel, and your furnace is no exception. What kind of fuel can you use? Plenty of options:
- Coal: This is the classic choice. You’ll find coal ore (black speckled stone) fairly often, usually near iron ore. Smelt it in your furnace to get coal blocks. Each coal block can smelt 8 items.
- Charcoal: If you’re running low on coal, you can make charcoal by smelting wood logs in a furnace. It’s just as effective as coal and readily available if you have an axe.
- Wood: Even raw wood planks or logs can be used as fuel, though they’re less efficient than coal or charcoal. Use them in a pinch!
- Lava Buckets: For the truly adventurous, a bucket of lava can power your furnace for a whopping 100 items! Just be careful not to burn yourself.
Pro Tip: Always have a good stash of fuel ready. Running out of fuel halfway through a smelting session is like trying to bake a cake and realizing you’re out of eggs. Frustrating!
Coal is generally the most convenient and efficient fuel source for your early game smelting needs. It’s easy to find, and a single piece of coal can smelt multiple items. When you’re just starting out, focusing on gathering a good supply of coal will make your iron-smelting endeavors much smoother.
The Smelting Process: Let the Transformation Begin!
Now for the main event. With your furnace placed and your fuel ready, it’s time to smelt that iron ore. Here’s the step-by-step breakdown:
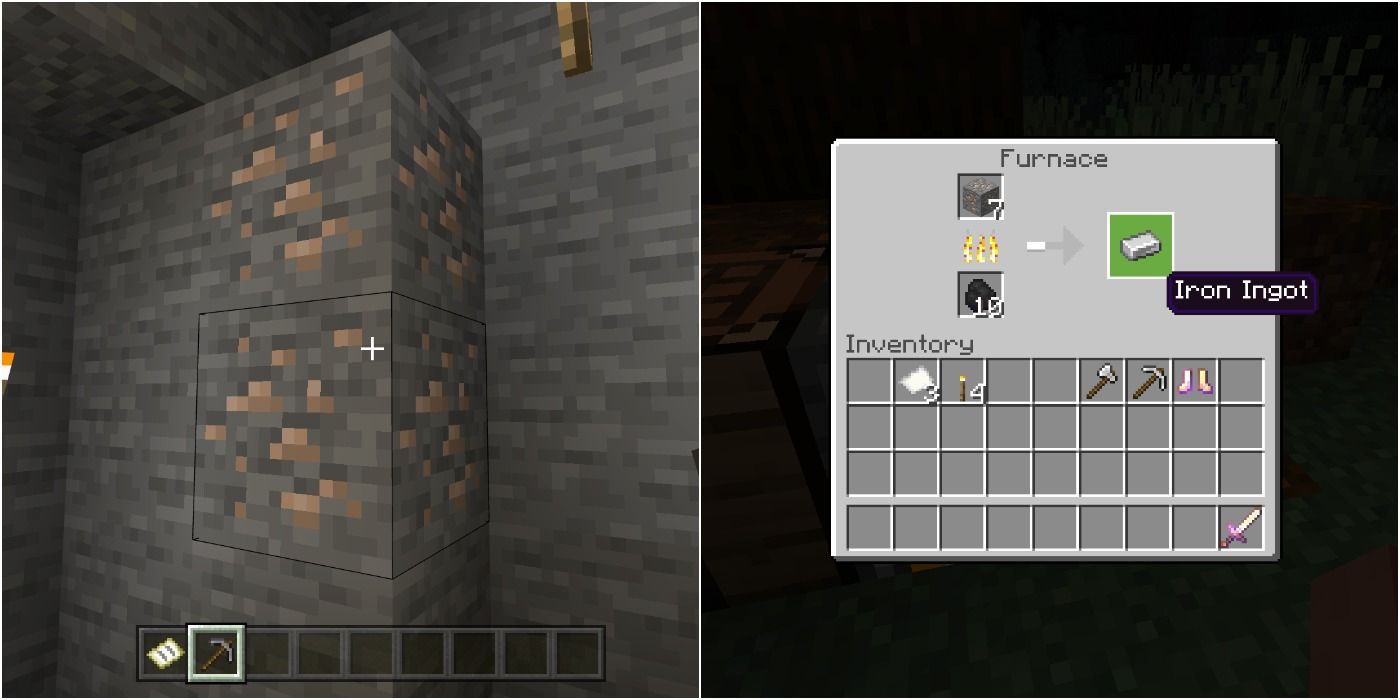
- Open the Furnace: Right-click on your furnace. You’ll see a small interface with three slots.
- Add Fuel: Place your chosen fuel (coal, charcoal, wood, etc.) into the bottom slot. You’ll see a green bar fill up, indicating the remaining fuel duration.
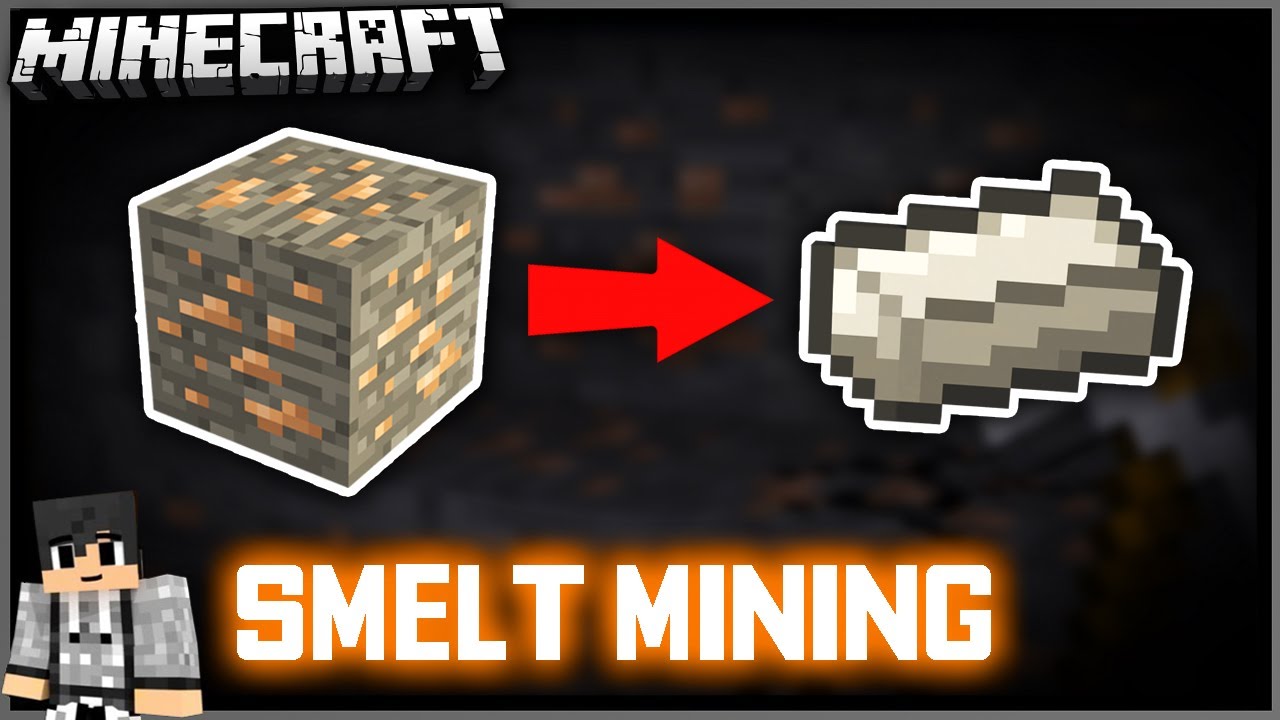
- Add Iron Ore: Place your raw iron ore into the top slot.
- Wait: That’s it! Now you just wait. The furnace will heat up, and the ore will slowly but surely transform into a shiny iron ingot. You’ll see them appear in the rightmost slot as they’re completed.
Each block of iron ore will yield one iron ingot. So, if you smelt 10 blocks of iron ore, you’ll get 10 iron ingots. It’s a direct, satisfying conversion. The smelting process takes about 10 seconds per item, which feels like an eternity when you’re eager to upgrade your gear, but it’s part of the charm.
Fun Fact: In real-world metallurgy, smelting involves heating ore to its melting point and then separating the metal from the rock. Minecraft simplifies this, but the principle is the same – using intense heat to extract valuable materials!
Think of the glowing animation in the furnace. It’s like watching a tiny, controlled volcanic eruption, turning something dull and earthy into something useful and bright. It's a little piece of everyday magic within the game.
What to Do With Your Shiny New Ingots
So you’ve got a stack of shiny iron ingots. Congratulations! Now what? This is where the real fun begins, as iron unlocks a whole new world of possibilities in Minecraft.

Essential Upgrades:
- Iron Pickaxe: This is usually your first priority. An iron pickaxe mines faster and can mine obsidian, which is crucial for making Nether portals.
- Iron Sword: A significant upgrade for combat. Your early game survival just got a lot easier.
- Iron Axe & Shovel: Faster resource gathering means more time for building and exploring.
- Iron Armor: Protection is paramount. A full set of iron armor will drastically reduce the damage you take from mobs.
Cultural Reference: Think of the iconic Iron Man suit. In Minecraft, your iron armor is your first step towards becoming a powerhouse, offering resilience and defense against the dangers of the world.
Advanced Crafting:
Beyond the basic tools and armor, iron is also required for a host of other useful items:
- Buckets: Essential for carrying water, lava, or even cute little axolotls.
- Shears: For collecting wool from sheep or leaves from trees without breaking them.
- Flint and Steel: Used for lighting fires, detonating TNT, and, of course, activating your Nether portal.
- Cauldron: A handy item for dyeing armor or collecting water.
- Anvil: For repairing your enchanted gear and combining enchantments.
The more iron you smelt, the more complex and helpful items you can craft. It’s a snowball effect of progress. You start with a simple furnace and end up with a fully equipped adventurer ready to face any challenge.
Practical Tip: Don’t smelt all your iron ore at once if you’re unsure what you need. Keep a few ore blocks on hand in case you find a use for them later, or if you decide to craft a different iron item.
The sheer utility of iron in Minecraft is staggering. It’s the gateway to so many essential functions and advanced crafting recipes that without it, your gameplay experience would be significantly limited. It’s the material that truly bridges the gap between surviving and thriving.
A Smelting Symphony: Tips for Efficiency
While the process is simple, a few tricks can make your smelting sessions more efficient and enjoyable:
- Batch Smelting: Always try to smelt in batches. If you have 64 iron ore, put it all in with plenty of fuel. It’s more satisfying to have a large stack of ingots ready to go.
- Organize Your Storage: Dedicate chests for raw ore, fuel, and finished ingots. This will save you a lot of time rummaging when you need to craft something.
- Automated Smelting (Later Game): Once you’re further along, you can even set up semi-automatic or fully automatic smelting systems using hoppers and minecarts. This is for the truly dedicated Minecraft engineer!
- Use Blast Furnaces: Once you unlock the Blast Furnace (crafted with iron, cobblestone, and furnaces), it smelts ore twice as fast as a regular furnace. A game-changer for large-scale operations!
Think of your smelting setup as a mini-project. Optimizing it, even just a little, can free up valuable in-game time for other activities you enjoy. It’s about working smarter, not just harder.
The visual of multiple furnaces humming away, each turning ore into ingots, is a comforting sight. It’s a testament to your growing capabilities as a Minecraft player. You’ve moved from the primitive to the practical, and soon, you'll be wielding diamond swords and wearing enchanted golden armor. But for now, iron is your best friend.
A Moment of Reflection: From Ore to Ingenuity
There’s a quiet satisfaction in the act of smelting iron ore in Minecraft. It’s a fundamental process, yet it represents a significant leap in a player’s journey. It’s the moment you transition from simply gathering to truly transforming.
In a world that often bombards us with instant gratification, the patient wait for ore to turn into ingots is a welcome reminder of the value of process. It mirrors our own lives, doesn’t it? The raw ingredients of our experiences, our efforts, our studies – they all need that internal ‘furnace’ of time, dedication, and a touch of hard work to transform into something valuable, something we can use to build our own futures.
So the next time you’re huddled over your furnace, watching that green bar fill, remember that you’re not just crafting tools; you’re honing a skill, you’re mastering a fundamental aspect of this pixelated world, and perhaps, just perhaps, you’re learning a little something about the power of transformation that extends far beyond the game.