
How To Soften Hardened Steel

I remember this one time, years ago, I was trying to fix this old garden gate. It had this ridiculously stubborn bolt that had probably rusted itself into a permanent relationship with the latch. I swear, I put more elbow grease into that thing than a marathon runner downs water. I tried WD-40, I tried a hammer (gently, I promise!), I even tried charming it with sweet talk. Nothing. It was like the bolt had a personal vendetta against me and my DIY aspirations.
Eventually, after much frustration and a few muttered expletives I’d rather not repeat here, I gave up. That bolt remained a monument to my inadequacy. It wasn't until much later, when I was tinkering with a different project, that I stumbled upon the concept of softening hardened steel. And then it hit me: that bolt, that tiny metal dictator, was probably made of hardened steel! If only I’d known back then, my gate-fixing woes might have been a lot less dramatic. So, if you’ve ever found yourself wrestling with a piece of metal that just refuses to budge, or if you’re curious about how those incredible metalworkers shape seemingly impenetrable materials, buckle up, buttercup, because we’re diving into the fascinating world of softening hardened steel.
The Stubborn Heart of Steel: Why Does It Get So Tough?
So, what's the deal with hardened steel being, well, hard? It all boils down to how we treat the iron and carbon that make up steel. Think of it like baking a cake. You’ve got your flour, your sugar, your eggs – the basic ingredients. Now, how you mix them, the temperature you bake them at, and for how long, drastically changes the final product, right? Steel is kind of similar, but with a lot more heat and a lot less sprinkles.
The magic ingredient, if you can call it that, is carbon. When steel is heated to a specific high temperature and then rapidly cooled (this is called quenching), the carbon atoms get trapped in a super-tight, rigid structure. This structure, known as martensite, is incredibly hard and strong. It’s the same reason why a chef’s knife stays sharp or why a car’s engine parts can withstand immense pressure. It’s designed to be tough!
But here’s the catch: this incredible hardness comes at a price. Hardened steel is also, and this is where our friend the bolt comes in, very brittle. Imagine a piece of tempered glass. Super strong, but one sharp knock and shatter! Hardened steel can be a bit like that. It’s fantastic for resisting wear and tear, but it makes it a nightmare to drill, cut, or shape further. It’s like trying to carve a statue out of a diamond – not impossible, but definitely not a weekend project.
When Hardness Becomes a Hindrance
We've all been there, haven't we? You've got this brilliant idea for a project, maybe repurposing some old tools or creating a custom piece of metal art. You’ve got the metal, you’ve got the design, and then you hit the hardened steel roadblock. Suddenly, your dream project starts feeling like a very expensive and frustrating hobby. Drilling a hole in that stubborn bolt from my gate? Forget about it. Trying to bend that old, hardened spring into a new shape? Good luck!
This is precisely why we need to talk about softening hardened steel. It’s not about making steel weak; it’s about making it workable again. Think of it as unlocking its potential. We want to dial down that extreme hardness just enough to allow us to perform certain tasks, like drilling, tapping threads, or even just bending it into a more manageable form. It’s a delicate balancing act, like trying to find the perfect temperature for your coffee – too hot and you scald your tongue, too cold and it's just… meh.
The Art of Tempering: Unlocking Workability
Alright, so how do we go about this softening process? The most common and effective method is called tempering. It’s basically a controlled reheating process. Remember how we made it super hard by heating and then rapidly cooling it? Well, tempering is about reheating it to a much lower temperature and then letting it cool down more slowly.
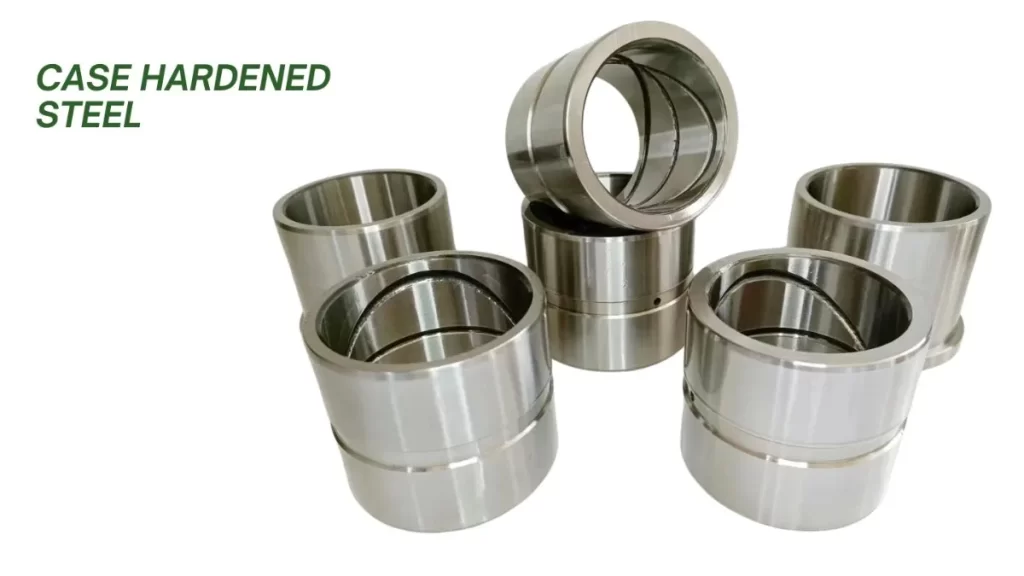
This controlled reheating allows some of those tightly packed carbon atoms to relax a little. They can move around slightly, forming a less brittle, more ductile structure. It's like telling a really stressed-out person to take a deep breath and maybe a nice hot bath. They're not suddenly going to become a puddle of goo, but they’ll be a lot more pleasant to be around and a lot more capable of doing things.
The Temperature is Key: A Balancing Act
Here's where things get a bit science-y, but don't worry, we'll keep it light! The exact temperature you heat the steel to during tempering makes a huge difference. It’s like choosing the right setting on your oven; you wouldn't bake a delicate soufflé at the same temperature you roast a chicken. Different temperatures will result in different levels of hardness and toughness.
Generally, the higher the tempering temperature, the softer and tougher the steel becomes. Lower temperatures will retain more hardness but offer slightly more toughness than the as-quenched state. It's all about finding that sweet spot for your specific needs. For example, if you need to drill a hole in a hardened bolt, you’ll likely need to temper it to a higher temperature to make it soft enough for your drill bit to bite. If you’re trying to achieve a specific balance for, say, a knife blade (where you want a hard edge but a tough spine), you’ll use a more nuanced tempering approach.
A Quick Look at Tempering Colors (Don't Get Too Excited, They're Not Rainbows!)
One cool (and dare I say, visually satisfying) way to gauge the approximate tempering temperature is by observing the oxide colors that form on the surface of the steel as it heats up. These colors are subtle, and you need good lighting to see them clearly. It’s like watching a metal sunset! You’ll see straw yellow, brown, purple, and finally blue as the temperature rises.
For example, a light straw color (around 400°F or 200°C) might be used for very hard, brittle applications. A darker blue (around 600°F or 300°C) will result in a much tougher, though less hard, material. It’s a bit of an art as much as a science, and mastering these colors takes practice. Imagine the satisfaction of saying, "Ah yes, this is a perfect 'dark blue' temper. Just what I was going for!"
Methods for Softening Hardened Steel: From Home Ovens to Forge Fires
Now, let's get practical. How do you actually do this softening thing? The method you choose will depend on the size of your steel piece, the tools you have available, and how precise you need to be. No, you probably don't have a dedicated industrial furnace in your garage (unless you do, in which case, can I come visit?).
The Kitchen Oven Method (For Smaller Items, With Caution!)
Yes, you read that right. For smaller, non-critical steel items (think small tools, hardware, that stubborn bolt!), your kitchen oven can actually work. However, and I cannot stress this enough, use a separate, dedicated oven if possible. Or, if you absolutely must use your regular oven, make sure you give it a thorough cleaning afterwards, and maybe warn anyone who uses it about your metallurgical experiments. Nobody wants a faint metallic aftertaste in their cookies.
Preheat your oven to the desired tempering temperature. Place your hardened steel item on a baking sheet (again, a dedicated one is best). Let it heat evenly for a specific amount of time. The duration is important too; you want it to soak in that heat. Then, the crucial part: let it cool down slowly. The best way to do this is to turn off the oven and leave the item inside, door closed, until it’s completely cool. This slow cooling is what allows the steel to relax and become more ductile. This is the most accessible method, but it's best for smaller pieces where uniform heating is achievable.
The Propane Torch Method (For Slightly Larger or More Targeted Heating)
If you’ve got a bit more power, a propane torch can be a useful tool. This is great for heating specific sections of a larger piece or for when you need a bit more control over the heat source than a regular oven. You'll need a bit of practice to get the hang of it, as it's easy to overheat or heat unevenly with a torch.
Heat the steel gradually and evenly with the torch. You'll be watching for those oxide colors we talked about. Once you reach the desired color, you can either let the entire piece air cool slowly, or, if you're only softening a specific spot, you might need to consider how the surrounding cooler metal will affect the cooling process. This method requires more skill and a good understanding of heat control. It's also a good idea to have a heat-resistant surface to work on, just in case things get a little… enthusiastic. And wear your safety glasses, seriously!

The Forge Method (For the Serious Tinkerer or Professional)
Now we’re talking! If you’re really into metalworking or have larger, more complex pieces, a forge is the ultimate tool. Whether it’s a charcoal forge or a propane forge, it allows for much higher temperatures and more even heating of larger objects. This is where you can really get serious about heat treating.
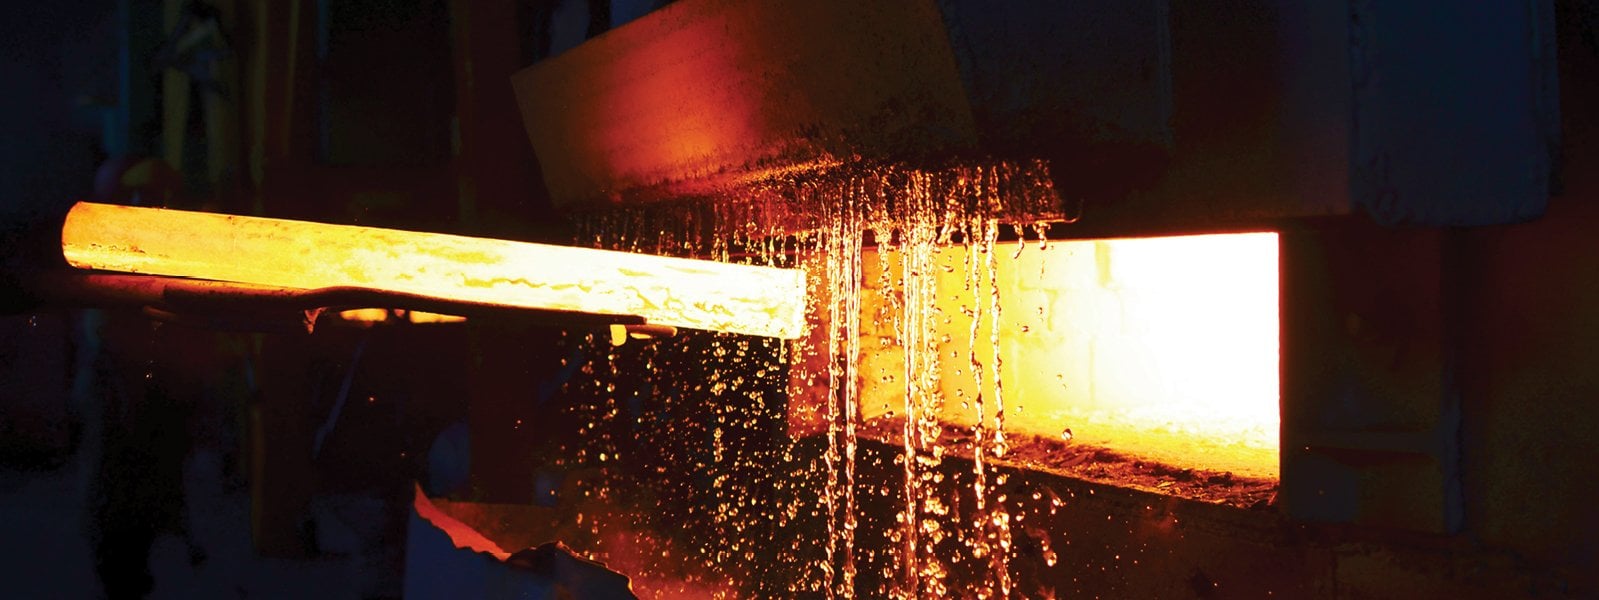
In a forge, you heat the steel until it reaches the desired critical temperature (often a bright red or orange, depending on the steel type) and then proceed with quenching if you were hardening it. For tempering, you’d heat it to the specific, lower tempering temperature we discussed. The key advantage of a forge is its ability to heat larger pieces uniformly, which is crucial for achieving consistent results. Plus, who doesn't love the roar of a forge? It just feels… powerful.
Important Considerations and Safety First!
Before you go grabbing your metal and heating things up, there are a few vital things to keep in mind. This isn't just about playing with fire (though it can feel a bit like that). Safety and understanding the material are paramount.
Know Your Steel
Not all steel is created equal. Different alloys will react differently to heat treatment. A simple carbon steel will behave differently than a high-speed steel or a stainless steel. If you can identify the type of steel you're working with, you'll have a much better idea of the temperatures and procedures to use. If you have no idea what you're dealing with, it's a bit of a gamble. You might get lucky, or you might end up with a very expensive, very strangely shaped piece of scrap.
Ventilation is Your Friend
When you heat metal, especially with torches or in a forge, you're going to produce fumes. Some of these fumes can be quite toxic. Always ensure you have good ventilation. Open windows, use fans, or work outdoors if possible. Your lungs will thank you for it. Nobody wants to be the person who got a mysterious metallic cough from their DIY project. Seriously, ventilate!
Protective Gear is Non-Negotiable
Heat, sharp edges, potential flying debris – working with metal can be hazardous. Always wear appropriate safety glasses or a face shield. Heat-resistant gloves are a must when handling hot metal. Long-sleeved shirts and sturdy pants are also a good idea. Think of it as dressing for success… in not getting seriously injured.
Patience is a Virtue (Especially with Steel)
Steel is a stubborn material, and softening it requires patience. Rushing the process can lead to uneven results or, worse, ruining your piece. Allow the steel to heat and cool slowly and evenly. Don't try to force it. Remember my bolt? I should have been patient, or at least known what I was dealing with.
When All Else Fails: Professional Help
Sometimes, even with the best intentions and all the right gear, a project might be beyond your DIY capabilities. If you're working with a critical component, a very expensive piece of metal, or if you're just not comfortable with the heat-treating process, don't hesitate to seek professional help. A local machine shop or a professional blacksmith will have the expertise and equipment to soften your steel without turning it into a molten mess.
It’s like going to a doctor for a serious ailment, rather than trying to self-diagnose with a questionable internet search. Sometimes, you just need the pros. And hey, it might even be cheaper in the long run than replacing a botched piece of metal. So, no shame in calling in the cavalry if you need to!
The Takeaway: From Impenetrable to Incredibly Useful
So there you have it! Softening hardened steel isn't some arcane wizardry reserved for the metal-bending elite. It's a process that, with a bit of understanding, the right approach, and a healthy dose of caution, can unlock a whole new world of possibilities for your projects. That stubborn bolt from my gate? If I'd known about tempering, I probably would have had that gate swinging freely years ago, with a lot less sweat and a lot more success.
Whether you're a seasoned metalworker or a curious beginner, understanding how to manipulate the hardness of steel can be an incredibly valuable skill. It's about taking something that seems unyielding and making it bend to your will, transforming it from an obstacle into an opportunity. So, next time you encounter a piece of metal that laughs in the face of your drill bit, remember the magic of tempering. It might just be the key to unlocking your next great creation. Happy tinkering, and always remember to stay safe and have fun!