
How To Square Metal Roofing

So, picture this: I was helping my buddy Dave tackle this old shed in his backyard. It was one of those jobs where you think you know what you're doing, and then the metal roofing decides it has other plans. We’d gotten maybe halfway done, and suddenly, one of the panels looked… well, not quite square. Like it had a bit of a wobble to it. Dave, ever the optimist, says, "Eh, it'll settle." I, the resident worrywart, was already envisioning water pouring in and squirrels having a field day. That’s when it hit me: we hadn’t paid enough attention to the squaring. Turns out, just slapping those metal sheets on isn't quite the whole story. You gotta make sure things are actually square, otherwise, you end up with a roof that looks like it’s doing the wave. And nobody wants that.
This whole experience got me thinking. Metal roofing can be a fantastic, durable, and honestly, pretty darn good-looking option for your home. But like anything worth doing, there’s a knack to it. And a big part of that knack, the secret sauce if you will, is getting it square. Forget about pretty colors or fancy seams for a moment; if your foundation (your roof’s edges!) isn't square, the whole thing's gonna be a beautiful mess. So, let's dive into why this matters and how you can actually achieve that satisfyingly straight metal roof.
Why Being Square is the New Black (for Roofing)
You might be thinking, "Square? What's the big deal?" Well, let me tell you, the big deal is pretty darn significant. When your metal roofing isn't square, it's like trying to build a perfectly aligned LEGO castle with a few crooked bricks at the base. It just doesn't work out.
First off, there's the obvious: aesthetics. Nobody wants a roof that looks like it’s melting or perpetually leaning to one side. A square roof looks clean, professional, and honestly, it just makes your whole house look better. It's like putting on a well-fitting suit versus one that’s a size too big or too small – it just works. You put in the effort, you want it to look good, right?
Then there's the practical stuff, which is where things can get a bit more painful if you mess up. When your panels aren't aligned, you create gaps. And what loves to sneak into gaps? You guessed it: water. Rainwater, snowmelt, you name it. These little invaders can work their way under your roofing, leading to leaks. And leaks, my friends, are the gateway to a whole world of headaches: mold, rot, damaged insulation, and potentially even structural issues. Suddenly, that "shortcut" you took to avoid being super precise has cost you a whole lot more in the long run.
Beyond water, there’s also the issue of wind. A properly squared and installed metal roof is designed to withstand wind uplift. If your panels are askew, it can create weak points where wind can get a grip and potentially lift them off. We've all seen those dramatic storm videos, and trust me, you don't want your roof contributing to the chaos.
And let's not forget about the other components. Flashing, trim, ridge caps – all these bits and bobs are designed to fit snugly against a straight edge. If your roofing isn't square, you're going to have a devil of a time getting these elements to seal properly. You'll be fighting with gaps, trying to force things that aren't meant to be forced, and generally just making your life a misery. So, yeah, squaring is fundamental.
The Tools of the Trade (No, Not a Magic Wand)
Before we get our hands dirty, let’s talk about what you'll need. You can’t just eyeball it, unless you’re blessed with some sort of divine roofing intuition, which, let’s be honest, is rare. So, gather your supplies:
Measuring Mania
This is where the real magic happens, folks. You need to be able to measure with precision. Forget that flimsy tape measure you use for curtains. We're talking a good, sturdy long tape measure. The longer, the better, especially for larger roofs. You’ll also want a good carpenter’s square or a speed square for checking those smaller, more immediate corners. Think of these as your best friends for this project.
Lines, Lines Everywhere
To guide your efforts, you’ll need some way to mark your lines. A chalk line is your go-to here. It’s perfect for snapping long, straight lines across your roof deck. Just make sure you have enough chalk to draw your lines – nobody wants to run out mid-snap, that's just asking for trouble!
The Fasteners of Fate
You'll need your roofing fasteners, of course. These are usually screws specifically designed for metal roofing. They’ll have neoprene washers to create a watertight seal. Make sure you have plenty! And don't over-tighten them, that’s a classic rookie mistake that can actually damage the seal. Just snug enough to compress the washer.
Safety First, Always!
This is a big one. Roofing is dangerous. You absolutely need a sturdy ladder, safety harness, and non-slip footwear. Seriously, don't skimp on safety. Your life is worth more than a few dollars saved on a cheap harness. And maybe a helper too. Having an extra pair of hands and eyes is invaluable, not to mention someone to pass you tools or hold things steady. My buddy Dave, bless his optimistic heart, was surprisingly useful when he wasn't suggesting things "settle."
The Art of the Square: Step-by-Step (Kind Of)
Alright, let’s get down to business. This isn’t rocket science, but it requires attention to detail. So, take a deep breath, maybe grab a coffee, and let’s break it down.
Step 1: The Foundation - The Roof Deck
Before you even think about metal panels, you need to know if your roof deck itself is square. This is your starting point. Measure the length of one side of your roof, then measure the opposite side. They should be the same. Then, measure the width from one end to the other. Again, the opposite sides should match. If they don't, you’ve got a bigger problem on your hands, and you might need to address that first. But let's assume for now your deck is reasonably square.

Step 2: Establishing Your Reference Line
This is where the chalk line comes in. You need to decide where your first row of metal panels will start. Typically, this is along the eaves, the bottom edge of your roof. You’ll want to snap a chalk line that is perfectly parallel to the eaves. But here’s the trick: how do you ensure that chalk line is truly perpendicular to the sides of your roof, so that as you go up, you stay square?
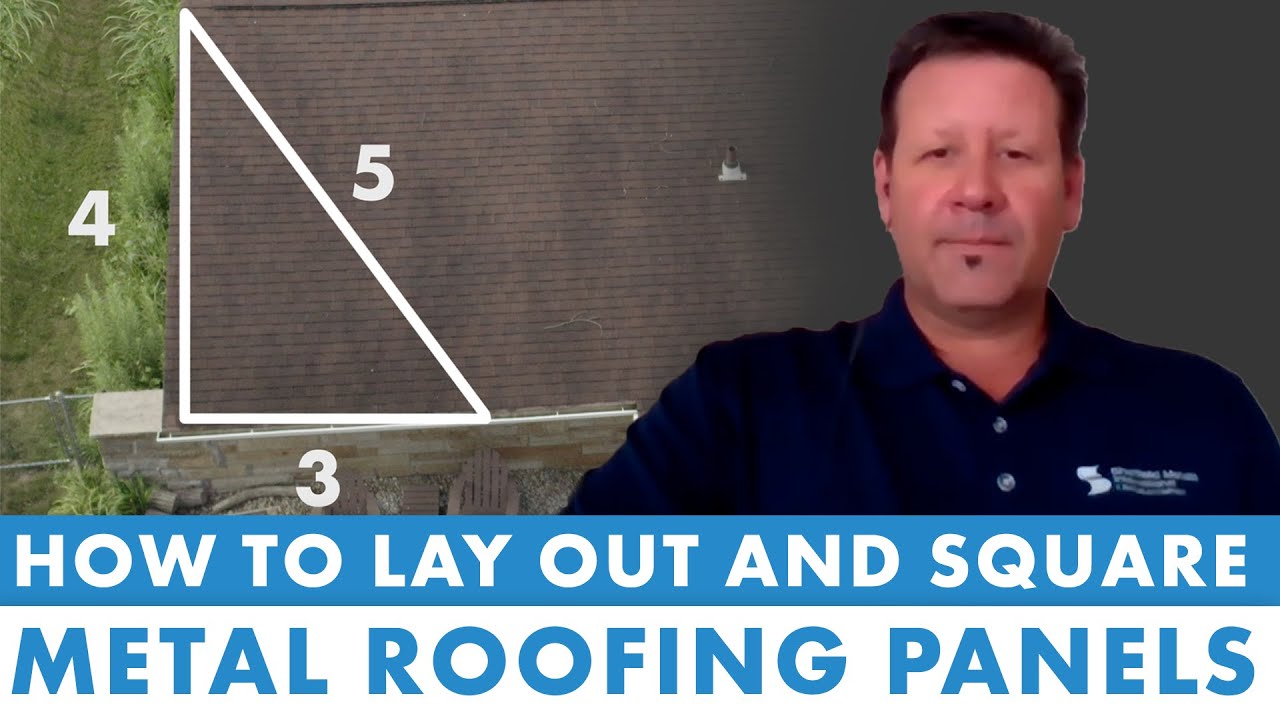
This is where the good ol’ 3-4-5 rule comes in. It’s a Pythagorean theorem thing – a triangle with sides in the ratio of 3, 4, and 5 will always be a right-angled triangle. So, measure 3 feet along your eaves. Then, measure 4 feet up from that point, perpendicular to the eaves. If you can then measure 5 feet diagonally from the end of your 3-foot mark to the end of your 4-foot mark, you’ve got a perfect 90-degree angle. This is your guide for snapping your chalk line. Seriously, this little trick is a lifesaver.
Alternatively, and often easier on a roof, you can measure the diagonal of the entire roof area you’re covering. If the two diagonals are equal, your roof area is square. You can then use this to guide your initial placement of the first panel or your reference line.
Step 3: Laying the First Panel (with Purpose!)
Now, take your first metal roofing panel. Position it so that its edge is perfectly aligned with the chalk line you just established. Make sure the overhang at the eaves is consistent all the way along. This first panel is your anchor. If this one is square and straight, your chances of the rest of the roof following suit are much higher.
As you secure it, periodically check with your carpenter’s square to ensure the edges are running at a true 90-degree angle to your eaves. Don’t just screw it down and walk away. Be present with your panel.
Step 4: The Subsequent Panels - The Ripple Effect
This is where the squaring becomes a continuous effort. Each subsequent panel needs to be laid ensuring it overlaps correctly with the previous one and that it maintains the straight line you started with. As you lay the next panel, align its edge with the previous one, ensuring a clean, tight fit.
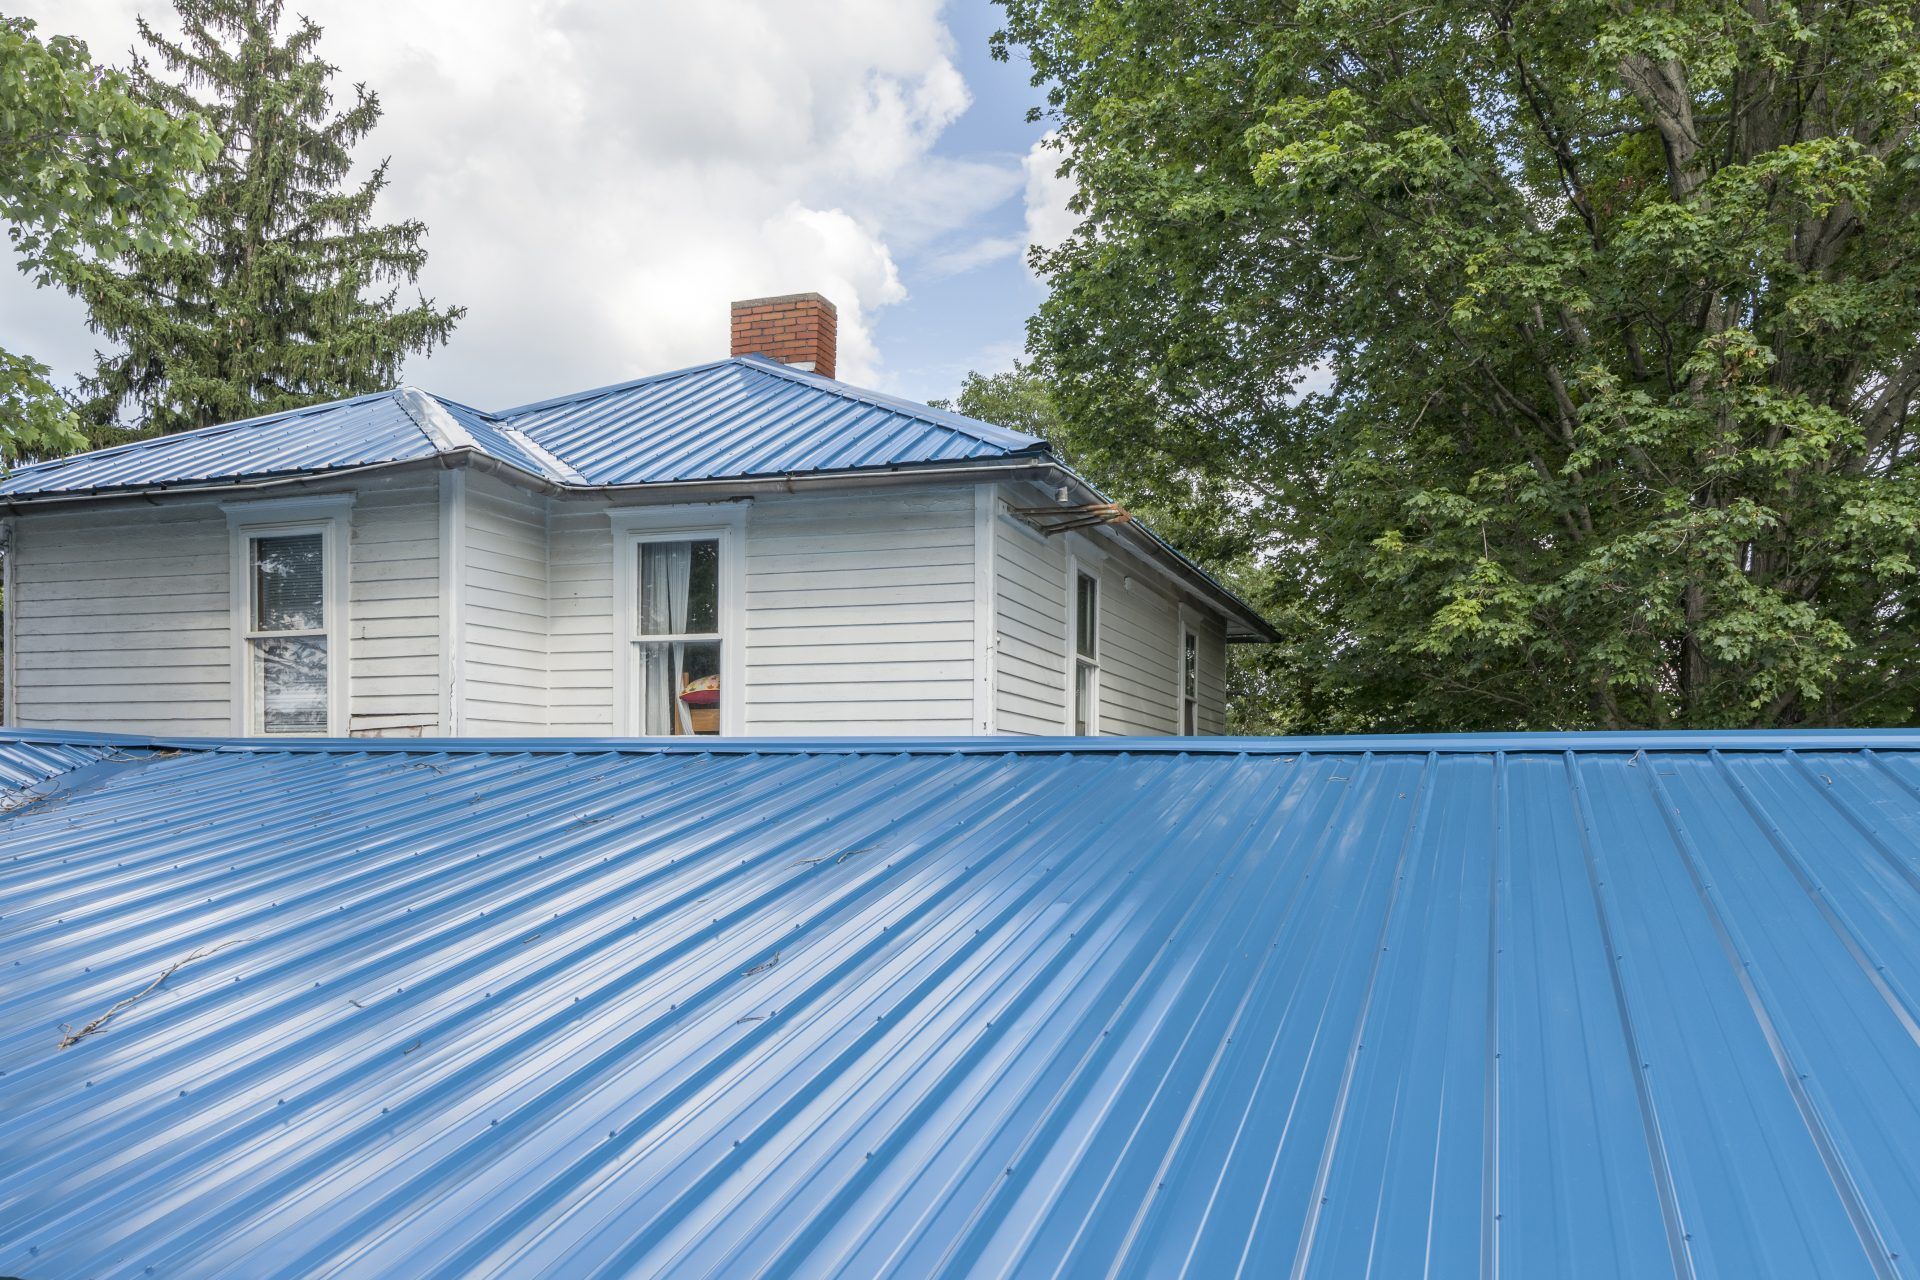
Here’s the key: as you move up the roof, periodically measure across the installed panels. Measure the width from the eave to the top edge of a row of panels. Do this at several points along the length of the roof. If your measurements are consistently the same, you're still square. If they start to diverge, you've got a problem. One side is likely drifting further than the other.
If you notice a slight deviation, don't panic. Sometimes you can gently adjust the positioning of the panel before it’s fully secured. You might need to slightly loosen a few screws on the previous panel to give yourself a little wiggle room. This is where having a helper is a godsend – they can hold the panel while you make minor adjustments.
Step 5: Checking Corners and Edges
Don’t just focus on the main body of the roof. Pay close attention to the corners and edges. Use your speed square to check the 90-degree angles where your roofing meets the gable ends. These are often the most visible areas, so getting them crisp and clean makes a huge difference.
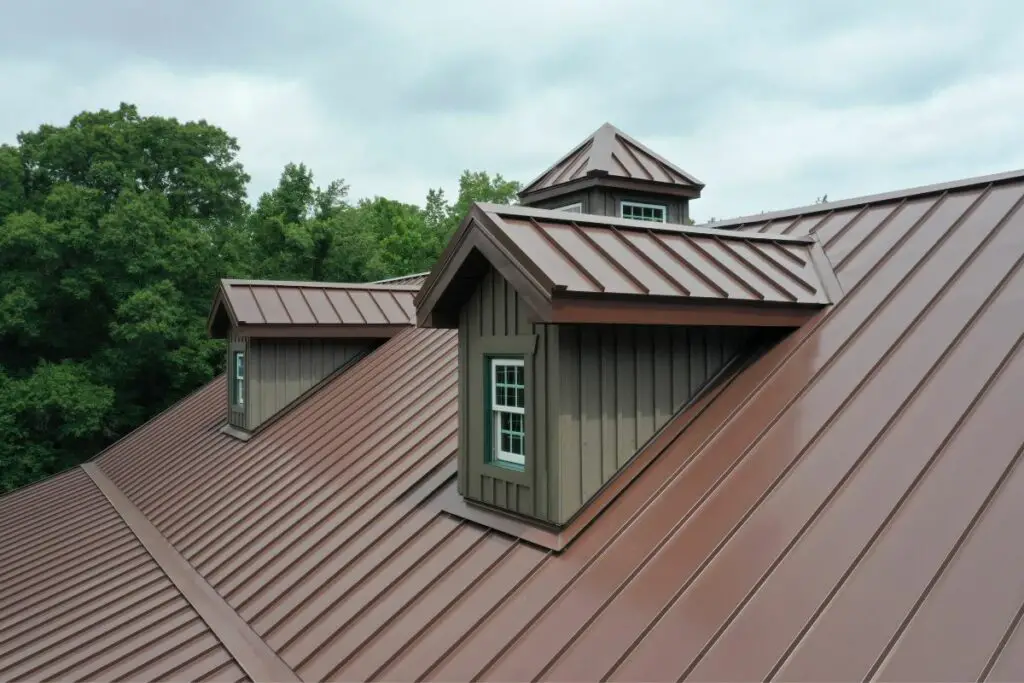
If you have dormers or other roof penetrations, these also need to be treated with the same squaring principles. Measure carefully around them, ensuring your metal roofing lines remain consistent and true.
Common Pitfalls and How to Dodge Them
Even with the best intentions, things can go awry. Here are some common mistakes and how to avoid them:
The "Close Enough" Syndrome
I’m looking at you, Dave! Resist the urge to think "close enough." Metal roofing isn't forgiving. A small gap now can become a big problem later. Precision is paramount. Take the extra few minutes to measure and adjust. Your future self will thank you.
Ignoring the Wind Direction
While not strictly about squaring, it’s worth mentioning. Think about the prevailing wind direction in your area. You generally want your panels to overlap in the direction the wind typically blows. This helps prevent wind uplift. This often dictates which side of the roof you start on.
Over-Tightening or Under-Tightening Fasteners
I touched on this earlier, but it's worth repeating. Over-tightening can crush the neoprene washer, compromising the seal. Under-tightening means the panel isn't held down securely. It's a delicate balance. Aim for a snug fit that compresses the washer without deforming it.
Rushing the Process
This is a marathon, not a sprint. Take your time. Measure twice, cut once (or in this case, install once). If you're feeling rushed or frustrated, step away for a bit. A fresh perspective can solve a lot of problems. Maybe have another coffee.
Not Accounting for Thermal Expansion
Metal expands and contracts with temperature changes. Your fastening system needs to accommodate this. Most modern metal roofing systems have clip systems or oversized holes in the panels that allow for this movement. Make sure you’re using the correct fasteners and installing them according to the manufacturer’s instructions. This is another reason why not over-tightening is so important!
The Satisfying Conclusion
When you’ve finished your metal roofing project and you step back to admire your work, the feeling of seeing those straight, clean lines is incredibly rewarding. It’s the satisfaction of a job done right, of knowing you’ve protected your home with a roof that's not only functional but also looks fantastic. It’s the antithesis of Dave’s wobbly panel, and frankly, that’s a beautiful thing.
So, the next time you’re looking at a metal roofing project, whether it’s a DIY endeavor or you’re hiring a professional, remember the power of the square. It’s the unglamorous, yet utterly essential, foundation for a successful and beautiful metal roof. Don't let your roof do the wave; make it stand tall and proud, perfectly square.