
How To Test Radio Tubes
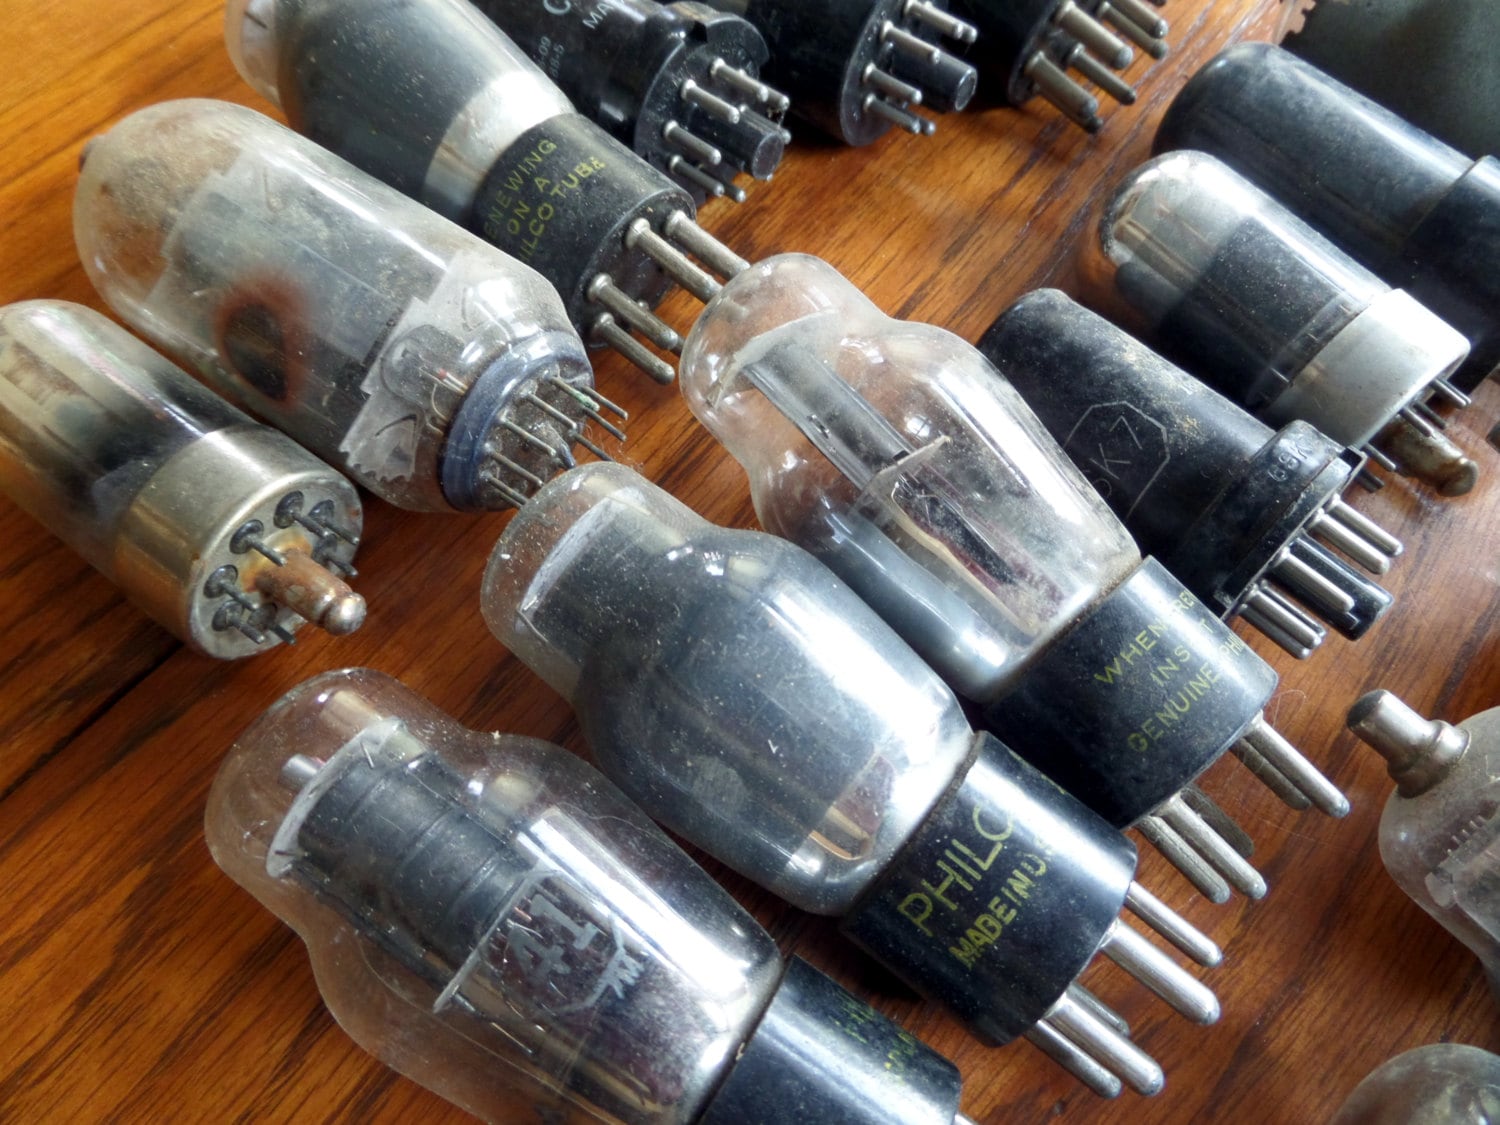
So, you’ve stumbled upon a dusty box of old radio tubes, huh? Maybe you’re a budding audiophile, a vintage tech enthusiast, or you just like the way they look all glowy. Whatever your reason, you’re probably wondering, “Can I actually use these things?” The answer is a resounding, “Maybe!” But before you go plugging them into your prized amplifier, we gotta make sure they’re not duds. Testing radio tubes is a bit like a treasure hunt, and I’m here to guide you through it, no complicated jargon, promise!
Think of me as your friendly neighborhood tube whisperer. We’re going to have a good ol’ chat about this, just like we’re sitting here with our mugs, maybe a little bit of steam rising. You know, the good stuff.
The Mystery of the Mighty Tube
These little glass wonders, they’re the heart and soul of so many vintage pieces of equipment. Radios, amplifiers, even some old TVs! They amplify signals, do all sorts of magic. But, like anything with age, they can get tired. Or worse, they can go completely kaput.
So, how do we know if our tube friends are still up for the gig? It’s not rocket science, but it does require a little bit of patience and a specific tool. We're not talking about plugging them into your wall socket, oh no. That’s a recipe for disaster, and trust me, you don’t want that kind of excitement in your life.
Your Tube Testing Sidekick: The Tube Tester!
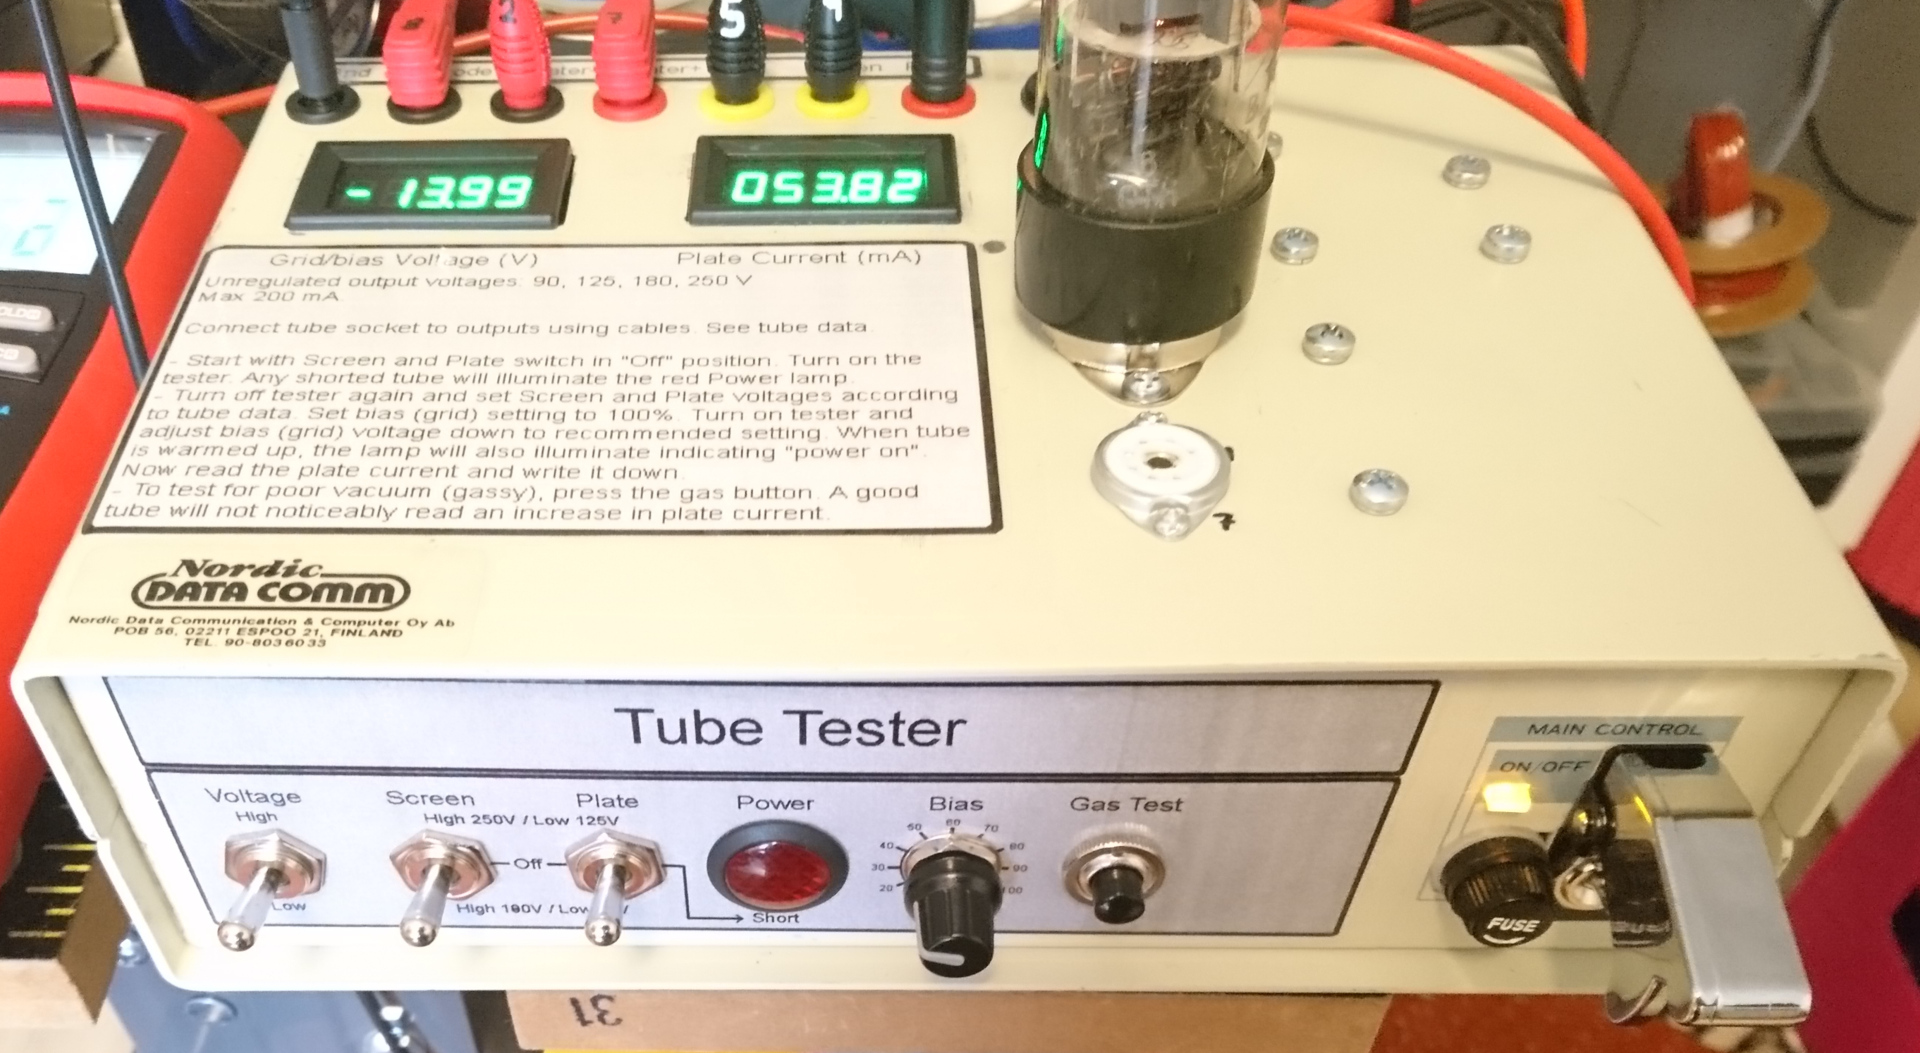
This is where the magic, or rather, the testing, happens. You'll need a tube tester. Now, these aren't exactly lying around in every junk drawer. You might have to hunt for one online, maybe on eBay, or at a ham radio swap meet. They can range from super simple to incredibly complex. For our purposes, a basic, reliable tester will do the trick.
Think of it as a dedicated little machine that knows exactly what to do with these tubes. It’s got slots, it’s got dials, it’s got a fancy meter. It’s like a doctor for your tubes, ready to give them a full check-up.
Different Strokes for Different Tubes (and Testers)
There are a few different types of tube testers out there. You’ve got your emission testers, which are generally simpler and tell you if the tube is producing enough electrons (that's the 'emission' part, sounds science-y, right?). Then you have your transconductance testers, which are a bit more sophisticated and measure how well the tube amplifies a signal. For most hobbyists and vintage enthusiasts, an emission tester is a good starting point.
Don’t get too bogged down in the details just yet. The important thing is to have a tester and understand what it’s trying to tell you. It’s like learning a new language, and the tube tester is your phrasebook.
Getting Your Hands Dirty (Safely!)
Okay, you’ve got your tube tester. Hooray! Now, let’s get down to business. The very first thing you need to do is read the manual. Seriously. I know, I know, who reads manuals? But with a tube tester, it's a lifesaver. Each tester is a little different, and understanding its quirks will save you a lot of headaches.
Your manual will tell you:
- How to power it up.
- Which settings to use for different tube types.
- What the readings on the meter mean.

Know Your Tube
Before you even touch the tester, you need to know what tube you're testing. Look at the markings on the glass. You’ll see numbers and letters. These are crucial! Think of them like the tube’s ID tag.
Common tube designations include numbers like 12AX7, 6L6, EL84, 5Y3. These numbers tell you the tube's family, its basic function, and its characteristics. Without this information, you’re just guessing, and guessing with old electronics is usually a bad idea. Like trying to guess the Wi-Fi password without even seeing the router.
The Tube Data Sheet is Your Best Friend
Once you have the tube type, your next mission, should you choose to accept it, is to find its data sheet. This is another piece of vital information. You can usually find these by doing a quick online search. Type in the tube number followed by "data sheet" or "specifications."
The data sheet is like the tube’s autobiography and instruction manual rolled into one. It will tell you:
- The pinout (which prong goes where).
- The correct voltages for testing.
- The expected performance levels.
The Actual Testing Process (Drumroll, Please!)
Alright, deep breaths. We’re ready for the main event. Make sure your tube tester is plugged in and powered up according to its manual. It might take a few minutes to warm up, so be patient. These old timers like a good cuppa too.
Step 1: Select the Correct Settings
This is where your data sheet and the tube tester's manual are your best friends. You’ll need to set the tester’s knobs and switches to match the tube type. This usually involves selecting the correct tube family, plate voltage, and bias. Don't wing it! Incorrect settings can give you false readings or, worse, damage the tube or the tester.
It might seem overwhelming at first, with all those little knobs and switches. Just take it one setting at a time. Imagine you’re setting the perfect temperature for a bath. Not too hot, not too cold. Just right.
Step 2: Carefully Insert the Tube
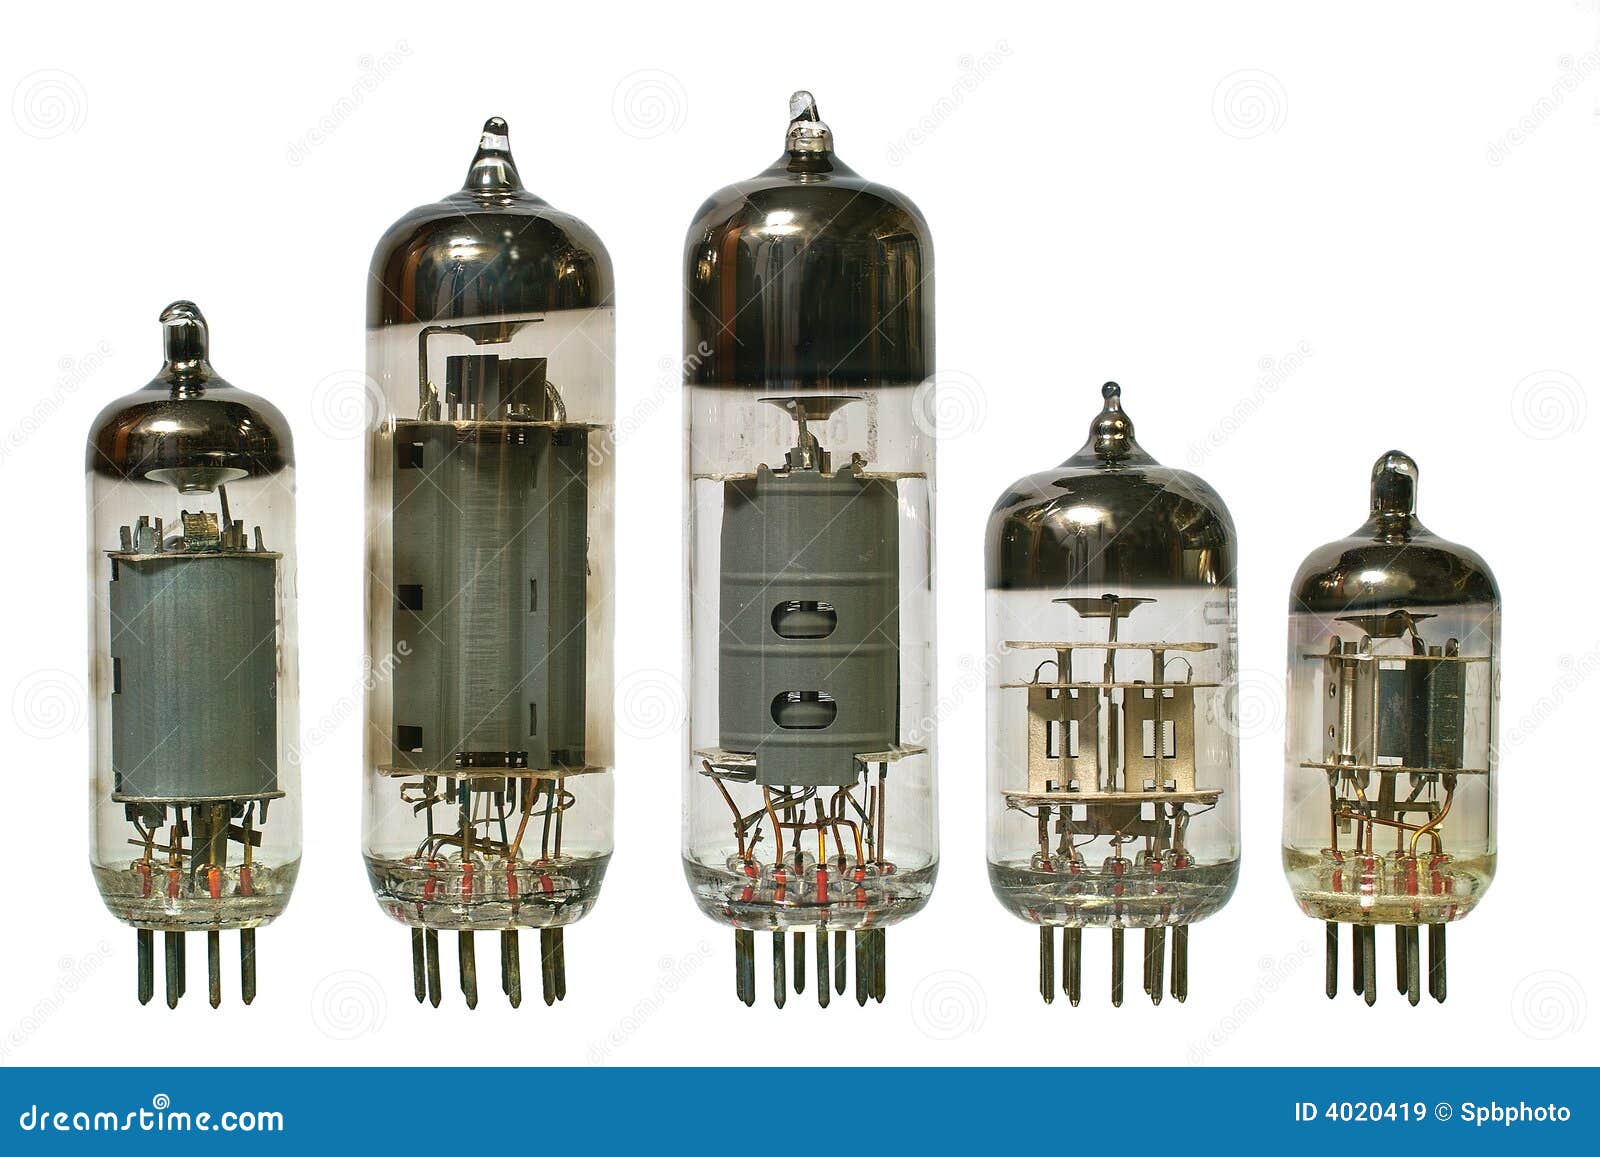
Now for the delicate part. Tubes are made of glass, and their pins are often delicate. Handle the tube by its glass envelope, never by its pins. Line up the pins with the corresponding sockets on the tube tester. There’s usually a notch or a key to help you align it correctly. Gently push the tube in until it’s seated firmly. If it feels like you're forcing it, stop and re-align.
Don't go Hulk Smash on it. These tubes are like fragile antique vases. Treat them with respect. A little wiggle, a gentle push. That’s all it takes.
Step 3: Run the Test!
Once the tube is in and the settings are dialed in, it’s time to hit that test button, or turn that knob, or whatever your tester requires. Usually, there’s a “test” or “run” switch. You’ll then watch the meter.
The meter is your crystal ball. It will have markings indicating “good,” “fair,” or “replace.” The needle will move, and its position is what you’re looking for. Some testers have a "shorts" test that you run first. This is super important to make sure the tube isn't shorting out internally, which is a definite "game over" for that tube.
Step 4: Interpret the Results

This is where all your detective work pays off.
- Good: The needle is in the green zone (or whatever your tester designates as good). This tube is likely in great shape and ready to rock and roll!
- Fair: The needle is in the yellow or middle zone. This tube might still work, but it's probably not performing at its peak. It might be a bit weaker, or have a shorter lifespan remaining.
- Replace: The needle is in the red zone or not moving much at all. This tube is likely tired, weak, or completely dead. Time to find a new one.
What About Shorts and Gas?
Beyond just general emission, tube testers also look for more serious problems.
- Shorts: If two internal elements of the tube are touching when they shouldn't be, that's a short. This is bad news. Most testers have a specific "shorts" test that you'll run first. If it indicates a short, the tube is definitely toast. You might even hear a puff of smoke if you're really unlucky, but hopefully not!
- Gas: Tubes are designed to have a vacuum inside. If air gets in (they can develop tiny leaks over time), that’s "gas." Gas can make the tube perform erratically or even fail prematurely. Testers sometimes indicate a "gassy" condition, or it might show up as poor emission.
Interpreting Those Needle Swings
The needle on your tube tester isn't just a simple go/no-go indicator. Some testers give you more nuanced information. For example, the speed at which the needle moves to its reading can tell you something. A slow sweep might indicate a tired tube, while a fast, jumpy needle could mean something else is going on. Again, your manual is your best friend here!
Think of it like a doctor listening to your heart. Sometimes it's a strong, steady beat, and sometimes it’s a little… off. The tester is doing the same for your tube.
What If My Tube is Special?
What if you have a really old, obscure tube? Or one that’s crucial for a specific piece of gear, and you really need it to be perfect? Well, that’s where things get a little more involved. For highly sensitive or critical applications, a simple emission test might not be enough.
You might need to look at dynamic testing or even have the tube tested on the actual equipment it's meant for. Dynamic testing involves simulating the actual operating conditions of the tube more closely. This is usually beyond the scope of a basic home tester.
But for 99% of us just dipping our toes in the vintage audio waters, a good tube tester is more than enough. We’re not rebuilding a Hubble telescope here, folks. We’re trying to get that old amp singing again!
The Verdict: To Keep or To Toss?
After you’ve run your tests, you'll have a better idea of the health of your tubes. Tubes in the "good" category can be safely used. Tubes in the "fair" category might work, but keep an eye on them. Tubes in the "replace" category should be retired.
It’s okay to be a little sentimental about a tube that’s seen better days, but ultimately, you want your equipment to perform reliably. Think of it as giving the good tubes a chance to shine, and the not-so-good ones a well-deserved rest.
Beyond the Tester: The Smell Test (and Other Quirks)
Sometimes, even before you test, you can get clues. Does the tube look physically damaged? Cracks in the glass? Loose internal components? These are all bad signs.
And then there’s the smell. If a tube smells burnt, or has a strange acrid odor, even before testing, tread carefully. It's like smelling smoke – usually a sign of trouble.
Also, pay attention to the filament. When you power up the tester (and sometimes when you insert a tube into a powered-up piece of equipment), the filament inside the tube should glow. It’s a faint orange-ish color. If it doesn’t glow, or if it glows too brightly, that’s a problem.
The glow is like the tube’s hello. If it doesn't say hello, it’s probably not going to say much else.
When in Doubt, Test it Out!
The best advice I can give you is: when in doubt, test it out. It’s always better to know for sure than to wonder if that crackly sound is the tube or something else entirely. A good tube test is a fundamental step in troubleshooting and restoring vintage audio gear.
Don't be afraid to experiment (safely, of course!). The world of vacuum tubes is a fascinating one, and testing them is your gateway to understanding and enjoying these amazing components. So go forth, find a tube tester, and start giving those old glass soldiers a new lease on life!
Happy testing, and may your tubes glow brightly!