
Painting Wood Furniture With Metallic Paint
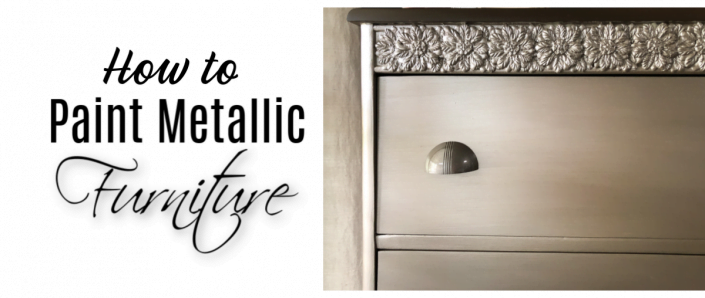
Alright, gather ‘round, you lovely people, and let’s talk furniture. Not just any furniture, mind you. We’re talking about giving that old, tired dresser, that wobbly side table, or that chair that’s seen better days a serious glow-up. We’re diving headfirst into the dazzling world of metallic paint. Yes, I said metallic. Think less “disco ball explosion” and more “sophisticated sparkle that’ll make your Aunt Mildred do a double-take and ask if you’ve hired a fancy decorator.” Because, spoiler alert, you kind of have.
Now, I know what some of you are thinking. “Metallic paint? Isn’t that for… you know… actual robots? Or maybe incredibly flamboyant magicians?” And to that, I say, have you seen the price of a good decorator lately? We’re talking mortgage-level prices for a few strategically placed throw pillows. This, my friends, is the DIY magic that’ll have your guests whispering about your impeccable taste, all while you’re smugly enjoying a cup of coffee and counting the money you didn’t spend.
So, what exactly is metallic paint for furniture? Imagine regular paint, but then someone whispered sweet, shimmery secrets into its ear. It’s got tiny little flecks of… well, metal, or something that mimics it beautifully. This gives it that gorgeous sheen, that subtle (or not-so-subtle, depending on your vibe) sparkle that catches the light. It’s like giving your furniture a tiny, permanent spa day. And who doesn’t love a spa day? Even that grumpy old armchair could use a little pampering.
The “Why” Behind the Shine
Why would you inflict metallic paint upon your humble wooden abode? For starters, it’s an instant transformation. That boring beige bookshelf? Bam! Now it’s a gleaming beacon of literary awesomeness. That scratched-up coffee table that looks like it’s survived a minor bar brawl? Poof! Suddenly it’s a shimmering centerpiece, ready to host your most elegant cheese boards (or your emergency late-night snack stash, no judgment here).
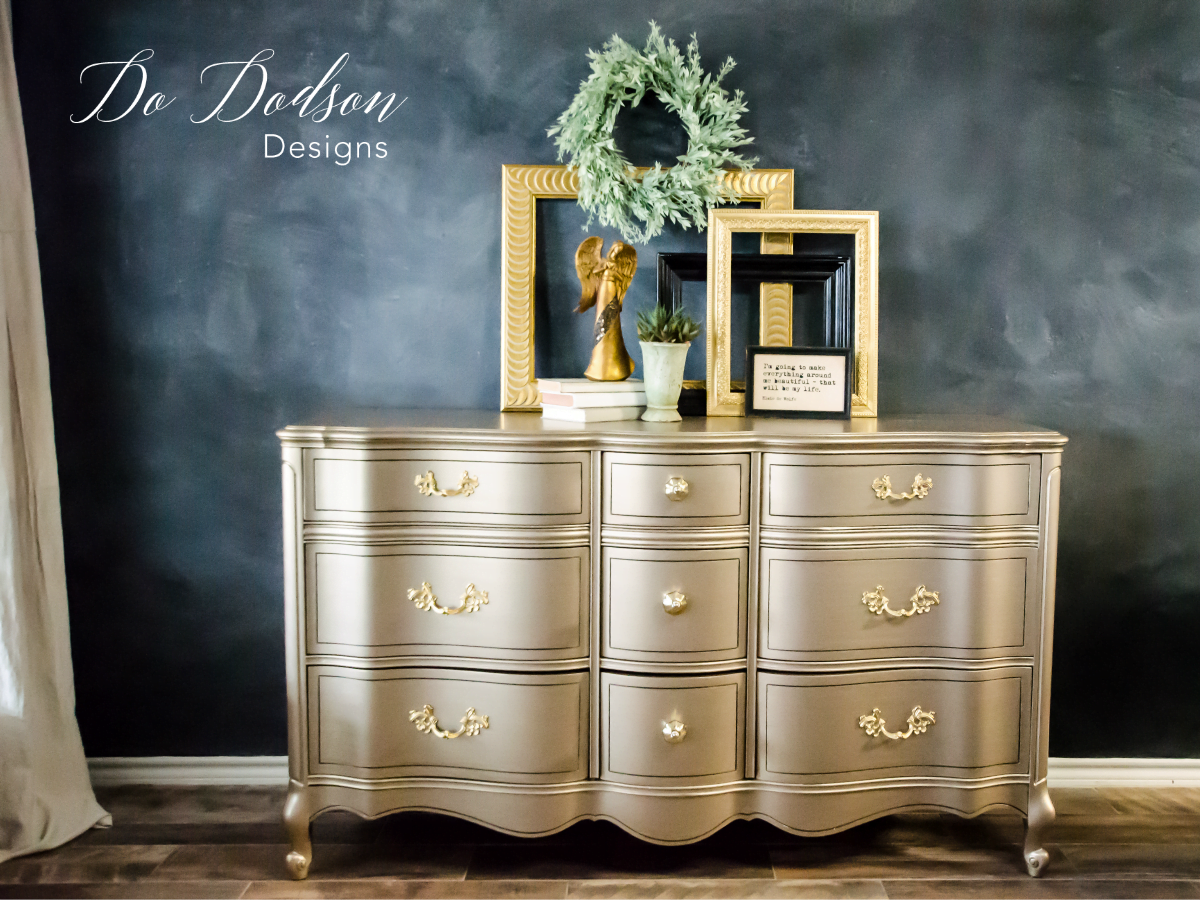
Plus, it’s incredibly versatile. We’re not just talking gold and silver, although those are classics for a reason. Think of brushed bronze that whispers of ancient empires, or a deep, mysterious copper that practically begs to be paired with succulents. There are even pearlescent finishes that shift color as you move, making your furniture look like it’s got a secret identity. It’s like having a chameleon for a coffee table, but way less likely to escape and eat your house plants.

And honestly? It’s just plain fun. There’s a certain satisfaction in taking something ordinary and making it extraordinary. It’s like you’ve unlocked a secret cheat code for home decor. Forget those pricey designer pieces; you’re the design guru now. You’re the Beyoncé of furniture makeovers.
The “How-To” (Without the Snooze Fest)
Okay, deep breaths. This isn’t rocket science, though sometimes it feels like it when you’re wrestling with a stubborn drawer handle. The first step, as with any good makeover, is preparation. This is where the magic really begins, and no, it doesn’t involve glitter bombs (yet). You need to clean your furniture. Get off all that dust, grime, and questionable sticky residue that’s accumulated over the years. Think of it as giving your furniture a good scrub-down before its big night out.
Next up: sanding. Now, don’t let this word send you running for the hills. It’s not about obliterating the furniture; it’s about giving the paint something to cling to. A light sanding, just enough to create a slightly rough surface, is your goal. It’s like giving your furniture a gentle exfoliation. Think of it as the furniture equivalent of a facial, but with sandpaper.
Then comes the primer. This is crucial, folks. Especially with darker metallic paints, a good primer will ensure that your color pops and doesn’t get absorbed into the wood like a thirsty sponge. Plus, it helps to even out any imperfections. Choose a primer that’s compatible with your paint. Don’t skimp on this step, unless you enjoy the look of muddy, uneven disappointment. Nobody wants that.
The Painting Party!
Now for the main event! You’ve got your metallic paint, your trusty brush (or roller, depending on the surface), and your newfound sense of DIY glory. Stir that paint well. I mean, really well. You want all those shiny bits to be evenly distributed. Imagine stirring a pot of liquid stardust. That’s the vibe.
Apply your paint in thin, even coats. This is where patience is your superpower. Resist the urge to slap it on thick, thinking you’ll get it done faster. Trust me, multiple thin coats are your best friend. They’ll give you a smoother, more professional finish. Think of it as layering a delicate masterpiece, not attacking it with a fire hose.
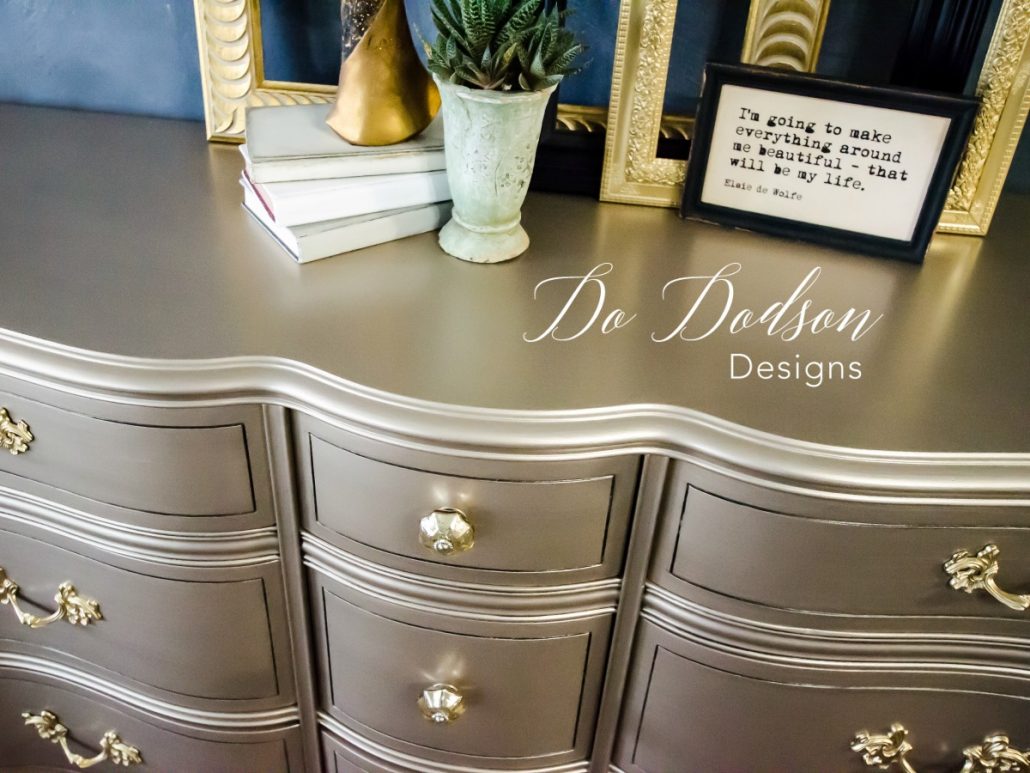
Let each coat dry completely before applying the next. This is where the coffee breaks come in handy. Embrace the waiting. It’s building anticipation. It’s like waiting for the perfect moment to reveal your stunning new look. And that look, my friends, will be glorious.
For that truly polished look, consider a topcoat. This isn't always necessary, but it can add an extra layer of protection and enhance the sheen. Some metallic paints have a built-in topcoat, so check your can. If not, a clear acrylic sealer or a polycrylic is a good choice. Again, thin coats are key. You’re sealing in that sparkle, not drowning it.
A Few Surprising Truths and Tips
Did you know that some ancient civilizations actually used ground metallic minerals in their paints? We’re talking about folks who were decorating pyramids and pharaohs’ tombs with shimmer! You’re basically tapping into a millennia-old trend. You’re not just painting furniture; you’re participating in history. Pretty cool, right?
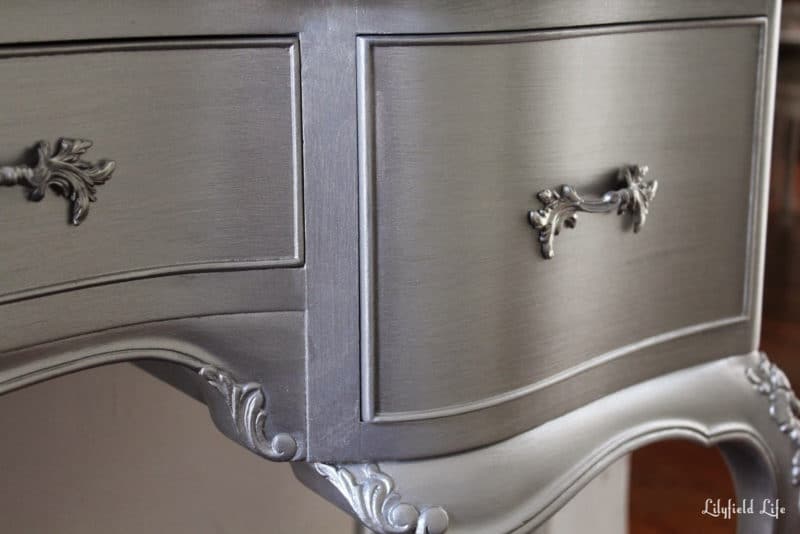
Brush strokes are your friend with metallic paint. They can actually enhance the metallic effect, creating subtle directional lines that catch the light beautifully. So don’t stress too much about perfectly invisible strokes; sometimes, they add to the charm.
Testing is key. Before you go all-in on that entire dresser, grab a scrap piece of wood (or the back of a drawer) and test your paint. See how it looks in different lights. See if your chosen color is truly the shade of your dreams. It’s like a dress rehearsal for your furniture’s big debut.
And finally, have fun! Seriously. This is your chance to be a little daring, a little bold. If you mess up? It’s paint! You can usually fix it. The worst that can happen is you end up with a uniquely textured, slightly-less-shimmery piece of furniture. And honestly, even that has a certain charm to it. So go forth, my friends, and let your furniture shine!