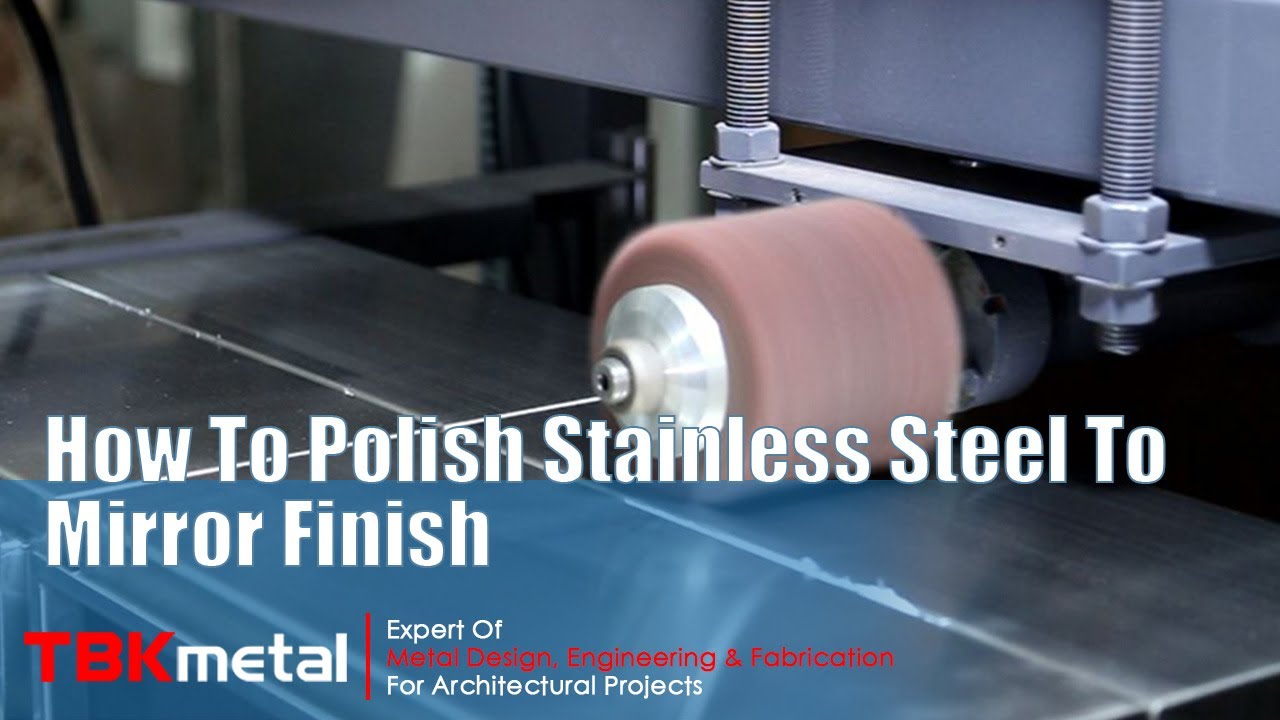
Polishing Stainless Steel To Mirror Finish
Ever looked at your shiny stainless steel appliances, your trusty kitchen knives, or even those cool car rims and thought, "Wow, how do they get them that shiny?" You know, that almost-liquid, can-see-your-reflection kind of shine? Well, get ready to unlock the secret because today, we're diving into the wonderful world of polishing stainless steel to a
Now, why should you even care about this? Let's be honest, life's too short to live with dull, fingerprint-smudged stainless steel. That gorgeous appliance you splurged on deserves to look its best. Plus, a super-smooth surface isn't just pretty; it's actually easier to clean. Imagine it: no more stubborn streaks or grime clinging on for dear life. It's like magic, but it's just good old-fashioned polishing.
The "Why" Behind the Shine
Think of your stainless steel like a tiny, microscopic mountain range. Even when it looks smooth to the naked eye, there are tiny bumps and valleys. These imperfections are where dirt, grease, and water spots love to hang out. Polishing essentially smooths out these tiny mountains, creating a flat, even surface. This is why it becomes so much easier to wipe clean – there are fewer places for gunk to hide!
It's kind of like the difference between trying to slide across a freshly paved road versus a gravel path. Which one is going to be smoother and faster? Exactly! And for your stainless steel, a mirror finish means it's reflecting light beautifully, making it look brighter, cleaner, and more luxurious. It’s the difference between a car that’s just been washed and one that’s been detailed to perfection.
So, whether it’s your beloved chef’s knife that you use to chop all those delicious meals, your sleek coffee maker that gets you going in the morning, or even that decorative bowl on your coffee table, giving it a mirror polish is like putting a crown on royalty. It just elevates the whole look and feel.
Getting Started: The Essential Toolkit
Before we grab our polishing rags and dive in, let's talk about what you'll need. Don't worry, this isn't rocket science. You probably have most of this stuff already, or it's super easy to get.
First up, you'll need some polishing compound. This is your magic potion. There are many kinds out there, designed for different metals, so make sure you grab one specifically for stainless steel. Some are pastes, some are creams, and some even come with little applicator pads. Think of these as the "exfoliant" for your metal's skin.
Next, you'll need some clean microfiber cloths. These are your best friends. They're super soft, lint-free, and great at picking up polish and buffing to a shine without scratching. I always have a stack of these handy – they're brilliant for everything from polishing to cleaning glasses to dusting. Never underestimate the power of a good microfiber cloth!
You might also want some fine-grit sandpaper (like 400-grit or higher) or a scotch-brite pad for those deeper scratches. This is for when your stainless steel has had a bit of a rougher life and needs a bit more persuasion. Think of it as a gentle scrub before the luxurious massage.
And finally, a little bit of elbow grease. Yep, the most important ingredient! But don't let that scare you. It's more about steady, consistent effort than brute force.
The Polishing Process: Step-by-Step
Alright, let's get down to business! The key here is to work in stages and be patient. Rushing is the enemy of a perfect shine.
Step 1: Cleanliness is Next to Shininess
Before you even think about polishing, your stainless steel needs to be spotlessly clean. Give it a good wash with warm, soapy water. Make sure you rinse off all the soap and then dry it thoroughly with a clean microfiber cloth. Any dirt or grit left on the surface will just get ground into the metal during polishing, and nobody wants that. It's like trying to paint a wall without cleaning it first – you'll end up with a messy, uneven finish.
Step 2: Tackling Those Scratches (If You Have Them)
If your stainless steel has noticeable scratches, you'll want to tackle them first. This is where the fine-grit sandpaper or scotch-brite pad comes in. Always work in the direction of the existing grain of the stainless steel. You'll find that most stainless steel has a subtle brushed pattern. Following this grain is crucial to avoid creating new, visible scratches. Imagine you’re brushing a pet’s fur – you always go with the flow, right? Same principle here.

Start with a slightly coarser grit if the scratches are deep, and then move to finer grits to blend them in. The goal is to make the scratch disappear, not to create a new, shiny patch that stands out. This part requires a bit of patience, but the result is worth it.
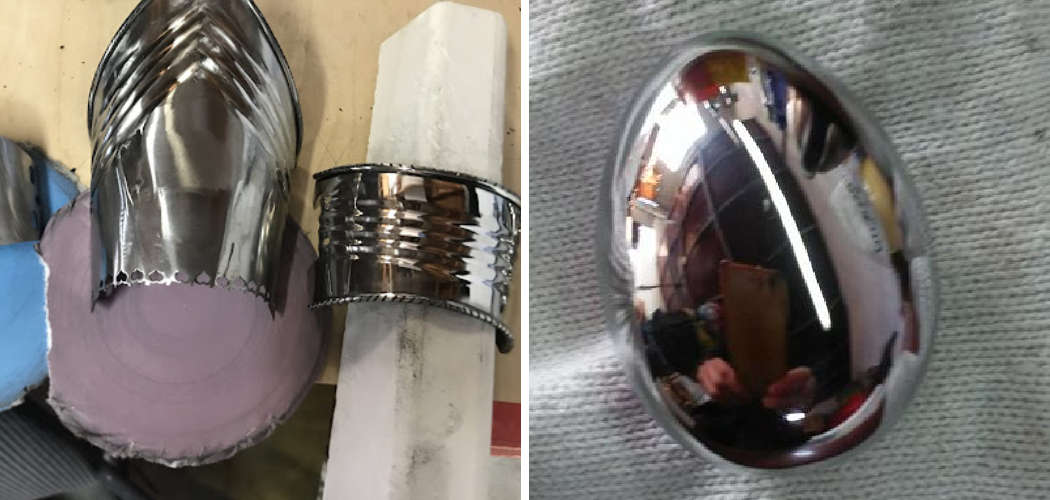
Step 3: The Polishing Magic
Once your surface is clean and any scratches are addressed, it's time for the polishing compound. Apply a small amount of the compound to a clean microfiber cloth, not directly to the stainless steel. You don't need a ton; a little goes a long way.
Now, start buffing the stainless steel in a circular motion or back-and-forth, again, following the grain. Apply moderate pressure. You'll start to see the compound working its magic, filling in those microscopic imperfections and starting to bring out a sheen. It's like you're gently rubbing away all the little worries and stress marks from the metal.
Keep working the compound over the surface, reapply a tiny bit to your cloth as needed. You're looking for an even coverage and a consistent shine developing across the entire area. Don't be afraid to put a bit of effort into it; that's where the "elbow grease" comes in!
Step 4: The Reveal – Buffing to Perfection
This is the moment you've been waiting for! Once you've applied the polish and buffed it in, take a fresh, clean microfiber cloth and start buffing the surface. This is your final buffing stage, and this is where the mirror finish truly emerges. Use a light touch and a quick, circular motion.
You’ll be amazed as you see that dull surface transform into a blindingly brilliant, reflective masterpiece. It's like watching a caterpillar turn into a butterfly. The more you buff, the shinier it gets. Keep going until you have that glorious, streak-free, see-your-face shine. You might even find yourself doing a little dance of joy – I know I do!
A Few Extra Tips for Mirror Finish Mastery
To really nail that mirror finish, here are a few more things to keep in mind:
- Work in sections: Especially if you're polishing a large item like a refrigerator, tackle it in manageable sections. This ensures you don't let the polish dry out before you can buff it.
- Ventilation is key: Some polishing compounds can have a strong smell. Make sure you're working in a well-ventilated area.
- Test first: If you're unsure about a particular polish or method, test it on an inconspicuous area first. Better safe than sorry!
- Regular Maintenance: Once you've achieved that glorious shine, a quick wipe-down with a soft cloth after use will help maintain it. For a quick polish between deep cleans, a dab of olive oil on a cloth can work wonders for a temporary gleam.
- Don't overdo it: While you want a great shine, don't go overboard with aggressive sanding or polishing. You don't want to wear down the stainless steel itself.
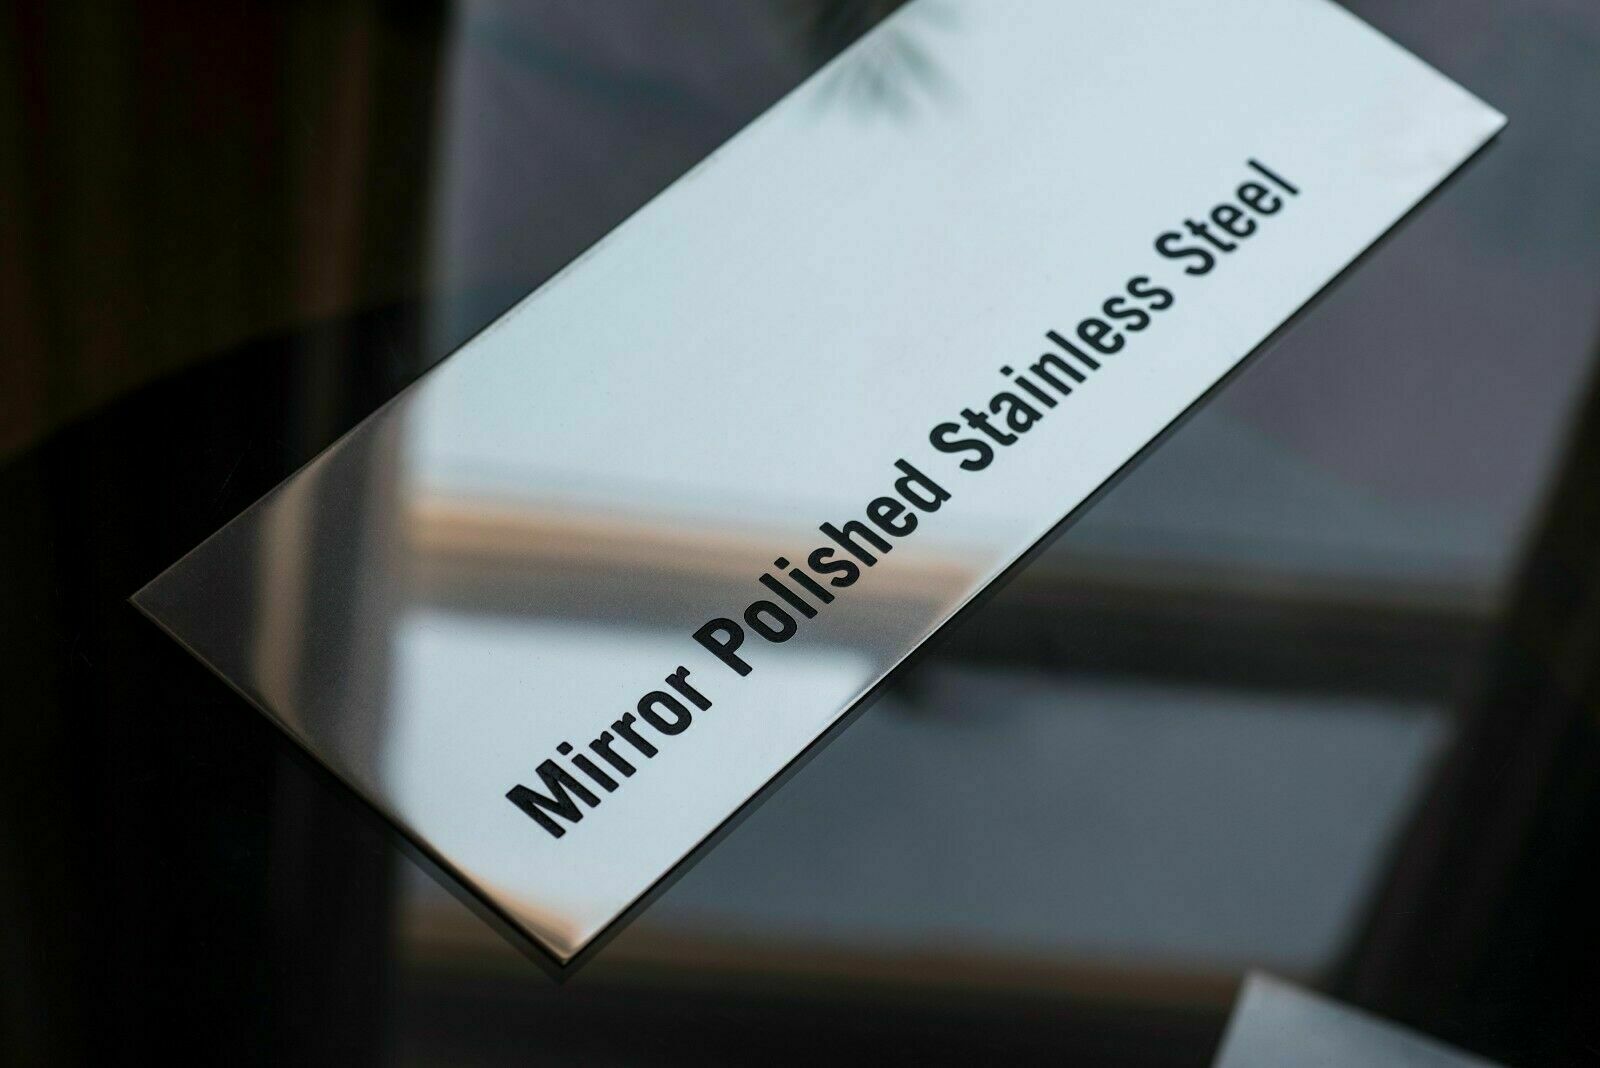
Polishing stainless steel to a mirror finish might seem like a task reserved for professionals, but as you can see, it’s entirely doable for anyone. It’s a rewarding process that not only makes your items look spectacular but also makes them easier to care for. So, go forth, embrace the shine, and let your stainless steel reflect your own brilliant style!