Remove Rumble In Audacity Viunyl Rip Tube Preamplifier
Hey there, fellow audio adventurers! So, you've been on a bit of a treasure hunt, right? You've unearthed some old vinyl, dusted off your turntable, and you're ready to rip those sweet, sweet tunes onto your digital kingdom. High five for that! But, as we all know, the journey from analog groove to digital glory isn't always sunshine and perfectly clean audio. Sometimes, you get a little… rumble. And if you're using that snazzy Viunyl Tube Preamplifier to give your vinyl that warm, fuzzy hug, you might be noticing that rumble making its way into your recordings. Don't fret, my friends! Today, we're going to tackle that pesky rumble like the audio ninjas we are. Consider this your friendly, no-stress guide to banishing that unwanted vibration from your precious rips. It’s not rocket science, and it’s definitely not boring, so let’s dive in!
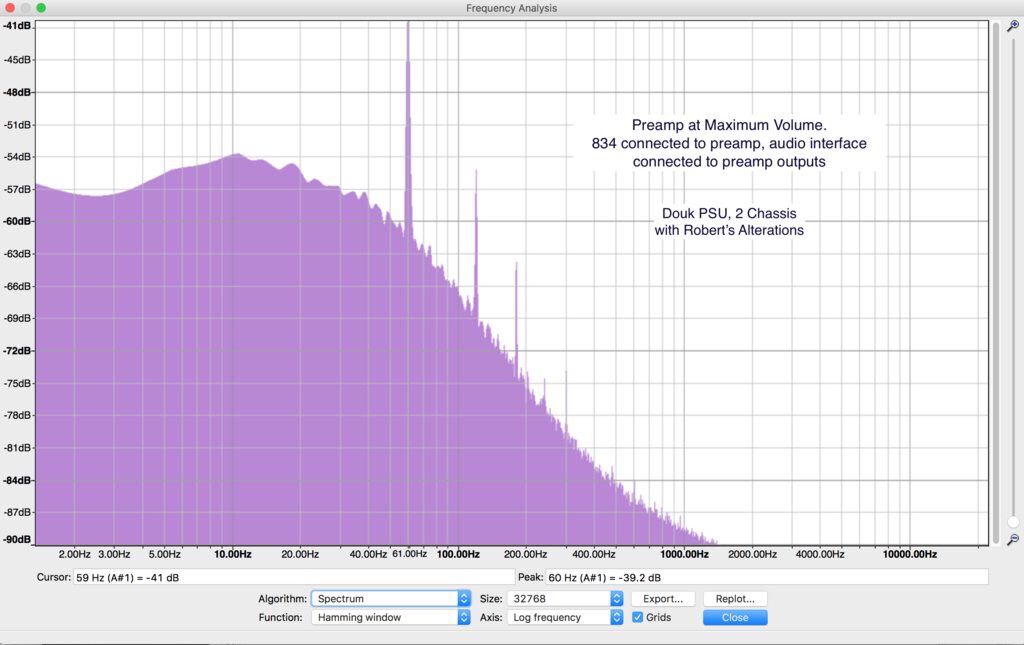
First things first, what is this dreaded rumble we’re talking about? Think of it as the elephant in the room, or rather, the truck rumbling past your window when you’re trying to record your delicate sonatas. On a vinyl record, this low-frequency vibration can come from a few places. It could be the turntable itself – maybe the motor isn’t as smooth as it could be, or perhaps the platter has a bit of a wobble. It can also be transmitted through your turntable's feet from the surface it's sitting on. You know, the usual suspects in the "why is my audio not perfect?" investigation. And when you’re using a tube preamplifier like the Viunyl, which is designed to capture all that analog goodness, it’s going to faithfully reproduce that rumble right along with the music. It’s like inviting that noisy neighbor to your quiet dinner party – they might have good intentions, but the peace is shattered!
Now, before we even touch Audacity, let’s talk about prevention. Because, as they say, an ounce of prevention is worth a pound of cure, especially when it comes to audio. Are you sure your turntable is set up like a champ? Give it a little check-up. Is it sitting on a sturdy surface? A wobbly table is basically an amplifier for vibrations. Consider a dedicated, heavy isolation platform or even some specialized turntable isolation feet. They look fancy, and they work. Think of them as little shock absorbers for your turntable. It’s like giving your turntable a comfortable, vibration-dampening spa day. Happy turntable, happier audio!
Another culprit can be the stylus pressure. Too light, and it might not track the groove properly, leading to all sorts of noise. Too heavy, and well, it’s just not good for your precious vinyl or your stylus. Make sure you’ve got that set according to your cartridge’s recommendations. And while we’re at it, is your tracking force dial set correctly? It’s a small thing, but it can make a surprisingly big difference. Think of it as finding the sweet spot – not too much pressure, not too little. Just right, like Goldilocks and her porridge.
Okay, so you’ve checked your turntable, your isolation, your tracking force – everything seems as good as it can be, but that rumble is still stubbornly present in your Viunyl-ripped audio. No worries, that’s where our digital wizardry comes in! And the magic wand we’ll be waving today is none other than Audacity. For a free, open-source audio editor, Audacity is an absolute powerhouse. It’s like finding a multi-tool at a dollar store – you’re amazed by what it can do for such a low (read: no!) price.
First, you need to actually get your audio into Audacity. This part is usually pretty straightforward. If you’re recording directly from your Viunyl into your computer, make sure you've got your input source set correctly in Audacity's preferences. Select your line-in or USB interface, and do a test recording. You should see those wavy lines representing your audio. If you’re seeing nothing, or just a solid line, it’s time to go back to the drawing board on your connection. Happens to the best of us!
Once your audio is loaded into Audacity, the fun begins! You'll want to zoom in on a section of the audio that contains only the rumble. This is crucial. Find a spot where there’s no music playing – maybe the silence between tracks, or the very beginning or end of your recording. This is your rumble blueprint. You're essentially going to teach Audacity what the rumble sounds like so it can subtract it later. It’s like showing a detective a mugshot of the culprit!

To zoom in, you can use the zoom tools in Audacity, or a handy shortcut: Ctrl+E (Windows/Linux) or Cmd+E (Mac) will zoom to fit horizontally, and then you can use the magnifying glass tool to zoom in further on a specific section. You want to see those low-frequency waves really clearly. They'll look like slow, steady undulations at the bottom of your waveform. If you can’t find a totally silent section, try to find one with the least amount of music and focus on the prominent low-end hum. It’s a bit like finding the quietest corner in a noisy room.
The "Noise Reduction" Dance in Audacity
Now, for the main event: the Noise Reduction effect in Audacity. It sounds a bit like it’s there for any noise, but it's particularly good at tackling persistent hums and rumbles. Here’s the step-by-step, no-sweat version:
Step 1: Get the Noise Profile.
Select that little snippet of pure rumble you found. Go up to the 'Effect' menu, and then choose 'Noise Reduction…'. A little window will pop up. Don’t change anything yet! Just click the button that says 'Get Noise Profile'. Poof! You've just shown Audacity the enemy's face. It now knows exactly what that rumble sounds like. Easy peasy, right?

Step 2: Apply the Noise Reduction.
Now, you need to tell Audacity to remove that noise from the entire track. The easiest way to do this is to select your entire audio track. You can do this by clicking on the track header or by using Ctrl+A (Windows/Linux) or Cmd+A (Mac). Once the whole track is selected, go back to the 'Effect' menu, and select 'Noise Reduction…' again. This time, you'll see a few sliders and options.
The two most important sliders here are:
- Noise Reduction (dB): This controls how much of the noise Audacity tries to remove. A good starting point is usually between 6 dB and 12 dB. If you go too high, you might start to hear artifacts or a "watery" sound to your music, which is definitely not what we’re going for! Think of it as turning down a volume knob – too much, and you lose the signal.
- Sensitivity: This affects how aggressively Audacity identifies noise. Higher sensitivity means it will target more subtle noises. Start with a moderate setting.
- Frequency Smoothing (bands): This helps to blend the reduction, making it sound more natural. A small number of bands (like 3) is often a good starting point.
Audacity has a "preview" button, which is your best friend here. Click it, and you can hear what the reduction will sound like before you commit. Play around with the sliders until you find a setting that significantly reduces the rumble without making your music sound like it's being played underwater. This is where the "art" of audio editing comes in. It’s like tuning a guitar – you want it to sound good, not tinny or muffled.
Once you’re happy with the preview, click 'OK' and let Audacity work its magic. You should see your waveform change, and when you play it back, that rumble should be significantly quieter, or even gone!
A Little Cautionary Tale (and some tips!)
Now, a word of caution: the Noise Reduction effect is powerful, but it's not magic. It works best on consistent, predictable noises like a hum or rumble. It's not so great for sudden pops, clicks, or scratchy sounds. For those, you might need other tools like the "Click Removal" effect (which, yes, is also in Audacity!).
Also, remember that less is often more. Overdoing noise reduction can really damage the quality of your music. You want to remove the rumble, not the soul of the song! It's a delicate balance. Think of it like adding salt to food – a pinch enhances the flavor, too much ruins the dish. You’re aiming for a subtle improvement, not a complete sonic overhaul that leaves your music sounding sterile.
If you find that even with careful adjustments, you're still not getting the results you want, don't despair! Sometimes, the issue might be more deeply ingrained in the original recording. In those cases, you might need to revisit your turntable setup again, or even consider if the vinyl itself is in less-than-perfect condition. But for most common rumbles, Audacity’s Noise Reduction is your trusty sidekick.
What if you’ve applied the Noise Reduction and it’s… not quite there? Don’t be afraid to undo (Ctrl+Z or Cmd+Z – the universal undo button!) and try again with slightly different settings. Experimentation is key! You might need to try getting a new noise profile from a different section of silence if the original one wasn't as clean as you thought. It’s all part of the learning process, and honestly, it can be quite satisfying when you nail it.

Sometimes, you might notice that after applying noise reduction, the bass frequencies seem a little bit… thinner. This is a common side effect. If this happens, you might want to consider using Audacity's "Equalization" effect after noise reduction. You can boost those low frequencies back up a bit to restore some of the warmth. Again, a little goes a long way. You’re not trying to create a subwoofer out of your speakers, just to restore a bit of that natural fullness.
Another little trick up your sleeve could be Audacity’s "High-Pass Filter." This effect is specifically designed to remove frequencies below a certain point. For rumble, which is typically very low-frequency noise, a high-pass filter set around 20-30 Hz can often do a fantastic job of cleaning things up without affecting the musical content. This can be a gentler approach than broad-stroke noise reduction if the rumble is very consistent and low.
To use the High-Pass Filter:
- Select your entire track.
- Go to Effect > Filter Curve EQ.
- Select the "High-pass filter" preset from the dropdown menu.
- Adjust the "Frequency" slider to your desired cutoff point (start around 20-30 Hz).
- Use the "Preview" button to check the results.
- Click "OK" when you’re happy.
Remember to always save your original ripped audio file before you start applying effects. That way, if you accidentally mess something up, you can always go back to the original. It’s like having a “do-over” button for your audio journey. Nobody wants to lose their hard work, especially when it involves that fantastic Viunyl Tube Preamplifier!
So there you have it! You’ve navigated the sometimes-murky waters of vinyl ripping and emerged victorious, with your music sounding cleaner and clearer than ever. The rumble has been silenced, and your digital collection is all the richer for it. It’s incredibly satisfying to take those beloved analog sounds and give them a new life in the digital realm, especially when you’ve overcome those little audio gremlins. Pat yourself on the back, my friend! You've not only preserved some great tunes, but you've also learned a valuable skill. Now go forth and rip with confidence, knowing that you’ve got the tools and the know-how to make your audio shine. Happy listening!