
Removing Scorch Marks From Stainless Steel
Hey there, kitchen warriors and culinary adventurers! Ever find yourself in that all-too-familiar panic, staring down a saucepan or a sheet pan that’s looking a little… crispy? You know the one. That stubborn, smoky shadow of a forgotten moment, a testament to a delicious meal that perhaps got a tiny bit too friendly with the heat. Yep, I’m talking about those dreaded scorch marks on your beloved stainless steel.
Don’t you worry your pretty little head about it! For a long time, I thought those marks were the permanent souvenirs of my cooking escapades. A badge of shame, if you will. But guess what? They’re not! Think of them as little puzzles, waiting for you to unleash your inner cleaning detective. And the best part? Solving them is surprisingly… dare I say it… fun!
Unlocking the Secrets of Sparkly Stainless Steel
Seriously, who knew that a little bit of elbow grease and some clever kitchen hacks could bring back the gleam to your stainless steel? It’s like a mini-makeover for your cookware, and honestly, the satisfaction you get is practically euphoric. Imagine this: your trusty skillet, once a battlefield of burnt bits, now shining like a polished mirror. It’s not just about cleanliness; it’s about reclaiming your tools, breathing new life into them, and feeling that little boost of accomplishment.
And let’s be honest, a shiny pot and pan just feel more inspiring to cook with, right? It’s like putting on a fabulous outfit before a big event. You feel ready, capable, and just a little bit more fabulous yourself. So, forget those sad, scorched memories. Let’s dive into how we can banish those marks and get your stainless steel singing again!
The Gentle Giant: Baking Soda to the Rescue!
Our first hero in this cleaning saga is a true kitchen staple: baking soda. This humble powder is like a mild, yet incredibly effective, abrasive. It’s gentle enough not to scratch your precious stainless steel, but tough enough to tackle those stubborn burnt-on bits.
So, how do we deploy this miracle worker? It’s as easy as making a paste! Grab a bowl and mix some baking soda with a little bit of water. You’re looking for a consistency that’s like toothpaste – thick but spreadable.
Now, take that paste and apply it generously to the scorched areas. Let it sit for a while. I like to let it hang out for at least 15-30 minutes, or even longer for those really stubborn marks. Think of it as giving the baking soda some time to work its magic, to soften up those burnt-on bits and make them a whole lot less… clingy.
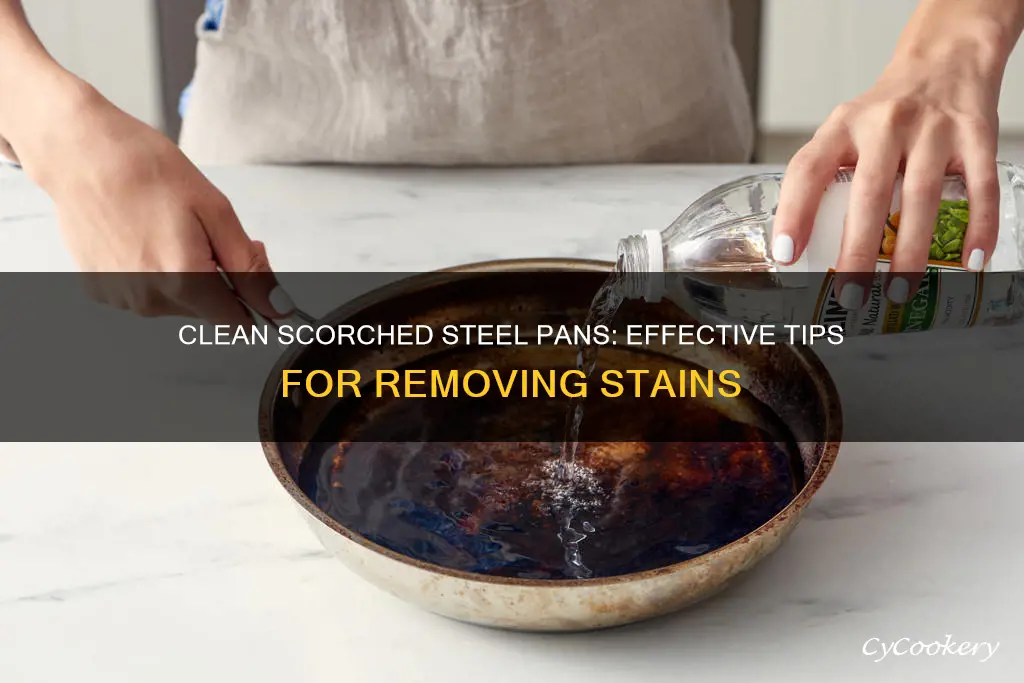
Once it’s had its spa treatment, grab a non-abrasive sponge or a soft cloth. Gently start scrubbing in a circular motion. You’ll be amazed at how easily those marks start to lift! Rinse thoroughly, and voila! You should see a significant improvement, if not a complete disappearance of the scorch marks. It’s like a little bit of kitchen magic, right there in your sink.
For those super tenacious marks, don’t be afraid to repeat the process. Sometimes, a little patience and a second helping of baking soda paste are all it takes. It’s all part of the fun of discovery, don't you think?
The Tangy Tackler: Vinegar to the Rescue!
Next up in our cleaning arsenal is another kitchen marvel: vinegar! Specifically, white vinegar. This tangy liquid is a fantastic degreaser and can also help to break down those burnt-on residues.
You have a couple of options here. For milder scorch marks, you can try heating some vinegar in the pot or pan. Pour in enough vinegar to cover the bottom of the pan, or even the entire scorched area if it’s on the side. Then, gently heat it on the stovetop (don’t boil it vigorously, just a gentle simmer).
Let it simmer for a few minutes, and then carefully pour out the hot vinegar (be cautious, it’s hot!). You can then use a sponge or cloth to wipe away the loosened debris. This is a great way to loosen up the gunk without much scrubbing.
For more stubborn stains, you can combine the power of baking soda and vinegar. Make your baking soda paste as described before, apply it, and then pour a little vinegar over the top. It will fizz and bubble – that’s the chemical reaction doing its thing, working to lift those tough stains! Let that mixture sit for a bit, then scrub and rinse.
Honestly, watching that fizzing action is surprisingly satisfying. It’s like a mini science experiment happening right in your kitchen, and you’re the brilliant scientist who’s about to achieve a sparkling clean outcome!
The Creamy Contender: Cream of Tartar to the Rescue!
Ever used cream of tartar? It’s usually found in the baking aisle, and it’s a fantastic secret weapon for bringing back the shine to stainless steel. It’s a mild acid, which makes it great for tackling discoloration and those pesky burnt marks.
Similar to baking soda, you can create a paste. Mix cream of tartar with a little bit of water or lemon juice. Lemon juice adds an extra punch of cleaning power and a lovely fresh scent!

Apply this paste to the scorched areas and let it sit for about 30 minutes. Then, gently scrub with a soft cloth or sponge. Rinse and admire your work! Cream of tartar is particularly good at removing discoloration and restoring that lovely silvery sheen to your stainless steel.
It’s like a spa day for your cookware, and you’re the one giving them the luxurious treatment. Who knew that simple pantry ingredients could be so powerful and, dare I say, enjoyable to use?
A Little Extra Sparkle: The Power of Bar Keepers Friend
Now, if you’re looking for something a little more heavy-duty, or if the natural methods are just not quite cutting it for those really deep scorch marks, there’s a product that many swear by: Bar Keepers Friend.
This stuff is a cleaning powerhouse! It contains oxalic acid, which is a real champion at removing rust, tarnish, and yes, those stubborn burnt-on food bits. You can find it in powder or liquid form.
Always follow the instructions on the packaging, and remember to use it in a well-ventilated area. Apply a small amount to a damp sponge or cloth and gently rub the affected areas. You’ll likely see those scorch marks start to disappear before your eyes.
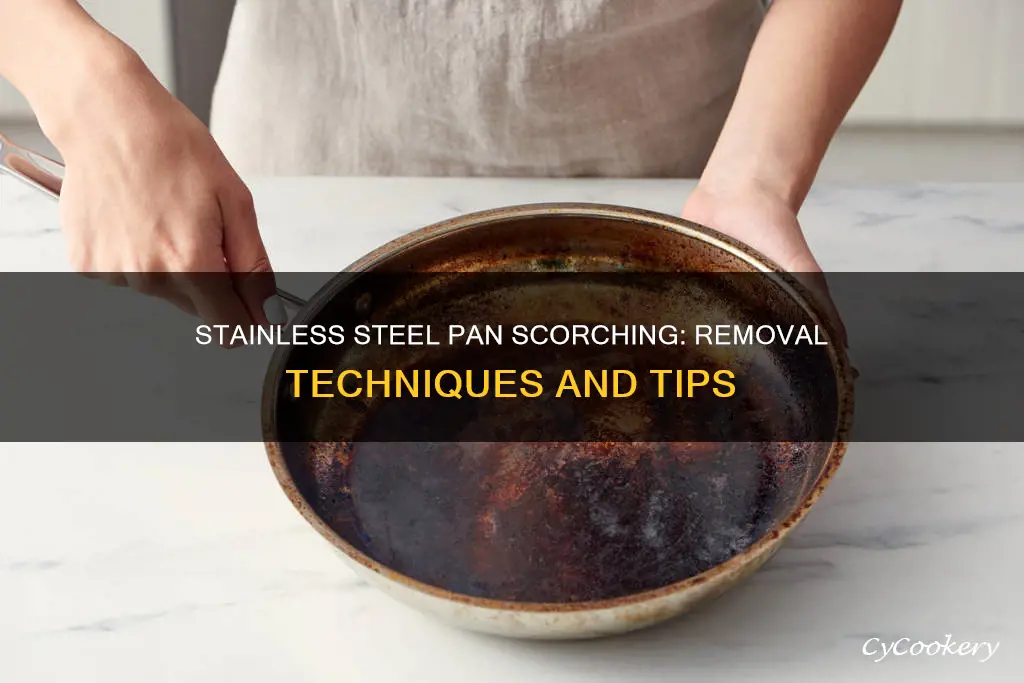
It’s important to be a little more cautious with Bar Keepers Friend, as it’s a stronger cleaner. Always test it on an inconspicuous area first, and never leave it on stainless steel for longer than recommended. But when used correctly, it can be a lifesaver for those truly challenging scorch situations.
It’s like having a superhero in your cleaning cupboard, ready to swoop in and save the day when all other methods have failed!
Beyond the Scorch Marks: The Joy of Restoration
You see? Removing scorch marks from stainless steel isn’t a chore; it’s an opportunity! An opportunity to learn, to experiment, and to feel that incredible sense of accomplishment when you bring something back from the brink of burnt. It’s about reconnecting with your tools, appreciating their resilience, and realizing that with a little know-how, you can tackle almost anything.
Each successful cleaning session is a little victory, a testament to your resourcefulness and your desire for a beautiful, functional kitchen. It’s about transforming potential frustration into a moment of pure, sparkling satisfaction. And honestly, who wouldn’t want a little more of that in their life?
So, the next time you spot a scorch mark, don’t sigh in despair. Smile! You’ve got a new cleaning adventure waiting for you. You have the power to restore, to renew, and to make your stainless steel gleam like new. And who knows what other cleaning marvels you might discover along the way? The world of sparkling surfaces is your oyster! Keep exploring, keep learning, and keep that kitchen shining!