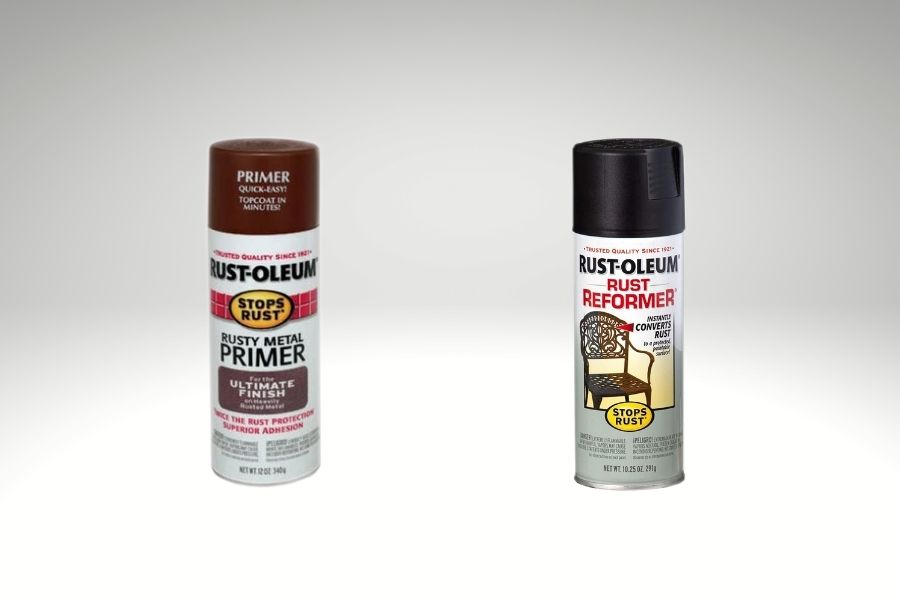
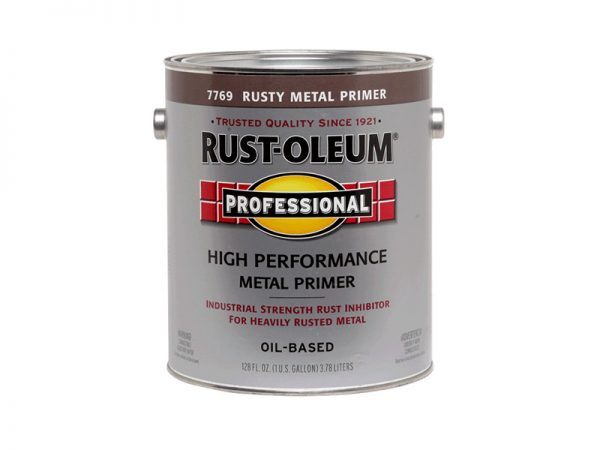
Rustoleum Rusty Metal Primer Instructions

You know, I remember this one time, I was helping my uncle Gene tackle this… ambitious… project. He’d decided his antique garden gate, a wrought-iron beauty that had seen better days (and by "better days," I mean days that weren't actively trying to crumble into dust), needed a serious makeover. This gate was less "charming patina" and more "exploding rust monster." Seriously, if rust could have a sound, it would have been this gate, making a low, grumbling, "I'm about to fall apart" noise.
Gene, bless his optimistic soul, grabbed a can of what he thought was regular spray paint. He spent an afternoon valiantly coating this rust bucket, convinced he was bringing it back to life. A week later? It looked… worse. The paint was peeling in sheets, exposing even more of the angry red corrosion underneath. It was a masterpiece of futility. That’s when I learned a valuable lesson: some jobs just aren't about slapping on a pretty coat. They’re about preparation, and sometimes, that means getting a little… specific.
And that, my friends, is precisely where our hero, Rust-Oleum Rusty Metal Primer, struts onto the stage. Because let's be honest, dealing with rusty metal can feel like wrestling a grumpy badger. You can't just ignore the problem; it’ll just keep gnawing away. You need something that understands the grumpy badger, something that can calm it down and make it… well, less badger-like.
So, What's the Big Deal with This Primer?
Alright, spill the beans, what is this magic elixir? Essentially, Rust-Oleum Rusty Metal Primer is your first line of defense against the relentless march of oxidation. It’s designed to tackle those already-rusty surfaces and, more importantly, prevent further rusting. Think of it as a superhero cape for your metal, but instead of fighting villains, it’s fighting… rust. And it’s pretty darn good at its job.
Why not just use any old primer, you ask? Good question! Regular primers are great for clean, bare metal or surfaces that are already in decent shape. But for that truly crusty, flaky, "I’ve been neglected for decades" kind of metal? You need something tougher, something designed to bond to the imperfections, and that’s where this bad boy shines.
It’s like trying to build a sturdy house on a foundation of sand versus a foundation of solid rock. You want that rock-solid base, and this primer provides it. It’s not just about aesthetics; it’s about durability and longevity.
Let's Get Down to Business: How to Actually Use It
Okay, enough with the metaphors. You've got a rusty object, and you've got a can of this primer. Now what? The good news is, it’s not rocket science. The even better news? You probably have most of the stuff you need already. Let’s break it down, step-by-step, with a healthy dose of practicality.

Step 1: The Great Rust Reveal (and Removal)
First things first, we need to assess the damage. Remember that gate Gene was painting? He skipped this part entirely, which was his first mistake. You can’t just paint over loose, flaky rust. It’s like trying to put lipstick on a pig that’s covered in mud. The mud (rust) will just show through.
So, grab yourself a wire brush (manual or on a drill, depending on your energy levels and the extent of the rust) and a stiff scraping tool. You want to get off as much of the loose, flaky rust as you possibly can. Think of it as giving your metal object a good, vigorous scrub. Get into those nooks and crannies. The goal here is to expose as much sound metal as possible. It doesn't have to be perfectly smooth or bare metal, mind you. Some light surface rust is actually okay – the primer is designed to work with that. But the chunky, falling-off stuff? That's gotta go.
A word of caution here: wear some safety glasses. Seriously. Bits of rust and metal can fly off, and you really, really don't want them in your eyes. Trust me on this. Also, consider wearing gloves. Rust can be… well, rusty, and you might not want that lingering on your hands. And if you’re doing this indoors (which I wouldn’t recommend unless you have excellent ventilation), lay down some drop cloths. This can get messy.
Step 2: The De-Grubbing Process
After you've scraped and brushed, you'll likely have a nice layer of dust and debris. We need to get rid of that. Wipe down the surface with a clean cloth. If there's any grease, oil, or general grime, you might want to use a little bit of mineral spirits or a degreaser. Just make sure whatever you use is compatible with metal and won't leave behind its own residue. Again, cleanliness is key for good adhesion. You want that primer to stick, not slide off.
Think of it like preparing a canvas for a painter. You wouldn't just slap paint on a dirty, dusty canvas, would you? You’d clean it, maybe even prime it first. Same principle applies here. The cleaner and smoother (relatively speaking) the surface, the better your primer will do its job. And hey, while you’re at it, check the weather forecast if you’re working outdoors. You don't want rain to wash away all your hard work!
Step 3: Shake, Rattle, and Roll (or Spray!)
Now for the fun part! If you have the spray can version, give it a good, thorough shake. I’m talking at least a minute or two after you hear the mixing ball rattling around. This is crucial. If you don’t shake it enough, the pigments and solvents won’t be properly mixed, and you’ll end up with an uneven finish, or worse, the primer won’t be as effective. Don’t be shy; shake it like you mean it!
If you have the liquid version (for brushing or rolling), you’ll need to stir it well. Again, make sure you’re getting to the bottom of the can to incorporate all the components. You’re looking for a consistent color and texture. No lumps, no separated goo. If it looks like it’s been through a rough night, give it another stir.
Step 4: The Application - Layer by Layer
Here's where the actual priming happens. If you're using the spray can, hold it about 10-16 inches away from the surface. Use smooth, even strokes, and overlap each stroke by about 30-50%. Don’t try to get full coverage in one go. It’s better to apply two or three thin coats than one thick, drippy mess. Trust me, drips are the enemy of a good finish.

Apply it in a well-ventilated area. Seriously, open those windows, crank the fan. The fumes can be… potent. And wear a respirator if you have one. Your lungs will thank you later.
If you’re brushing or rolling, use a good quality brush or roller. Again, thin, even coats are the name of the game. Work in sections, and try to maintain a wet edge so you don’t get lap marks. You want a smooth, consistent layer of primer. Don’t leave any areas bare, and don’t let it pool up.
Step 5: Drying Time - The Patience Game
This is where your patience will be tested. Rust-Oleum Rusty Metal Primer needs time to dry and cure. Check the can for specific drying times, but generally, you’re looking at about 20-30 minutes to dry to the touch. However, that doesn’t mean it’s ready for its topcoat.
For recoating, you'll usually want to wait at least 2-4 hours. Some people even prefer to wait 24 hours for a full cure. The longer it cures, the harder and more durable the primer will be. Think of it like letting a glue set completely before putting stress on it. If you rush it, you’re asking for trouble.
And if you’re going to paint over it with a different color or finish? Make sure your topcoat is compatible with oil-based primers. Most standard enamel or acrylic paints are fine, but it’s always a good idea to check the instructions on your topcoat can.
Tips and Tricks from the Trenches
So, you've got the basics down. But what else can you do to make sure your project is a resounding success and not another Gene-level disaster? Here are a few extra nuggets of wisdom.
- Test Patch First: If you’re unsure, or if the metal is particularly challenging, do a small test patch in an inconspicuous area. This lets you see how the primer adheres and how it looks before you commit to the whole project.
- Temperature Matters: Try to work in moderate temperatures. Extreme heat or cold can affect drying and curing times, and the quality of the finish. The ideal range is usually between 50°F and 85°F (10°C to 30°C).
- Humidity is the Enemy: High humidity can also slow down drying and potentially cause issues. Try to pick a dry day for your project.
- Don't Forget the Edges: Metal rusts from the edges inward. Make sure you pay extra attention to any cut edges or corners. Get good coverage there.
- Maintenance is Key: Even after you’ve primed and painted, don’t just forget about your metal. Regular cleaning and touch-ups can extend the life of your finish.
- Proper Disposal: When you’re done, make sure you dispose of any leftover paint, empty cans, and cleaning materials responsibly. Check with your local waste disposal facility for guidelines.
When in Doubt, Read the Can!
Look, I've given you a good rundown, but the absolute best source of information is always the can itself. Rust-Oleum has been around for a long time, and they know their stuff. The instructions on the can are tailored specifically to that product. So, before you even start, give it a good read. Pay attention to any warnings or special instructions. It’s like a little cheat sheet from the experts.
And if, by some chance, you encounter a situation that feels… unusual, don’t hesitate to check out the Rust-Oleum website or even give their customer service a call. They’re usually happy to help. Better to ask a silly question than to end up with a project that looks like it survived a minor apocalypse.
So there you have it. The seemingly daunting task of dealing with rusty metal, demystified. With a little elbow grease, a healthy dose of patience, and the right primer, you can transform those sad, rusty relics into proud, protected pieces. And who knows, maybe your next project will be so successful, you’ll be writing your own DIY blog post about it. Happy priming!