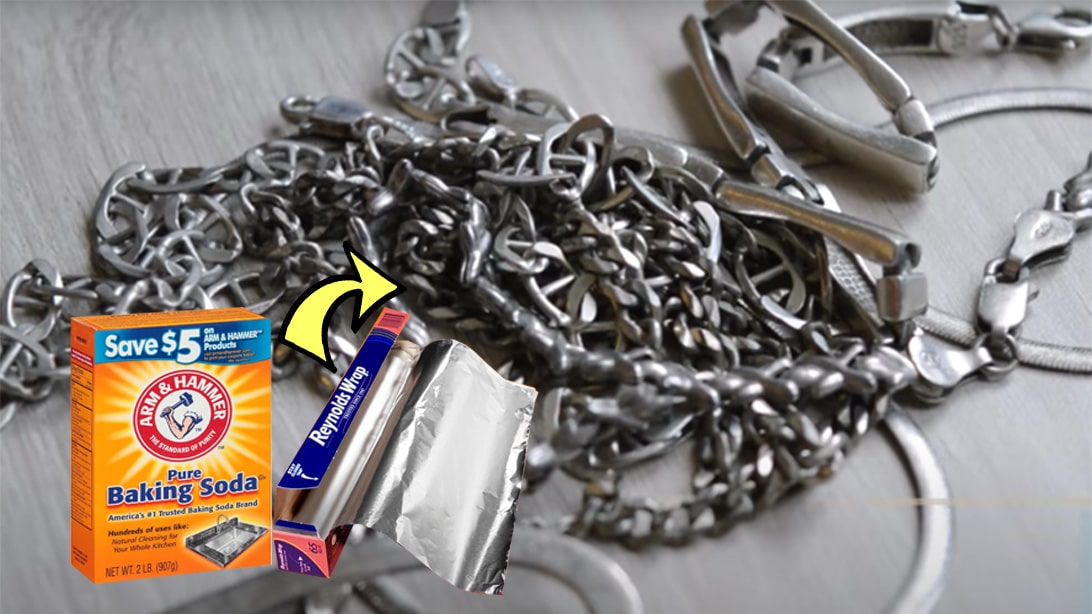
Silver Cleaning With Baking Soda And Aluminum Foil

Ever looked at your favorite silver earrings, that charming little spoon from Grandma, or maybe a fancy decorative piece, and noticed it’s lost its sparkle? It's that dull, grayish tarnish that seems to creep in out of nowhere, right? You know, the kind that makes your lovely silver look more like something you’d find at the bottom of a dusty old chest instead of on your dresser or dining table. It’s a bummer, for sure. And you’ve probably considered those fancy, sometimes pricey, silver polishing cloths or creams. They work, sure, but sometimes you just want a quick, easy, and… well, a little bit magical solution, don't you think?
Well, get ready to have your mind gently blown, because there’s a super simple, surprisingly effective, and dare I say, intriguing way to bring back that glorious shine using things you probably already have in your kitchen right now. Yep, we’re talking about the dynamic duo: baking soda and aluminum foil.
Seriously, just those two? It sounds almost too good to be true, like a magic trick you’d see on a kids’ show. But trust me, it’s science, and it’s pretty darn cool.
So, How Does This Kitchen Alchemy Work?
Okay, let’s dive into the fun stuff. Tarnish on silver isn't just a surface thing; it's actually a chemical reaction. When silver comes into contact with sulfur compounds in the air (which are everywhere, by the way!), it forms silver sulfide. This silver sulfide is what makes your silver look dull and blackish. It’s like a tiny, unwelcome guest has decided to move in and throw a dull party on your precious metal.
Now, here’s where our kitchen heroes come in. The aluminum foil is the real star of the show in terms of the chemical reaction, and the baking soda is the helpful sidekick. When you mix hot water, aluminum foil, and baking soda, you create a fantastic little electrochemical cell. Think of it like a mini-battery, but instead of powering your TV remote, it’s powering a cleaning reaction.
The hot water helps everything dissolve and get moving. The aluminum foil acts as a sacrificial anode. This means it’s more reactive than the silver. In the presence of the electrolyte (the baking soda dissolved in water), the aluminum starts to corrode. As the aluminum corrodes, it releases electrons. These electrons are then eagerly grabbed by the silver sulfide molecules on your tarnished silver. This process effectively reverses the tarnishing reaction, converting the silver sulfide back into actual silver!
And the baking soda? It’s not just sitting there being pretty. It acts as an electrolyte, helping to conduct the electricity needed for this reaction to happen smoothly. It also makes the water slightly alkaline, which aids the whole process. So, it's not just adding bubbles; it's actively participating in the silver-rescuing mission.
The Super Simple Step-by-Step
Ready to try this out? It's ridiculously easy. You won’t need a chemistry degree, just a few common household items.
What You’ll Need:
- A heat-safe container (like a glass bowl or an old baking dish – nothing you're super attached to, just in case of any… well, let’s just say it's best to use something you don't mind getting a little dingy).
- Aluminum foil.
- Baking soda (sodium bicarbonate – that’s the scientific name, if you’re feeling fancy).
- Hot water.
- Your tarnished silver items.
- Tongs or a fork (to handle the hot stuff, you know).
- A soft cloth for drying.
Let’s Get Polishing (Without the Elbow Grease)!
First, line your heat-safe container with aluminum foil, making sure the shiny side is facing up. You don’t need to be precise; just get it covered.

Next, toss in a couple of tablespoons of baking soda. The exact amount isn’t super critical, but a good starting point is about 1-2 tablespoons per quart of water. Then, carefully pour in enough hot water to cover the aluminum foil and submerge your silver items. You should see some fizzing and bubbling – that’s the magic starting!
Now, gently place your tarnished silver pieces into the solution. Make sure they are touching the aluminum foil. This direct contact is pretty important for the reaction to work efficiently. You might need to arrange them a bit. If you have large items or a lot of them, you might need a bigger container or to do it in batches.
Let them soak for a few minutes. How long? It really depends on how tarnished they are. For lightly tarnished items, five to ten minutes might do the trick. For seriously grubby pieces, you might need fifteen to twenty minutes, or even a bit longer. You can gently prod them with your tongs to see if the tarnish is lifting. You’ll actually see the tarnish magically disappearing!

Once you’re happy with the shine, carefully remove your silver using the tongs or fork. Rinse them thoroughly under cool water to get rid of any baking soda residue. Then, gently pat them dry with a soft cloth. Avoid rubbing too hard; just a gentle pat is all you need.
And voilà! You should have sparkling silver again. It’s like a spa treatment for your treasures, but without the cucumber slices and New Age music.
Why This is So Cool (Besides the Obvious Shine)
This method is seriously neat for a bunch of reasons. For starters, it’s incredibly gentle. Unlike harsh chemical cleaners that can sometimes strip or damage delicate silver finishes, this process is very mild. It's basically a chemical reaction that nudges the tarnish off without being aggressive.

It’s also super economical. Baking soda and aluminum foil are staples in most kitchens, and they cost next to nothing. Compare that to specialized silver polish, and you’re saving a bundle. Plus, it’s a much more environmentally friendly option than many commercial cleaners, which often contain harsh chemicals.
And let’s not forget the satisfaction factor. There’s something incredibly rewarding about taking ordinary kitchen ingredients and performing a little bit of household alchemy to restore something beautiful. It feels like you’re a clever scientist and a savvy homemaker all rolled into one. It's like finding out your old smartphone can still do amazing things with a simple software update, but instead, it's your silver that's getting the upgrade!
However, there are a couple of things to keep in mind. This method works best on solid silver or silver-plated items that have regular tarnish. It’s not ideal for antique pieces with delicate patina you want to preserve, or for items with gemstones that might be sensitive to heat or alkaline solutions. Also, if you have silver with an oxidized finish (that blackening that’s supposed to be there to create contrast), this method will likely remove it. So, know your silver!
But for everyday silver items, like jewelry, cutlery, or decorative pieces that have fallen victim to the dreaded tarnish, this baking soda and aluminum foil trick is an absolute game-changer. It’s a little bit of kitchen magic that delivers a whole lot of shine. Give it a try, and prepare to be amazed by the simple power of common household ingredients!