
Step By Step Metal Roof Installation

Ever looked up at a house with a shiny, sleek metal roof and thought, "Wow, that looks pretty neat"? Yeah, me too! Metal roofs have been making a big comeback, and for good reason. They're not just super tough; they can also look incredibly modern and stylish. But have you ever wondered how these impressive roofs actually get put on? It's not exactly a weekend DIY project for most of us, but the process is actually pretty fascinating, like watching a really intricate puzzle come together. Let's take a peek behind the scenes and see how these durable beauties are installed, step by step.
Now, before we dive into the nitty-gritty, it's important to remember that installing a metal roof is a job for the pros. These folks have the tools, the know-how, and the safety gear to get it done right. So, think of this as a behind-the-curtain look, not a how-to guide for your own home. Still, understanding the process can give you a whole new appreciation for your roof!
Prep Work: The Foundation of a Good Roof
Just like baking a perfect cake, the foundation is key! Before any shiny metal panels even think about touching your house, a whole lot of prep needs to happen. This is where the magic really begins, setting the stage for everything that follows.
Clearing the Decks (Literally!)
First things first, the old roof needs to go. If you have shingles, they're typically removed. Sometimes, especially if the underlying structure is in great shape, a new metal roof can be installed right over the old shingles. This can save time and labor, which is always a win. But, more often than not, it's a clean slate that's preferred for optimal performance.
Imagine you're decluttering a room before you start redecorating. You need to get rid of all the old stuff to make space for the new, beautiful things. That’s kind of what happens here. The old roofing material is carefully stripped away, piece by piece.
Inspecting the Bones
Once the old roof is gone, the real inspection begins. The crew will meticulously check the roof deck, which is the wooden structure underneath. They're looking for any signs of damage, rot, or weakness. Think of it like a doctor giving you a thorough check-up before a big surgery. They need to know the patient is healthy enough for the procedure.
Any damaged or rotten wood is replaced. This is super important because the metal roof needs a solid, stable base to attach to. A weak foundation means a weak roof, and nobody wants that! This might involve replacing plywood sheathing or even some of the rafters if the damage is extensive.

Adding the Underlayment: The Unsung Hero
Next up is the underlayment. This is a protective layer, kind of like a superhero's secret suit, that goes down before the metal panels. It's usually made of felt or synthetic material and acts as an extra barrier against water and moisture. Even though metal roofs are pretty watertight, this layer adds an extra layer of security. It's like wearing a raincoat under your stylish jacket – just in case!
This underlayment is crucial for preventing leaks, especially in extreme weather. It’s the unsung hero of the roofing world, working diligently behind the scenes to keep your home dry and protected.
The Main Event: Metal Panels Take Center Stage
Alright, the prep work is done, and the stage is set. Now for the exciting part: the actual metal panels! This is where the roof starts to really take shape, and it’s a sight to behold.
Types of Metal Roofs
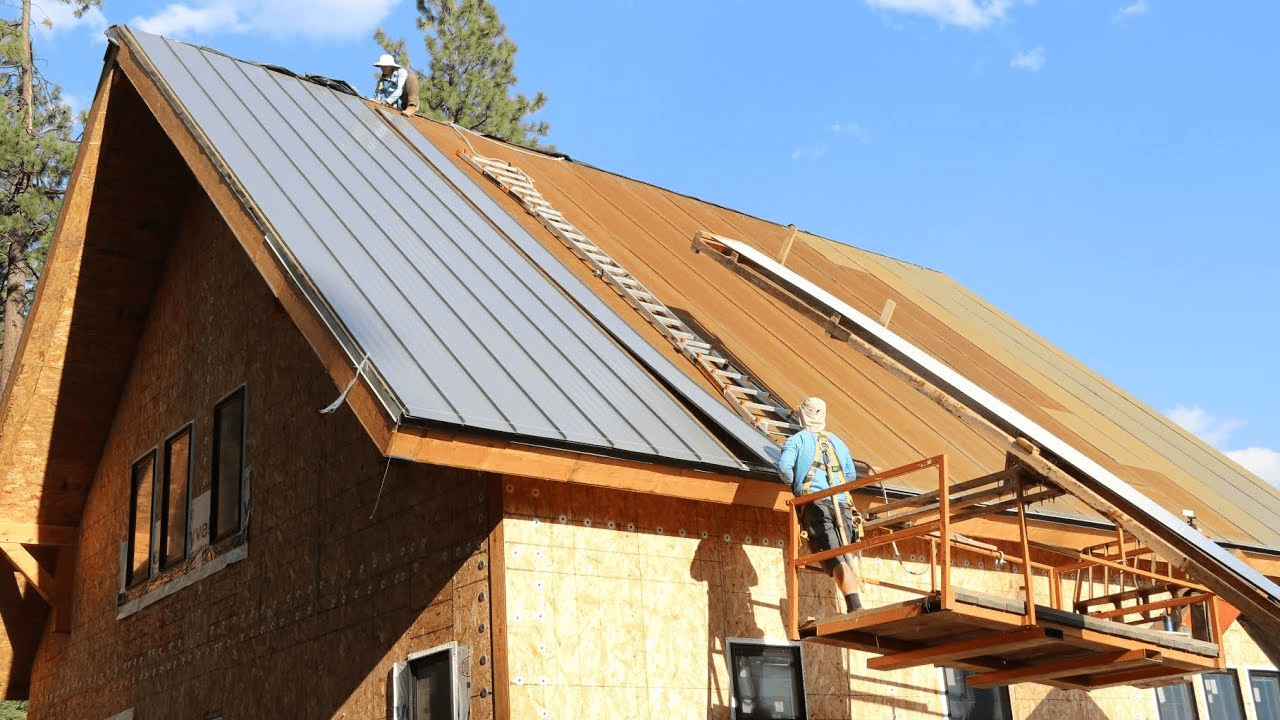
Before we talk installation, it’s worth mentioning there are different types of metal roofing. You've got standing seam, which has those neat vertical lines and concealed fasteners, looking very sleek and modern. Then there are metal shingles or tiles that mimic the look of traditional materials but with the durability of metal. Each has its own installation nuances, but the general principles are similar.
Measuring Twice, Cutting Once
Just like a tailor fitting a suit, precise measurements are everything. The metal panels are cut to fit the specific dimensions of your roof. This isn't just about aesthetics; it's about ensuring a tight, weather-resistant seal. Any gaps or miscalculations can lead to problems down the line.
This is where the skill of the installers really shines. They're not just slapping metal on; they're carefully crafting each piece to fit perfectly, like a jigsaw puzzle designed for your house.
The Fastening Frenzy
How do these panels stay put? That’s where the fasteners come in. For standing seam roofs, the fasteners are hidden, creating that smooth, clean look. The panels are attached to the roof deck with clips that allow for expansion and contraction due to temperature changes – metal is a bit like a chameleon, changing size slightly with the weather!
For other types of metal roofing, you might see screws or nails. But here's the trick: they're usually coated with a special material to prevent corrosion, ensuring they last as long as the roof itself. It's all about longevity and durability.
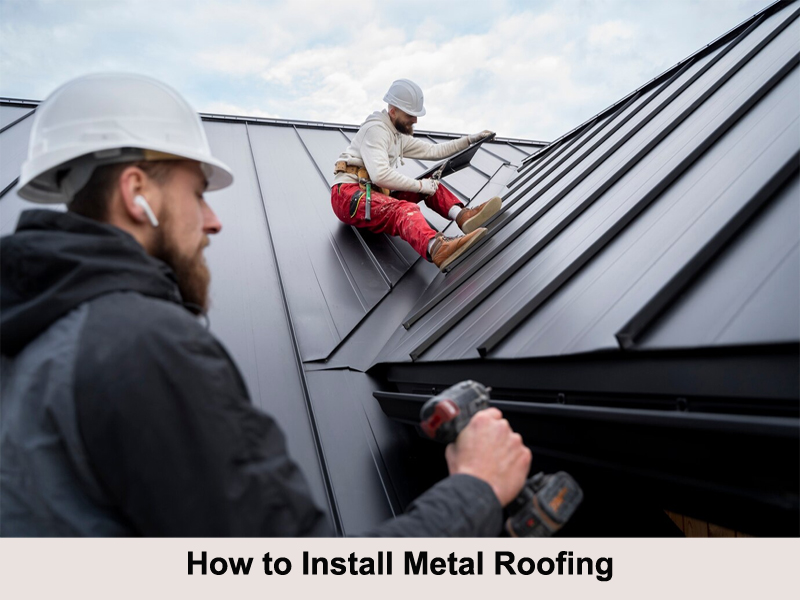
Imagine building with LEGOs, but on a massive scale and with much higher stakes! Each piece needs to click or lock into place securely.
Finishing Touches: Sealing the Deal
We’re nearing the finish line! Now it’s time to add those crucial details that make the roof not only look good but also perform its best.
Ridges, Hips, and Valleys: The Roof's Crown Jewels
Every roof has these special areas – the ridge at the very top, the hips where two slopes meet, and the valleys where water channels down. These areas are particularly vulnerable to leaks, so they require special attention. Special metal pieces, called flashing, are installed to create a watertight seal.
Think of flashing like the grout in your bathroom tiles – it’s the bit that keeps the water out and everything looking neat. It’s meticulously fitted and sealed to prevent any water intrusion.

Soffits, Fascias, and Gutters: The Supporting Cast
The job isn't done until these supporting elements are in place. The soffit is the underside of the roof's overhang, and the fascia is the vertical board that runs along the edge of the roof. These are often clad in metal too, matching the roof and providing a finished look.
And, of course, the gutters! These are essential for directing rainwater away from your house, protecting your foundation. They’re installed with the same precision and attention to detail as the rest of the roof.
Why All This Fuss? The Metal Roof Advantage
So, why go through all this? Well, metal roofs are incredibly long-lasting, often outperforming traditional asphalt shingles by decades. They're also resistant to fire, high winds, and even hail. Plus, many metal roofs are recyclable, making them an environmentally friendly choice. And let's not forget the aesthetic appeal! They can dramatically change the look of a home, giving it a modern, clean, and sophisticated vibe.
It’s like choosing a high-performance sports car over a regular sedan. You get superior durability, a sleeker look, and a more advanced experience. The step-by-step installation might seem detailed, but every single one of those steps is designed to create a roof that will protect your home for years to come. Pretty cool, right?