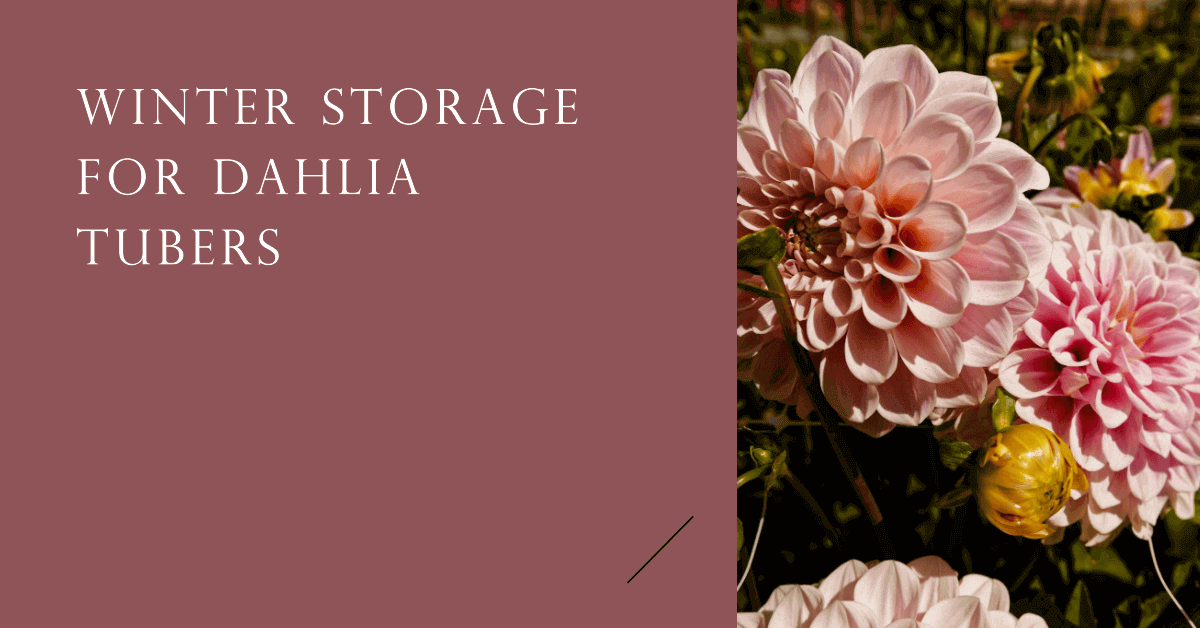
Storing Dahlia Tubers Over Winter

Hey there, fellow garden enthusiast! Grab your favorite mug, because we need to chat about something crucial. You know those gorgeous, show-stopping dahlias that graced your garden all summer? The ones that practically begged for a spot on your Instagram feed? Well, they're not immortal, sadly. (Wouldn't that be amazing, though? Flowers that just… live forever?) Anyway, as the days get shorter and that crisp autumn air starts to bite, it’s time to think about saying a temporary goodbye to our dahlia friends. But don’t despair! We’re not actually saying goodbye, not forever. We’re just tucking them in for a cozy winter nap. Yep, we’re talking about storing dahlia tubers. Sounds a bit fancy, doesn't it? Like they're off to a spa retreat. But it’s actually pretty straightforward. And honestly, once you get the hang of it, it’s kinda satisfying. Like being a secret keeper for next year's blooms. Pretty cool, right?
So, why do we even bother with this whole tuber-stashing business? Well, in many parts of the world, dahlias are tender perennials. That means in a frosty winter, those beautiful tubers that are hiding underground would… well, they’d become frozen mush. And nobody wants that, right? It would be a tragedy of epic proportions for your garden. Imagine: a whole season’s worth of vibrant colors, just… gone. So, to ensure they come back with even more pizzazz next spring, we gotta give them a little help. It’s like providing them with a warm blanket and a good book for the cold months. They’ll thank you for it, trust me.
The whole process really kicks off when the first real frost hits. You know, the kind that makes you reach for your favorite fuzzy socks and consider investing in a personal hedge fund just to afford hot chocolate? That’s your cue. Don’t be tempted to dig them up too early, though! Let those tubers really soak up all the goodness from the leaves and stems before you say adieu for the season. They need to kind of… mature a bit underground. It’s their last hurrah before their big sleep. So, keep an eye on the weather, but don’t rush it. Patience, grasshopper, is a virtue in the garden. Especially when it comes to prize-winning dahlias.
Now, the actual digging part. This is where things can get a tiny bit messy, so maybe wear some old clothes. You know, the ones that have seen better days, the ones you’re not afraid of getting dirt on. Or, you know, fashion statements. Whatever floats your boat. You want to gently loosen the soil around the dahlia clump. A garden fork is your best friend here. Think of it as a gentle, probing massage for the earth. You’re trying to get underneath the whole root ball, not stab it like it owes you money. Carefully lift the entire clump out of the ground. It can be a hefty beast, so don’t be surprised if you need to brace yourself a bit. These things are packed with potential!
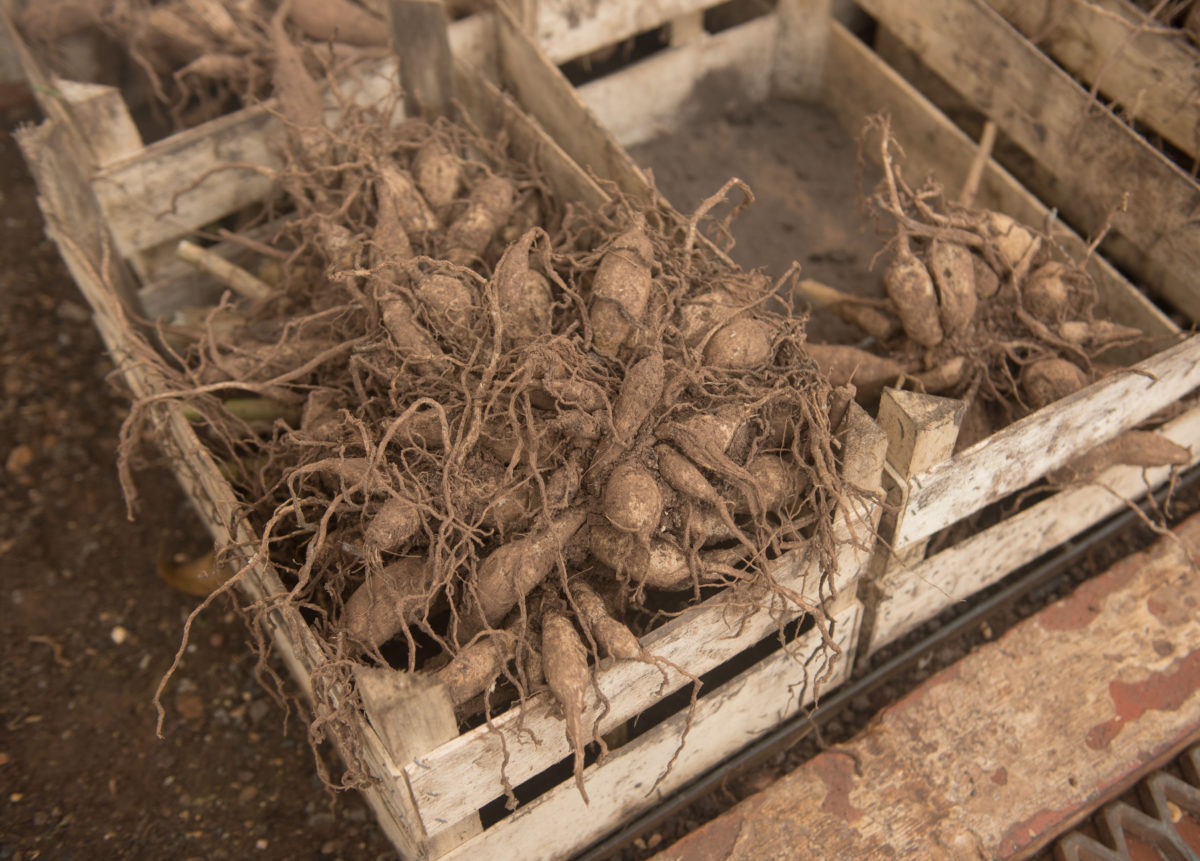
Once you’ve wrestled your dahlia clump out of its summer home, you’ll want to give it a good shake. Get off as much of that excess soil as you possibly can. Don’t be too aggressive, though. We don’t want to damage any of those precious tubers. They’re still a bit delicate, you know? Think of it as gently dusting them off. Like preparing them for their grand unveiling next year. Some people like to rinse them under a hose, which is totally fine, but make sure you let them dry really well afterward. Moisture is the enemy of long-term tuber storage. It’s like inviting a mold convention to a sleepover. Not ideal.
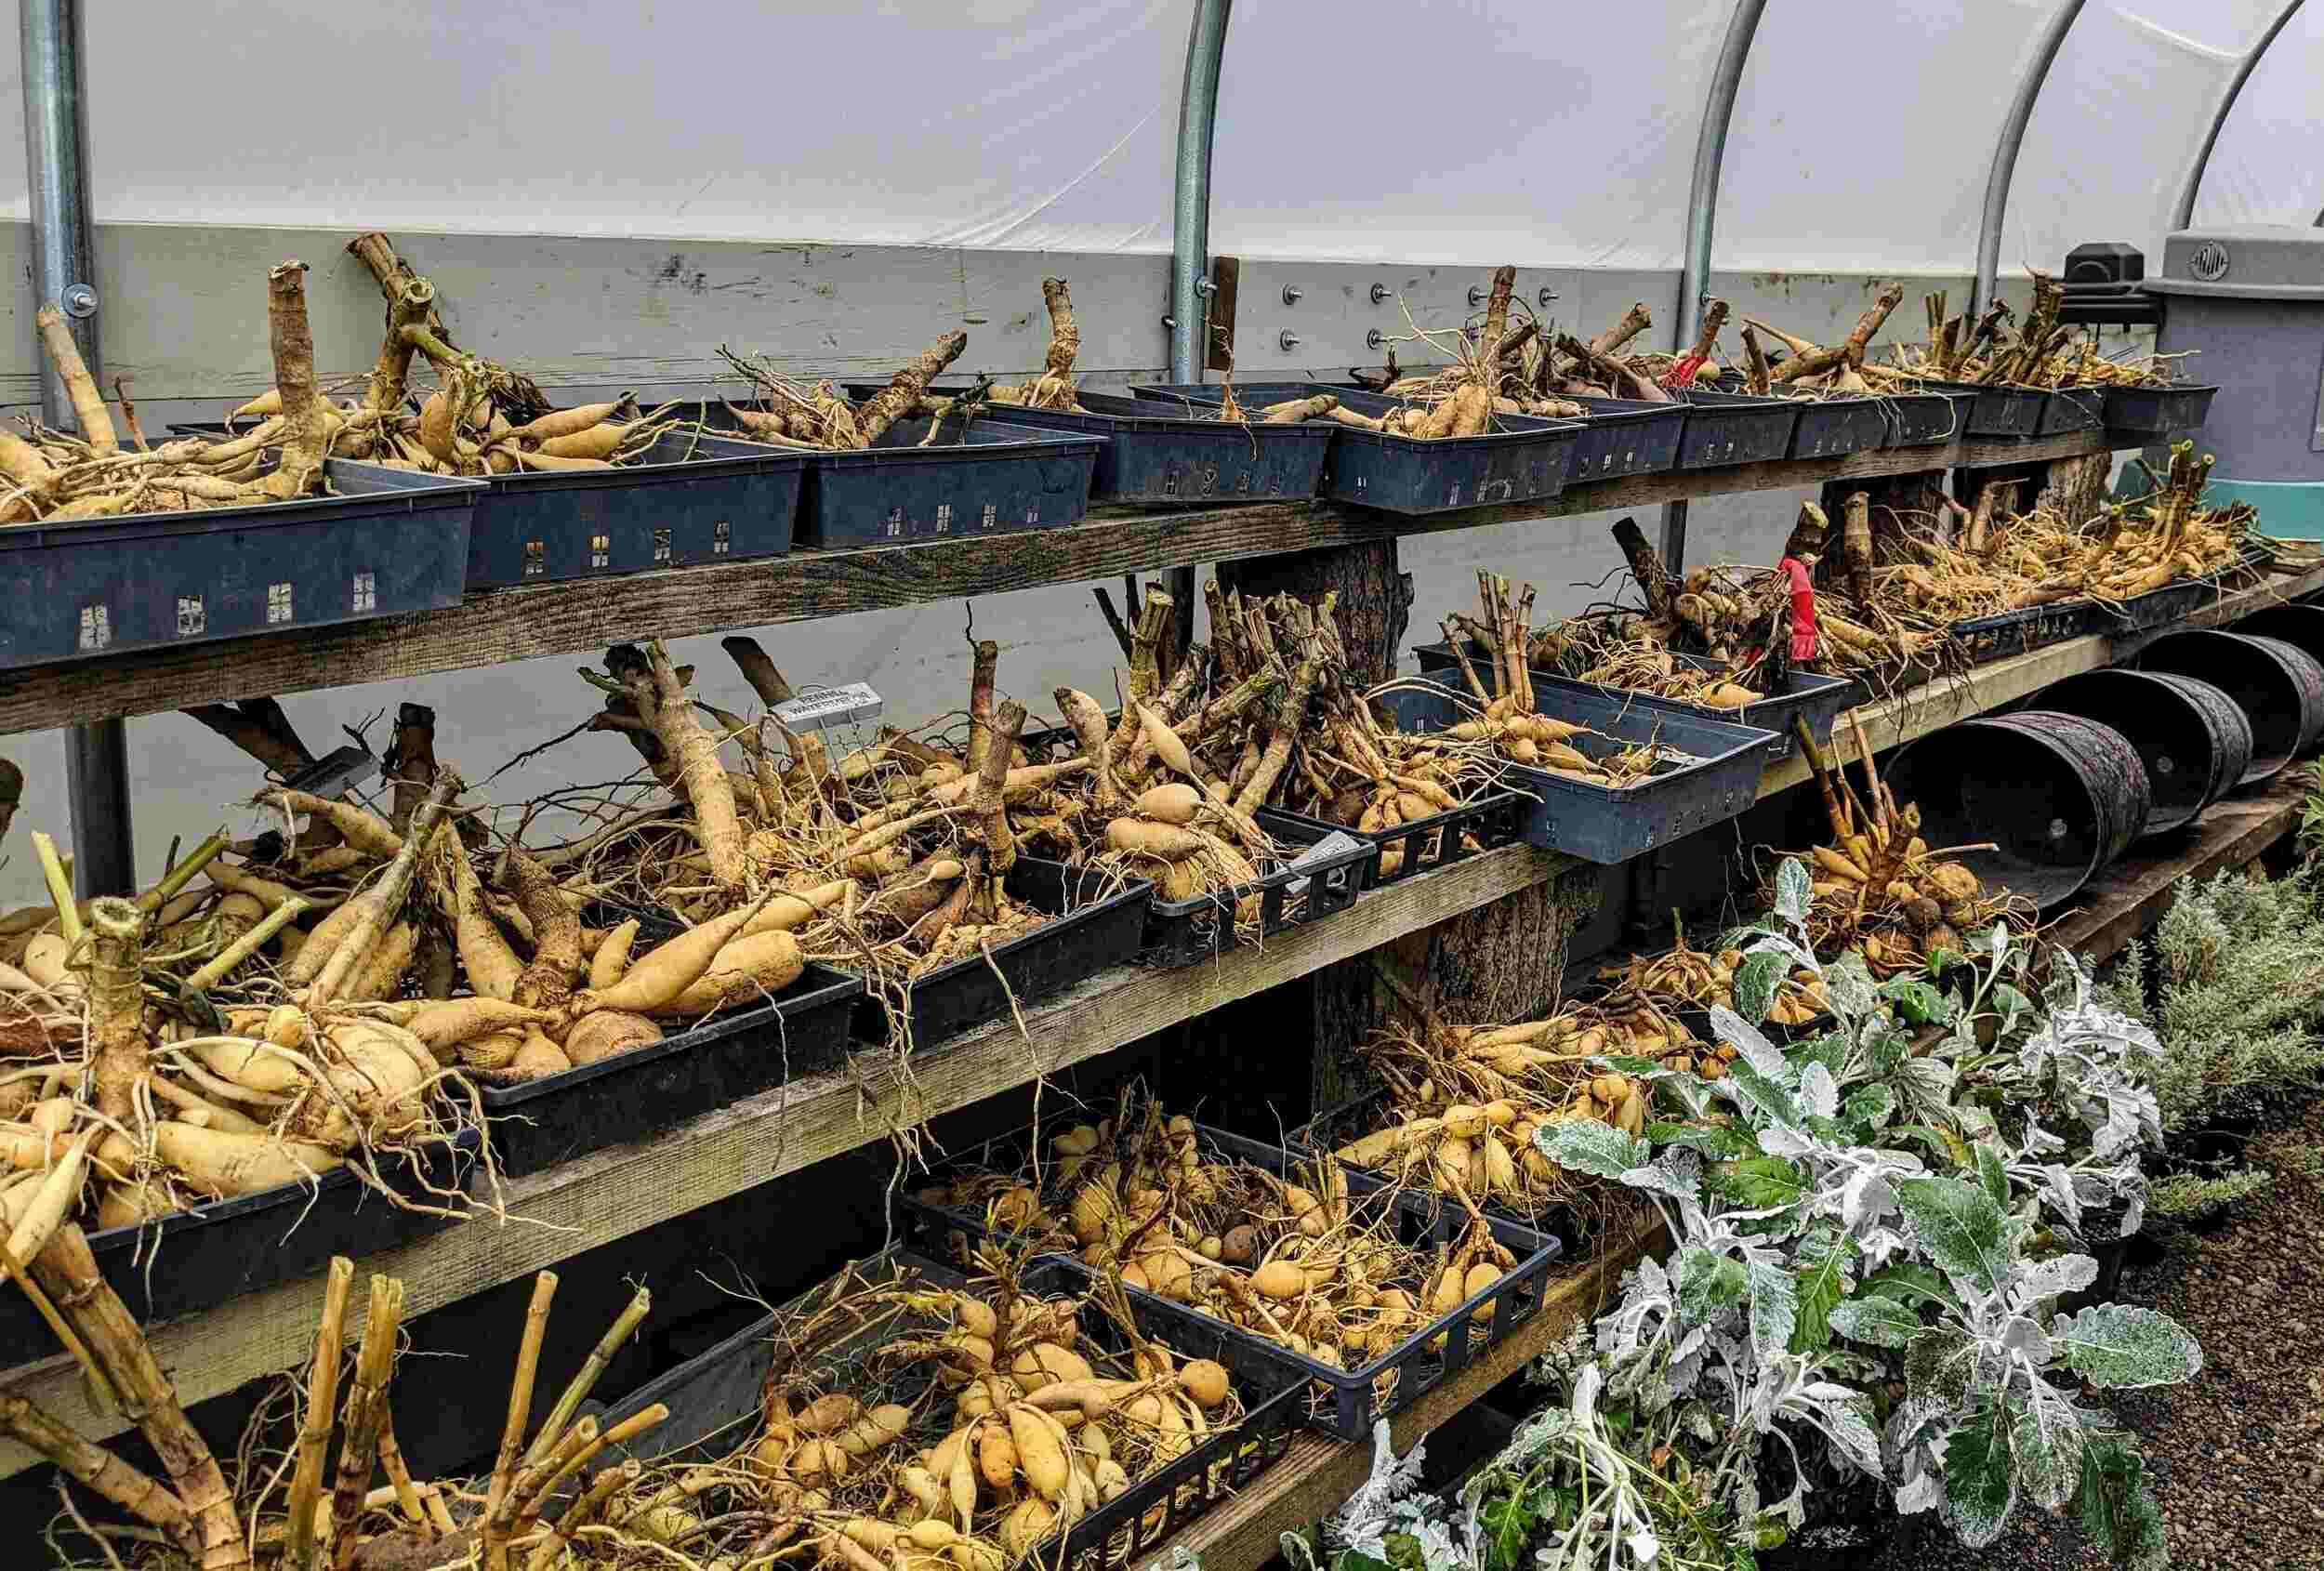
After the shaking (and maybe a gentle hose-down), you’re going to want to let those tubers air dry for a few days. This is a crucial step. Find a cool, dry, and well-ventilated spot. A garage, a shed, a covered porch – anywhere that’s out of direct sunlight and won’t freeze. Think of it as a spa day for your tubers. They’re shedding their summer sweat and getting ready for their long slumber. Lay them out on some newspaper or old towels. Let them breathe. This drying process helps prevent rot. Rot, my friends, is the bane of every tuber-storing gardener. It's the villain of our winter story. So, let’s defeat it with good old-fashioned drying.
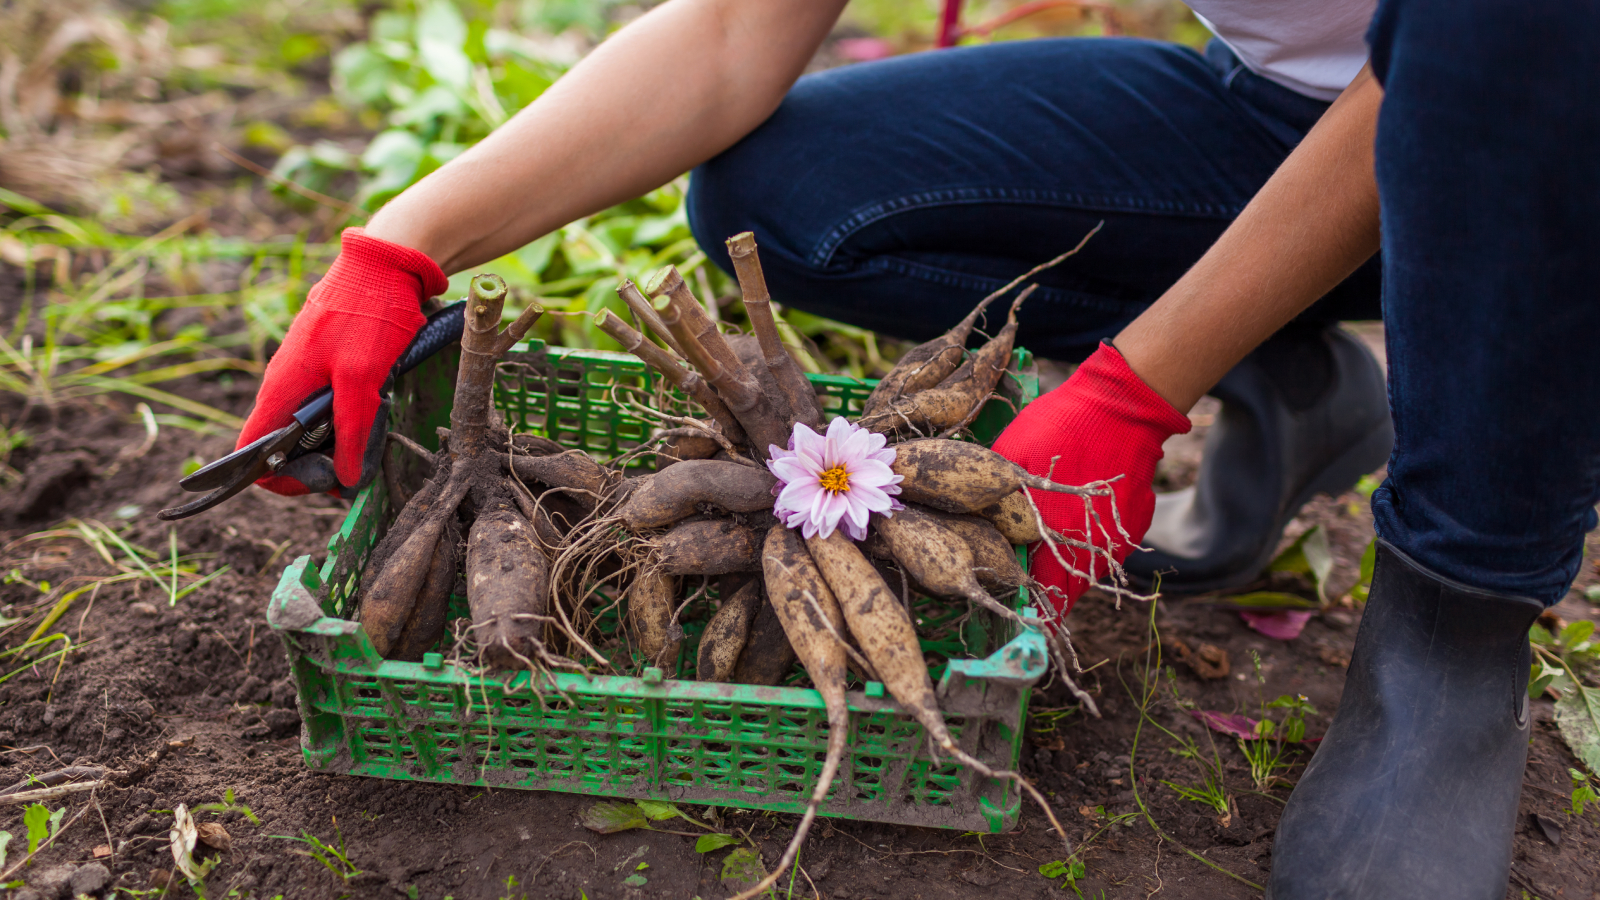
Now, this is where the fun (or the slightly unnerving part, depending on your perspective) begins: separating the tubers. Your clump will probably have multiple tubers attached to the main crown. You need to gently break these apart. The key here is to make sure each piece has at least one eye or bud. This is where the new growth will come from. It’s like giving each potential baby dahlia its own little lifeline. Look for those little knobby bits on the tuber. They’re the magic portals to next year’s blooms. If a tuber doesn’t have any eyes, it’s probably not going to do much. So, be discerning. Think of yourself as a tuber matchmaker, ensuring each one has a good starting point.
Sometimes, the tubers are really stuck together. Don’t be afraid to use a clean, sharp knife or even a trowel to help separate them. Just be careful and deliberate. We’re not hacking away here; we’re performing delicate surgery. (Okay, maybe not surgery, but you get the idea). The goal is clean breaks. If you’re having trouble, a quick search online for "how to divide dahlia tubers" will show you some handy visuals. Sometimes seeing it in action is the best way to learn. Plus, who doesn’t love a good garden tutorial?
Once you’ve got your individual tubers, it’s time to decide on your storage method. There are a few popular options, and honestly, it’s a bit of personal preference. The most common is using a storage medium like peat moss, vermiculite, or even sawdust. These materials help maintain a consistent moisture level and prevent the tubers from drying out too much or getting too wet. Think of it as their cozy winter bedding. We want it to be snuggly, not soggy.
Let’s talk about the peat moss method. It’s a classic for a reason. Get yourself a cardboard box or a plastic tote. Fill the bottom with a layer of slightly damp peat moss. Don’t make it soaking wet, just… moist. Like a wrung-out sponge. Place your separated tubers on top of the peat moss, making sure they aren’t touching each other. This is important to prevent any potential rot from spreading from one tuber to another. Then, cover the tubers with another layer of damp peat moss. You want them completely, but loosely, covered. Like they’re tucked into bed under a fluffy quilt.
Alternatively, you can use vermiculite. It’s a fantastic material that’s lightweight and holds moisture well. The process is pretty much the same as with peat moss. Layer your container with vermiculite, arrange your tubers, and then cover them. Some people swear by vermiculite because it’s a bit cleaner and easier to handle than peat moss. Plus, it looks a bit more… scientific, doesn’t it? Like you’re conducting a very important botanical experiment.
Another option is sawdust. Make sure it’s untreated sawdust, though! You don’t want any chemicals leaching into your precious tubers. Again, slightly damp sawdust works best. Layer it in your container, place your tubers, and cover them up. It’s a readily available option for many, and it does the job just as well. So, choose the medium that speaks to your heart (or your wallet!).
Now, for the actual storage location. This is where the magic happens, or rather, where it doesn’t happen – no freezing allowed! You need a place that stays cool, but not freezing, and is relatively dry. Aim for temperatures between 40-50°F (4-10°C). A basement is often a good bet, especially if it’s not damp. An unheated garage or shed can also work, provided it doesn’t dip below freezing. Some people even use a spare room in their house that stays cooler, like a guest room they don’t use much. Just make sure it’s out of direct sunlight.
You’ll want to check on your tubers periodically throughout the winter. Maybe once a month or so. Peek into their cozy containers. Are they looking a little too dry? A quick spritz of water from a spray bottle might be in order. Are they looking a bit too damp or showing any signs of mold? Remove any affected tubers immediately and perhaps add some fresh, dry storage medium to the container. It’s like checking in on your sleeping beauties to make sure they’re having a peaceful nap. A little bit of vigilance goes a long way.
What are the signs of trouble, you ask? Well, shriveling tubers can mean they're drying out too much. Mold or mushy spots? That's rot, and it's a serious concern. If you see any of that, separate the affected tuber (and any others it might have touched) and discard the diseased one. It's a harsh reality, but you have to be ruthless to save the healthy ones. Think of it as a triage situation. The survival of the fittest, tuber-style.
If you’re feeling particularly adventurous, some people like to store their tubers in paper bags, much like they would store gladiolus corms. You still want to make sure they’re dry and have had a chance to cure. Then, pop them into a paper bag with a bit of packing material like peat moss or sawdust, and seal it up. Again, keep it cool and dry. This method is a bit more streamlined, but you have to be extra vigilant about checking for dryness, as the tubers are more exposed.
Some gardeners even go the extra mile and label their tubers. Imagine a whole box of unlabeled tubers! You’d have no idea what glorious colors you’re about to unleash next year. So, grab a permanent marker and get labeling! Write down the variety name, and maybe even the color. It’s like giving each tuber its own little identity card. You’ll be so grateful you did this when spring rolls around and you’re planning your garden layout. No more guessing games!
And here’s a little tip for you: when you’re separating those tubers, if you happen to break off a piece that looks like it has an eye, don’t just toss it! Stick it in a small pot with some potting soil and keep it in a bright spot indoors. Who knows? You might just be surprised with a brand new dahlia plant to add to your collection. It’s like a bonus round of gardening! You’re basically a plant wizard at this point.
The anticipation for spring will be killing you, I know. But trust the process. Those dormant tubers are just gathering their strength, dreaming of sunshine and warm soil. When the last frost has passed and the soil is starting to warm up, it's time to wake them up. Gently remove them from their storage, and if they’re looking a little shriveled, you can soak them in warm water for a few hours to plump them up. Then, it’s back into the ground they go, ready to explode with color once more. It’s a cycle of life, a testament to the resilience of these amazing flowers.
So, there you have it! Storing dahlia tubers might sound like a daunting task, but it’s really just a few simple steps to ensure you have stunning blooms for years to come. It’s about preserving the magic, wouldn’t you agree? It’s a labor of love, really. And when you see those first buds opening up next summer, you’ll know it was all worth it. Happy storing, and may your dahlias be ever glorious!