
Welding Aluminum With A Mig
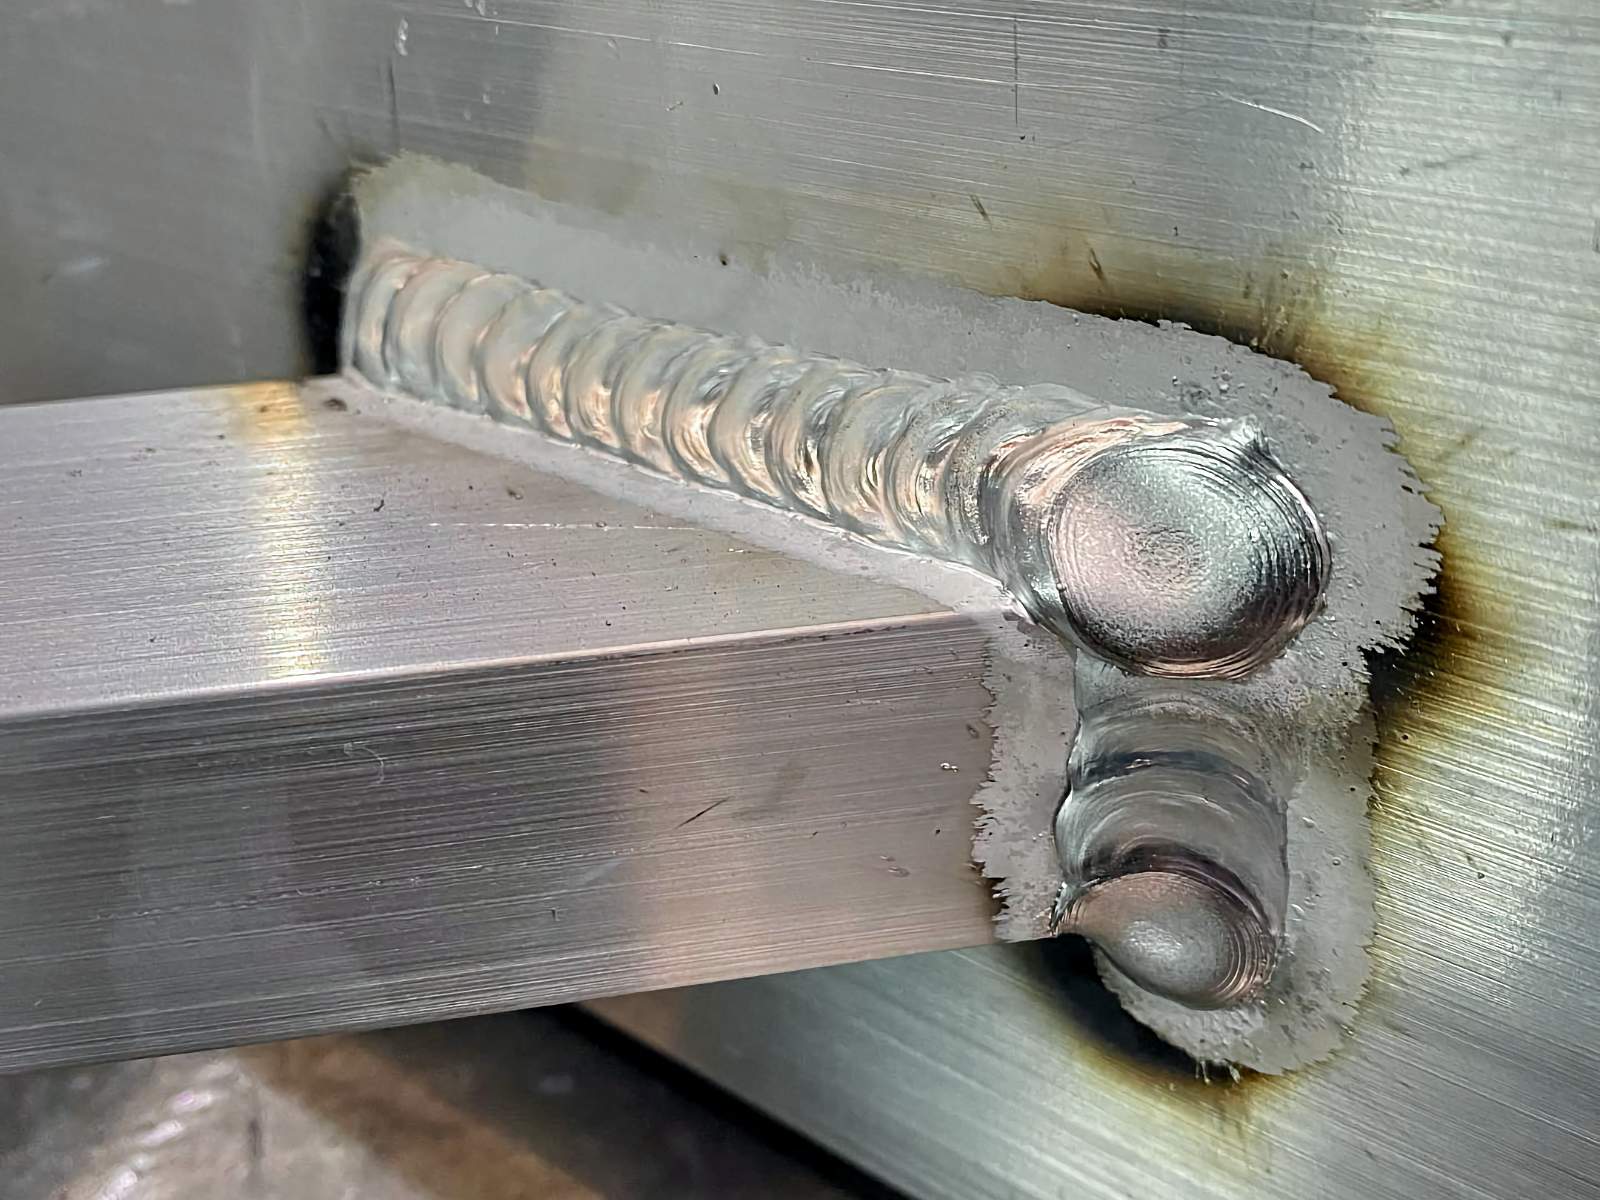
Hey there, fellow metal manipulators and aspiring welders! Today, we're diving headfirst into a topic that can sometimes feel as slippery as a greased piglet: welding aluminum with a MIG welder. Now, I know what some of you are thinking, "Aluminum? MIG? Isn't that, like, super hard and prone to creating a molten mess that looks like a science experiment gone wrong?" And to that, I say, "Well, yeah, it can be if you don't know what you're doing!" But don't you worry your pretty little heads about it, because by the end of this chat, you'll be feeling a whole lot more confident, and maybe even a little bit excited, to give it a whirl.
Think of aluminum as the rockstar of the metal world. It's lightweight, strong, and looks darn good. We see it everywhere, from soda cans to airplane wings. But just like a rockstar, it can be a bit temperamental. It's not as forgiving as steel, and it's got its own unique quirks that’ll keep you on your toes. But hey, isn't that what makes it interesting? Learning to dance with these quirks is where the magic happens, and the magic, my friends, is a beautiful, shiny aluminum weld.
So, Why MIG for Aluminum?
First off, let's talk about why we're even considering MIG for this task. MIG welding, or Gas Metal Arc Welding if you want to be fancy, is generally known for being user-friendly. It's like the comfortable sneakers of the welding world – easy to slip on and get going. When it comes to aluminum, MIG offers a decent balance of speed and control, especially for those of us who aren't looking to become TIG wizards overnight. TIG welding aluminum is the Cadillac of aluminum welding, no doubt. It gives you ultimate control and produces those gorgeous, dimes-stacked welds. But let's be real, TIG can be a journey, and sometimes you just want to get the job done without needing a degree in advanced stick control. MIG is your trusty pickup truck – it might not be as sleek, but it gets you where you need to go, and it’s a whole lot easier to handle.
Another big plus? Speed. Once you get the hang of it, MIG welding aluminum is significantly faster than TIG. This is a huge deal if you've got a project with a lot of seams or if you're in a production environment. Imagine turning a weekend project into an afternoon one – wouldn't that be swell? Plus, the learning curve, while present, is generally less steep than mastering TIG. It’s like learning to ride a bike with training wheels versus a unicycle. Both are challenging, but one is a bit more approachable to start with.
The Aluminum Commandments: Thou Shalt Not Forget These!
Alright, let’s get down to the nitty-gritty. Welding aluminum with a MIG welder requires a slightly different mindset than welding steel. It’s like bringing a vegetarian to a barbecue – you can’t just treat them the same! Here are the key things you absolutely, positively, must keep in mind:
1. Cleanliness is Next to Weld-liness!
This is probably the most important rule. Aluminum oxidizes instantly when exposed to air. That fuzzy grey layer you see on aluminum is aluminum oxide, and it has a melting point way higher than the aluminum itself. If you try to weld over it, that oxide will get trapped in your weld, causing all sorts of nasties like porosity (tiny little holes) and weak welds. It’s like trying to build a house on quicksand – not going to end well. So, before you even think about striking an arc, you gotta get that metal squeaky clean.
What does that mean, you ask? It means you need a dedicated stainless steel brush for aluminum only. Seriously, don't use the same brush you use for steel. Steel particles left on your aluminum can cause contamination and more headaches than a toddler who’s had too much sugar. Scrub, scrub, scrub! And then, for good measure, scrub again. After brushing, wipe it down with a clean, lint-free cloth and some acetone or a dedicated aluminum cleaner. Acetone is your best friend here. It evaporates quickly and leaves no residue. Think of it as giving your aluminum a spa treatment before its big performance.
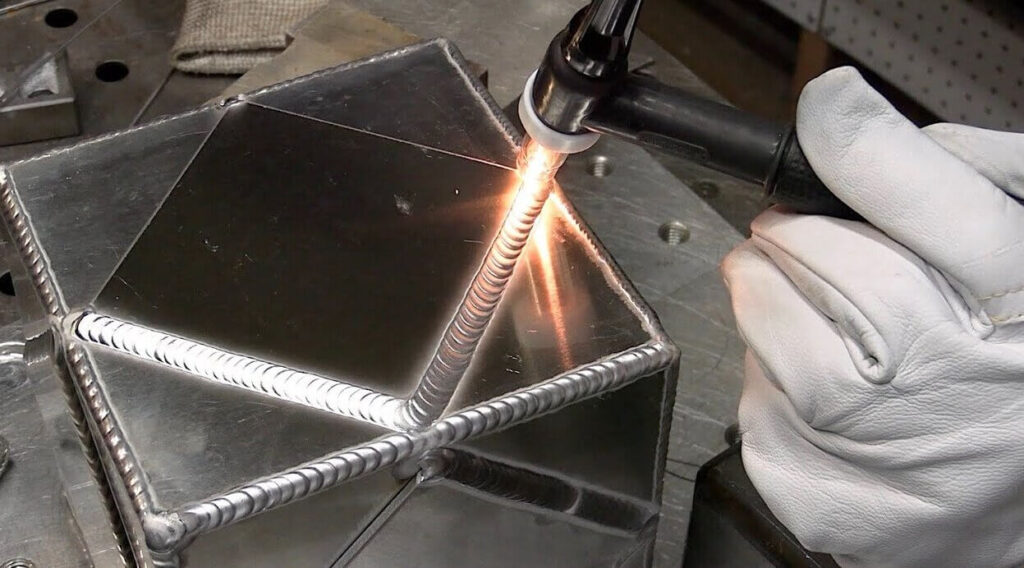
Some folks will even tell you to use a new grinding disc or flap disc every time you grind aluminum. It’s a bit extreme for some hobbyists, but the principle is sound: keep it clean, keep it pure. The cleaner your aluminum, the smoother your weld will be, and the less likely you are to have issues. It’s the foundation of a good weld, just like a solid foundation is the foundation of a good house. No one wants a wobbly house, right?
2. The Right Wire is a Game Changer
You can't just grab any old MIG wire for aluminum. Steel wire is a definite no-no. Aluminum wire is a specific beast, and you need to choose the right alloy. The most common ones you'll encounter are 4043 and 5356. They're like the peanut butter and jelly of aluminum welding wire – you can't go wrong with either for most general-purpose applications.
4043 is a bit more forgiving and is known for its excellent flow characteristics. It’s less prone to cracking, especially when welding cast aluminum or when dealing with painted or anodized surfaces (though cleaning is still paramount!). It's also great for applications where the weld won't be subjected to extreme stress or vibration. Think of it as the laid-back, go-with-the-flow cousin.
5356, on the other hand, is a bit stronger and has better ductility. It's a good choice for structural applications or when you need a weld that can withstand more bending and flexing. It's generally considered the better choice for thicker aluminum sections. This is the more athletic, high-performance cousin. Just remember to match your filler wire to the base metal you're welding for the best results. It’s like picking the right tool for the job – you wouldn’t use a hammer to screw in a screw, would you? Well, maybe you would, but it wouldn't be pretty.
And here’s a pro-tip for you: store your aluminum wire properly. Aluminum wire is soft and can get kinked easily. Keep it in its original packaging and away from moisture. A kinked wire is a happy wire for nobody, especially not your MIG gun.
3. The All-Important Gas
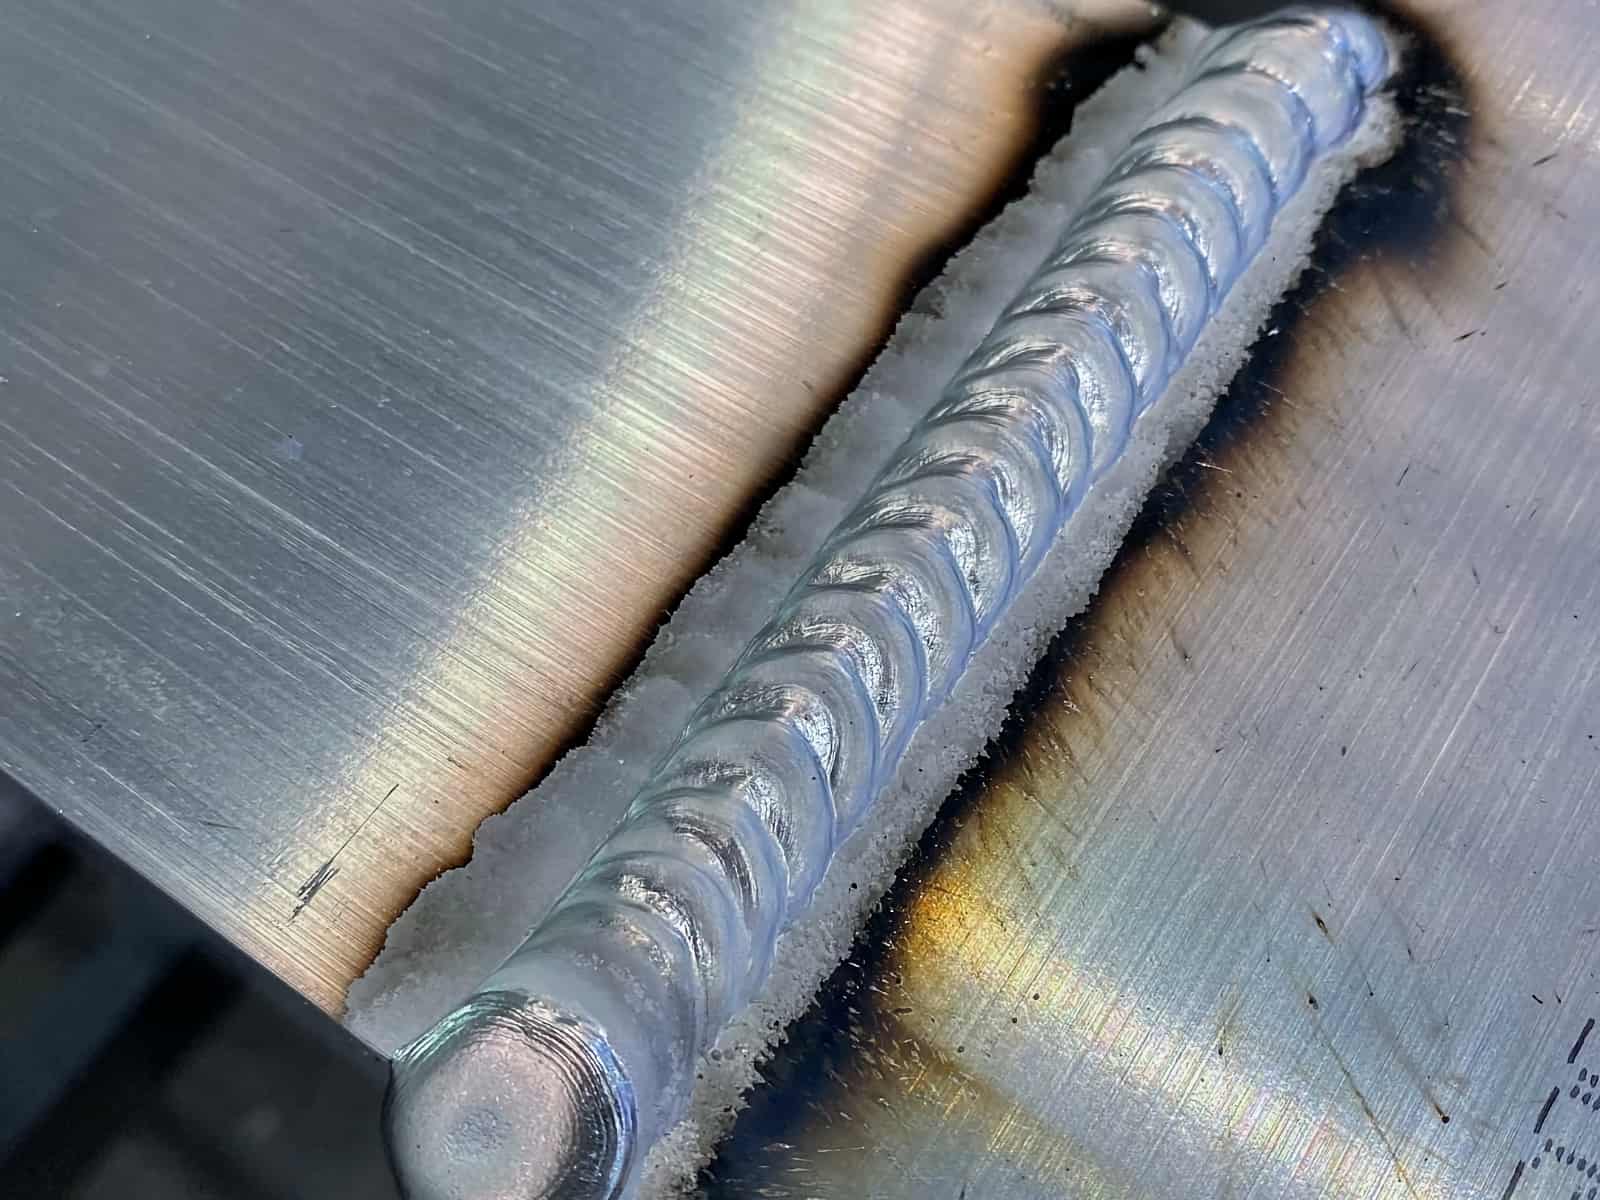
Just like with steel, you need shielding gas for aluminum MIG welding. But here's the twist: for aluminum, you're almost exclusively going to use 100% Argon. This is different from steel, where you might use a mix of argon and CO2. Argon is a noble gas, which means it doesn't react with anything. It creates a nice, clean shielding envelope around your weld puddle, protecting it from atmospheric contaminants. Think of it as a personal bodyguard for your molten metal.
Why not a mix? Well, those other gases, like CO2, can react with aluminum and cause contamination, leading to all those dreaded weld defects we talked about. So, stick with pure argon. You’ll need a flow rate that’s a bit higher than what you might use for steel, typically in the range of 20-30 cubic feet per hour (CFH). You want enough gas to create a good shield, but not so much that it blows your puddle around like a leaf in a hurricane. It’s a delicate balance, but you’ll find your sweet spot.
4. The "Bird's Nest" is NOT Your Friend
This is where things can get a little frustrating for beginners. Aluminum wire is soft, remember? This means it has a tendency to kinky-up and bunch up in your MIG gun's liner and drive rolls, creating what welders affectionately call a "bird's nest." It's a tangled mess that’ll stop your wire feed dead in its tracks, making you want to throw your whole setup out the window. Don't do it! Just take a deep breath and untangle the critter.
To minimize bird's nests, there are a few things you can do. First, ensure your drive rolls are the correct size and type for aluminum wire. You'll typically want V-groove drive rolls, not U-groove like for steel. Second, make sure your liner is clean and free of any debris. A clean liner allows the soft wire to slide through smoothly. Third, don't have your wire tension too tight on the drive rolls. You want enough tension to grip the wire, but not so much that it crushes it. It’s like a firm handshake, not a bone-crushing grip.
Another trick up our sleeve is to use a U-groove drive roll for steel and a V-groove drive roll for aluminum. It’s a little swap that makes a big difference. Also, consider a Teflon or nylon liner specifically designed for aluminum wire. These liners are smoother and reduce friction, helping to prevent that dreaded bird's nest. Some people even suggest using a shorter gun cable if possible, as less cable means less opportunity for the wire to get tangled.
5. Heat Management is Key (and Aluminum Likes it Hot!)
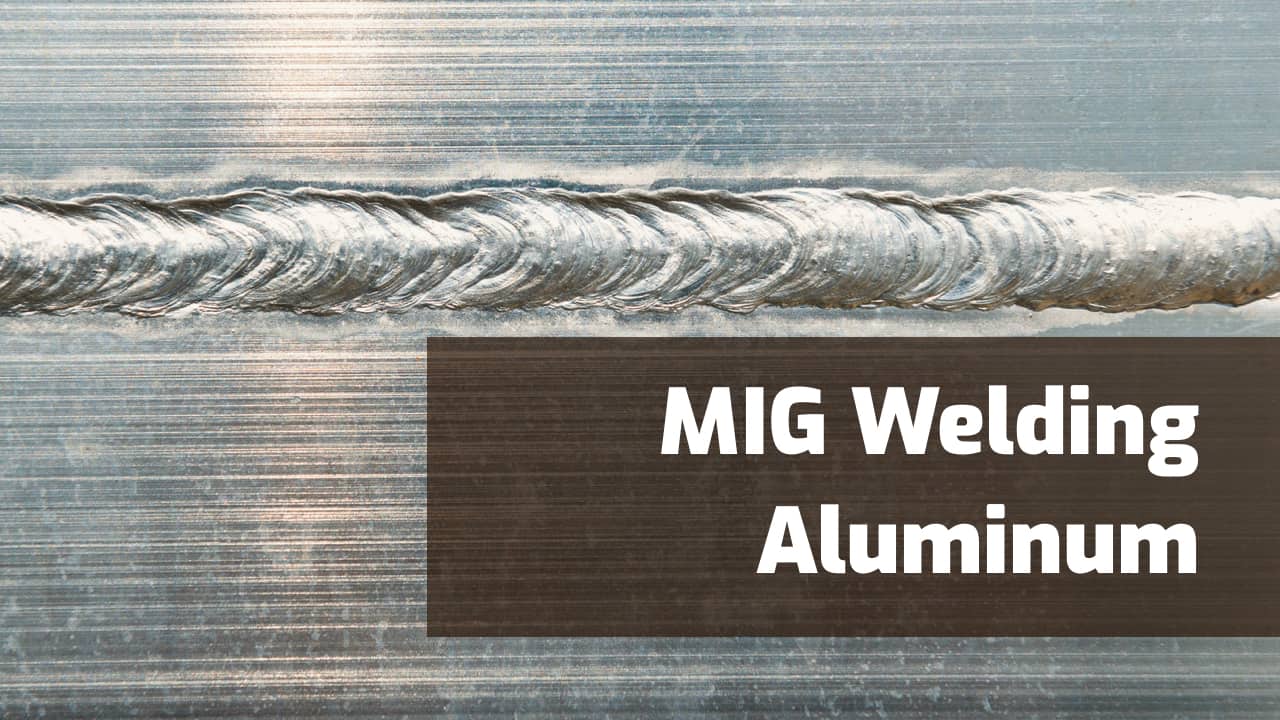
Aluminum conducts heat much better than steel. This means it heats up and cools down way faster. You’ll need to turn up the heat on your welder compared to what you'd use for steel of the same thickness. Think of it like this: steel is like a cozy fireplace, while aluminum is like a blast furnace. You need more oomph to get it to where you want it.
You'll likely need a higher voltage and amperage setting. Don’t be afraid to experiment on some scrap pieces first. This is where those practice welds really pay off! The goal is to melt the base metal and the filler wire to create a cohesive puddle, but not to blow a hole right through your workpiece. Aluminum melts quickly, and if you’re not careful, you’ll go from a weld puddle to a big, gaping hole faster than you can say "oops!"
Because aluminum dissipates heat so quickly, you might find that you need to use a higher travel speed. Keep that puddle moving! Hesitate too long, and you’ll be dealing with heat buildup and potential burn-through. It’s a bit like trying to walk across a hot pavement – you gotta keep moving!
Also, be mindful of your stick-out. That's the length of wire that extends out of your MIG gun's contact tip. For aluminum, you'll generally want a longer stick-out than you would for steel, typically around 3/4 inch to 1 inch. This helps preheat the wire as it travels through the gas stream, ensuring it’s hot enough to melt effectively. Just don't go overboard, or you risk arc instability and more bird's nests.
6. The "Drag" vs. "Push" Debate (It’s a Push!)
When welding steel with a MIG, you often "drag" the gun, meaning you pull it behind the weld puddle. For aluminum, it’s a whole different story. You need to "push" the gun. This means pushing the gun away from you, moving the weld puddle ahead of the torch. Pushing helps keep the shielding gas focused on the puddle and prevents oxidation.
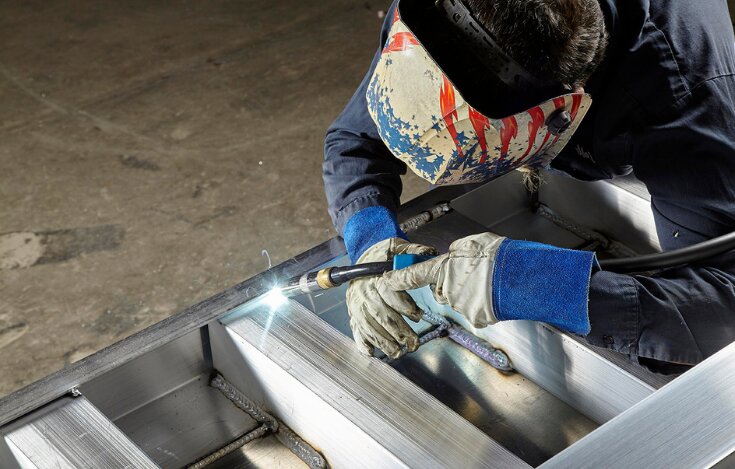
Pushing might feel a bit unnatural at first, especially if you're used to dragging for steel. It can sometimes feel like you're pushing a marshmallow through peanut butter – a bit messy at the start. But trust me, it’s crucial for getting a good, clean aluminum weld. Think of it as guiding the molten metal with a gentle nudge, rather than dragging it along. This technique helps keep the arc stable and the weld clean.
7. Consider Your Welder's Capabilities
Not all MIG welders are created equal, and some are better suited for aluminum than others. If you're working with thicker aluminum or trying to do some serious fabrication, you might want to look for a welder with a higher amperage output and features like pulsed welding. Pulsed MIG welding is fantastic for aluminum because it allows you to control heat input more precisely, reducing the risk of burn-through and improving weld quality. It's like having a dimmer switch for your welding heat, rather than just an on/off switch.
Many modern MIG welders have specific settings or programs for aluminum, which can be a lifesaver for beginners. If your welder has a spool gun option, that’s another big advantage. Spool guns are designed to feed softer wires like aluminum more reliably, reducing those dreaded bird's nests. They might seem like an extra expense, but for anyone serious about welding aluminum, it’s an investment that will pay off in saved headaches and frustration.
Putting It All Together: The Joy of a Good Weld
So, there you have it! Welding aluminum with a MIG welder isn't some mystical art reserved for the welding elite. It's a skill you can absolutely learn with a little patience, the right preparation, and a willingness to embrace the aluminum's unique personality. Remember the golden rules: cleanliness is king, use the right wire and gas, manage your heat, and push that gun!
When you finally get that beautiful, shiny bead laid down on aluminum, and it looks smooth and consistent, there’s a special kind of satisfaction that comes with it. It’s that "aha!" moment when you’ve conquered a challenge and created something strong and good-looking. You’ve taken a material that can be tricky and bent it to your will (in a good way!). So go forth, my friends, get your gear ready, and give aluminum MIG welding a shot. You might just surprise yourself with how good you can get at it. And who knows, you might even start to enjoy that slippery, shiny rockstar of the metal world. Happy welding, and may your beads be beautiful and your bird's nests be few!