
Welding Aluminum With Wire Feed Welder
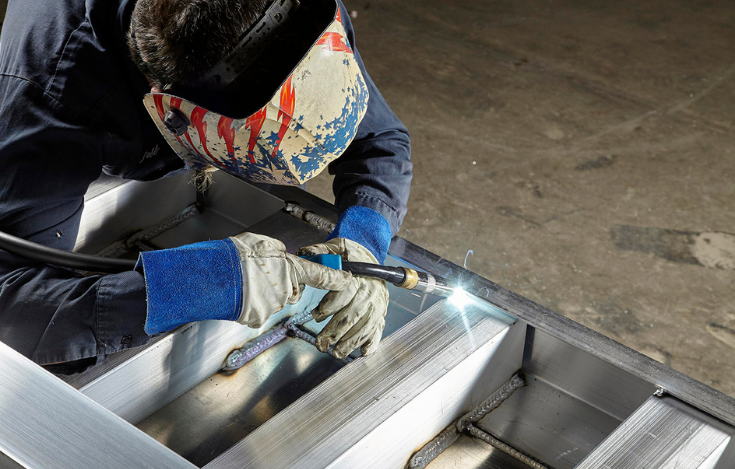
Alright, so you've got this shiny new wire feed welder, and you're eyeing up some of that fancy aluminum. Maybe you're thinking about fixing that wobbly patio furniture, giving your boat trailer a little facelift, or perhaps even building that epic barbecue pit you've been dreaming about. Whatever it is, aluminum welding with a wire feed welder can feel a bit like trying to herd cats. But don't sweat it! It’s totally doable, and with a little know-how and a healthy dose of patience, you’ll be zapping aluminum like a pro in no time.
Think of aluminum welding as a bit like cooking a really delicate piece of fish. You can't just blast it with high heat and expect perfection. It needs a gentle touch, the right temperature, and just the right ingredients. Mess it up, and you end up with a gummy, sad mess. Nail it, and you’ve got something beautiful and strong.
First things first, let's talk about what you're actually working with. Aluminum, bless its lightweight heart, is a bit of a diva compared to good ol' steel. Steel is like your trusty old pickup truck – reliable, forgiving, and takes a beating. Aluminum? It's more like a sleek sports car – needs a bit more pampering, but man, when it's done right, it's a thing of beauty. The biggest difference you'll notice is that aluminum has a much lower melting point than steel. This means it gets hot and gooey way faster. You sneeze, and it might just melt into a puddle.
Another fun quirk of aluminum is that it forms an oxide layer. This isn't like rust on steel; it's a protective shield, but for welding, it’s a bit of a nuisance. It’s like a stubborn piece of sticker residue you just can't get off. This oxide layer has a higher melting point than the aluminum itself. So, if you try to weld over it without cleaning it off, you'll end up trying to melt the oxide while the aluminum beneath it is already turning into a molten lava flow. Not ideal, folks, not ideal.
So, step one, and I can't stress this enough, is CLEANING. And I don't mean a quick wipe-down. I mean a thorough scrubbing. You’ll want a dedicated stainless steel wire brush – and I mean dedicated for aluminum. Don't go using the same brush you used on your rusty old lawnmower, or you'll just be transferring all sorts of nasty contaminants onto your shiny aluminum. Think of it like sterilizing your surgical tools before an operation, but, you know, for welding. After brushing, a good wipe-down with a clean rag and some acetone or a specific aluminum cleaner is a must. Get it squeaky clean.
Choosing Your Weapon (Welder Settings)
Now, let's get to the good stuff: your wire feed welder. For aluminum, you're generally looking at using a MIG welder. Why MIG? Because it's generally easier for beginners to get a handle on compared to TIG, and it’s perfect for that speedy, everyday kind of welding. Plus, you're feeding the wire automatically, which is a lifesaver when you're dealing with something as eager to melt as aluminum.

The type of wire you use is crucial. For aluminum, you’ll want aluminum welding wire. Don't even think about using steel wire. It's like trying to knit a sweater with spaghetti. The common alloys are 4043 and 5356. 4043 is a bit more forgiving and less prone to cracking, especially on castings. 5356 has a bit more strength and is a good all-rounder. For most of your everyday projects, either will probably work just fine. Just make sure the spool is labeled for aluminum.
Next up: GAS. This is where things get a little different from steel. For aluminum, you'll be using 100% Argon. No, not Argon-CO2 mix like you might use for steel. Just pure Argon. Why? Because Argon is an inert gas, meaning it doesn't react with the molten aluminum, and it helps protect that precious weld puddle from the atmosphere, which is full of pesky oxygen and nitrogen that can mess up your weld. Think of the Argon as a cozy, protective blanket for your molten metal. You'll typically run a higher flow rate for aluminum than for steel, maybe around 20-25 CFH (cubic feet per hour). It might seem like a lot, but you want to make sure that molten pool is really well protected.
Wire speed and voltage are your main controls here. This is where the cat-herding analogy really comes into play. Aluminum likes to melt fast, so you’ll usually be running your wire speed a bit higher than you would for steel of the same thickness. The voltage needs to be dialed in to match. Too low voltage, and you’ll get a spattery, weak weld that looks like a mosquito bite. Too high, and you’re going to burn right through the aluminum like it’s made of butter. It's a bit of a dance, and you'll spend some time practicing on scrap pieces to find that sweet spot. Some welders have a "spray transfer" mode for aluminum, which is ideal. It's a smoother, cleaner arc that’s less likely to spatter.
The Actual Zapping (Welding Technique)
Alright, you’ve cleaned it, you’ve got the right wire, the right gas, and you’ve set your welder to something that looks vaguely promising on your scrap piece. Now, the moment of truth: laying down that bead.
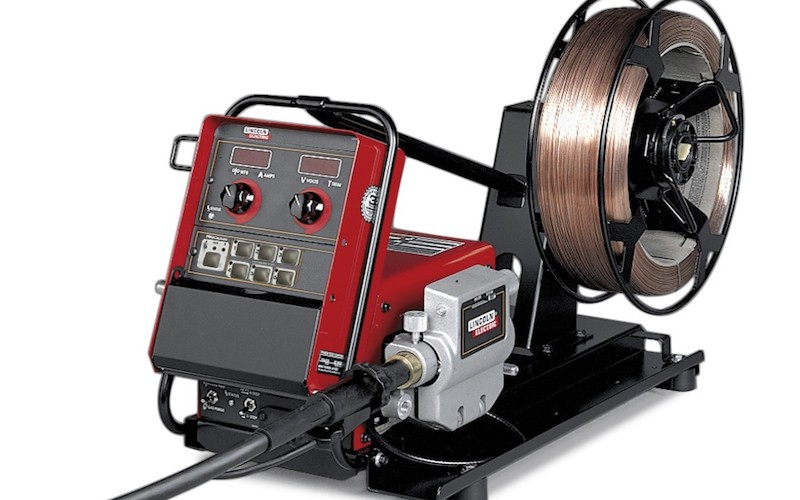
Stickout is another important one for aluminum. You want a slightly longer stickout (the length of wire exposed from the welding gun tip) than you would with steel, usually around 1/2 to 3/4 of an inch. This helps with heat dissipation and prevents the aluminum wire from melting too far back into the gun.
When you start welding, push the gun, don't pull it. This is the opposite of what you often do with steel. Pushing the weld puddle helps push the shielding gas forward, protecting it better. It also helps you see what you're doing. Imagine you're pushing a shopping cart filled with molten metal; you want to be in front of it, guiding it, not trailing behind it wondering where it's going.
You'll also want to move a bit faster than you would with steel. Aluminum cools down really quickly, so if you linger too long, you'll end up with a big ol' hole. Think of it as a brisk walk, not a leisurely stroll. Keep that torch moving in a consistent rhythm, and try to maintain a consistent distance from the workpiece. That steady movement is key to a smooth, strong bead.
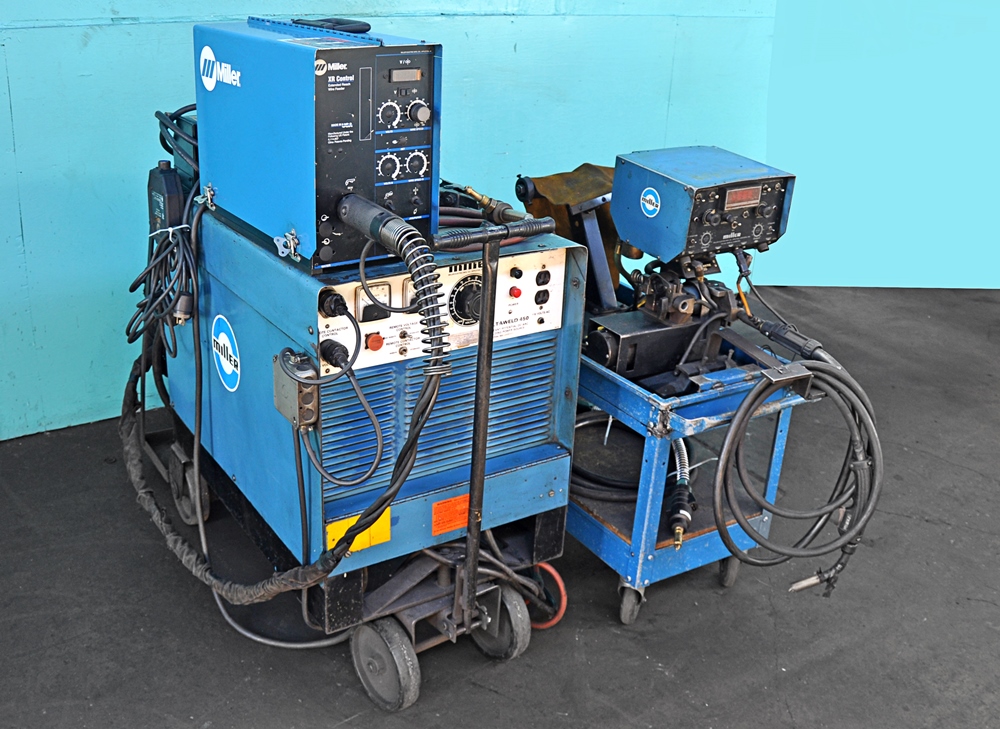
Joint preparation is just as important as cleaning the metal. For butt joints, beveling the edges can help ensure you get good fusion all the way through. For lap joints, make sure the surfaces overlap sufficiently and are clean. If you're welding thinner aluminum, you might need to use a backing strip of copper or aluminum to help support the molten puddle and prevent burn-through. Copper is great because it draws heat away, preventing you from melting too much. It's like giving your molten puddle a temporary, heat-resistant scaffolding.
Common Pitfalls and How to Avoid Them
So, what are the usual suspects when it comes to messing up aluminum welds? Well, besides not cleaning it properly, the most common issue is burn-through. That thin aluminum just decides it’s had enough and creates an unplanned window. The solution? Lower your voltage, speed up your travel, and maybe try a slightly lower wire speed to get less heat input. If you’re still struggling, consider using a slightly larger diameter wire, which can sometimes be more forgiving.
Then there's the dreaded lack of fusion. This is when your weld doesn't actually stick to both pieces of metal properly. It looks like you’ve laid a bead, but it’s just sitting on top, ready to pop off. This usually means not enough heat or not getting the puddle hot enough to fuse properly. Try increasing your voltage slightly or slowing down your travel speed a touch. Again, good joint preparation and beveling can help ensure you get that deep, strong fusion.
Porosity is another fun one. These are little tiny holes in your weld, which weaken it considerably. Porosity can be caused by a few things: not enough shielding gas (check your flow rate and look for leaks!), contamination on the surface of the metal or wire (see step one: cleaning!), or even a contaminated gas cylinder. Make sure your gas bottle is full and the regulator is working correctly. And for the love of all that is holy, never use a wire brush that's touched steel on your aluminum.

And finally, cracking. Aluminum can be prone to cracking, especially some alloys, when it cools. This is where choosing the right wire (like 4043 for less crack-sensitive applications) and proper pre-heating (if necessary for thicker pieces) can help. Sometimes, a bit of a "wobble" or backstep technique when finishing a weld can help relieve stress and reduce the chance of cracking.
When to Call in the Cavalry (or a Friend)
Look, nobody expects you to be a master welder on your first try. Aluminum welding is a skill that takes practice. Don't get discouraged if your first few attempts look a bit… interesting. Think of it like learning to ride a bike; there are going to be a few wobbles and maybe even a minor spill or two.
If you’re working on something really critical, like structural components on your car or a boat that needs to be watertight, and you're not confident, it's always a good idea to get a second opinion or hire a professional. There’s no shame in knowing your limits. But for those DIY projects, the fun stuff, the things that make your life a little easier or cooler? Go for it!
The key takeaways are: CLEAN, CLEAN, CLEAN, use the right settings (wire, gas, voltage, speed), push the gun, move at a consistent pace, and practice, practice, practice! With your wire feed welder and a bit of understanding of how this finicky metal behaves, you’ll be surprised at what you can accomplish. So grab that welder, a piece of scrap aluminum, and get ready to make some sparks. Just try not to melt your workbench. Happy welding!