Welding Ss To Mild Steel

So, you’ve got a project brewing, haven’t you? Maybe it’s that old garden gate that’s seen better days, or perhaps you’re embarking on a grand adventure to build a custom barbecue pit that’ll make your neighbors green with envy. Whatever it is, chances are you’ve stumbled upon a bit of a… well, a situation. You’ve got some shiny, fancy stainless steel bits, looking all sleek and ready for action, and then there’s the trusty, no-nonsense mild steel, probably a bit rough around the edges but built like a tank. And now you’re scratching your head, wondering, “Can these two, shall we say, different personalities, play nicely together with a bit of welding?”
It’s a question that pops up more often than you’d think. It’s like trying to introduce your perfectly coiffed poodle to your Uncle Barry’s slobbering bulldog. They’re both dogs, sure, but they’ve got very different approaches to life, and you’re just hoping they don’t end up in a hairy, slobbery mess. Welding stainless steel to mild steel is kinda like that, but with molten metal and a whole lot more sparks. And for the uninitiated, it can feel like trying to solve a Rubik’s Cube blindfolded during an earthquake.
But fear not, my friend! This isn't some arcane wizardry reserved for folks with goggles surgically attached to their faces. It’s perfectly doable, and with a few pointers, you can have those two disparate materials behaving like they’ve been best buds since kindergarten. Think of it as matchmaking, but with a welding torch instead of a terrible dating app. We’re aiming for a strong, stable union, not a fleeting romance that melts away at the first sign of stress.
Let’s start with why this whole kerfuffle even exists. Stainless steel, bless its shiny heart, is loaded with chromium. That chromium is what gives it its legendary corrosion resistance. It’s like it wears a little invisible suit of armor, protecting it from rust and looking good while doing it. Mild steel, on the other hand, is… well, it’s mild. It’s got iron, a bit of carbon, and it’s generally a lot cheaper and easier to work with. It’s the reliable workhorse of the metal world, but it’s prone to getting a bit grumpy and rusty if you leave it out in the rain too long.
So, when you try to fuse these two together, you’re essentially asking the tough, armored stainless steel to hold hands with the more vulnerable mild steel. And if you just go at it like you’re trying to punch through a brick wall with a marshmallow, things are going to go sideways. The big boss of problems here is something called carbon migration. Essentially, the carbon from your mild steel can get a bit too friendly with the stainless steel, and that can mess with the stainless’s superpower – its rust-fighting ability. It’s like a sneaky little gremlin whispering bad habits to your normally well-behaved friend.
The Sparky Showdown: What’s the Big Deal?
Imagine you’re at a fancy dinner party. You’ve got the sophisticated, always-perfectly-dressed stainless steel guest, and then you have the down-to-earth, maybe slightly rumpled, mild steel guest. If you just shove them together and expect them to bond over canapés, it might be a bit awkward. You need a bridge, a conversation starter, a way for them to find common ground. In welding, that bridge is often a different kind of filler material.
The most common way to get these two to shack up permanently is by using a specific type of filler rod or wire. Think of it as a skilled mediator. You’re not trying to force them to become identical; you’re just trying to create a strong connection that respects their individual qualities. The trick is to choose a filler that can handle the differences and create a bond that’s both strong and resistant to the woes of the world (or at least, the woes of your garden gate.
The go-to hero for this job is usually a stainless steel filler rod, but not just any old stainless. You’re typically looking for something that’s a bit higher in chromium and nickel, something like 308L or even 309L. Why these fancy numbers? Well, the ‘L’ means low carbon, which is always a good thing when you’re trying to avoid that carbon migration blues. The higher nickel and chromium content helps to create a buffer zone, a sort of protective embrace, between the two metals.
It’s like having a really diplomatic diplomat in the room. They can speak both languages, understand the nuances, and facilitate a smooth negotiation. This is especially important if your mild steel is going to be exposed to the elements. You don’t want your fancy stainless steel looking all proud and shiny while its mild steel buddy is developing a full-blown rust rash next to it.
Choosing Your Wingman: The Filler Material
So, you’ve got your stainless and your mild steel. They’re sitting there, looking at each other with a mixture of curiosity and perhaps a little apprehension. Now it’s time to pick the right filler. This is where many DIY welders get a bit lost, like trying to navigate a maze with only a spoon. The good news is, it’s not that complicated once you know what you’re looking for.
For general-purpose welding of stainless to mild steel, especially for projects that aren’t going to be subjected to extreme stress or corrosive environments, a 309L stainless steel filler is your best bet. The 309L is designed specifically for this kind of cross-joining. It has a higher alloy content, which means it’s more forgiving. It’s like giving the mild steel a little bit of stainless steel’s resilience. It’s the superhero who lends their cape to a friend in need.
If you’re using the MIG (Metal Inert Gas) welding process, you’ll be looking for 309L MIG wire. If you’re TIG (Tungsten Inert Gas) welding, you’ll need 309L TIG rods. They’re essentially the same stuff, just in different forms. And if you’re sticking with the trusty old stick welder (SMAW, or Shielded Metal Arc Welding), you’ll be after 309L electrodes.
Now, sometimes, especially if the mild steel is going to be in a really gnarly environment – think salty sea air, or a chemical plant – you might even consider using a stainless steel filler that’s even more alloyed. This is like bringing in the absolute top-tier diplomat, the one with the most impressive credentials, just to be absolutely sure. But for most of us, tackling that garden gate or building a sturdy workbench, the 309L is more than enough.
It’s also worth mentioning that sometimes, for very thin materials or specific applications, people might use a mild steel filler. However, this is generally not recommended if you want good corrosion resistance on the stainless side. It’s like trying to build a castle wall with sandcastles. It might look okay for a bit, but it’s not going to last.
The key takeaway here is: don't just grab any old filler. Think of it as choosing the right kind of glue. You wouldn’t use school glue to hold together your car engine, would you? Same principle applies here.
The Dance of the Amperage: Getting the Heat Right
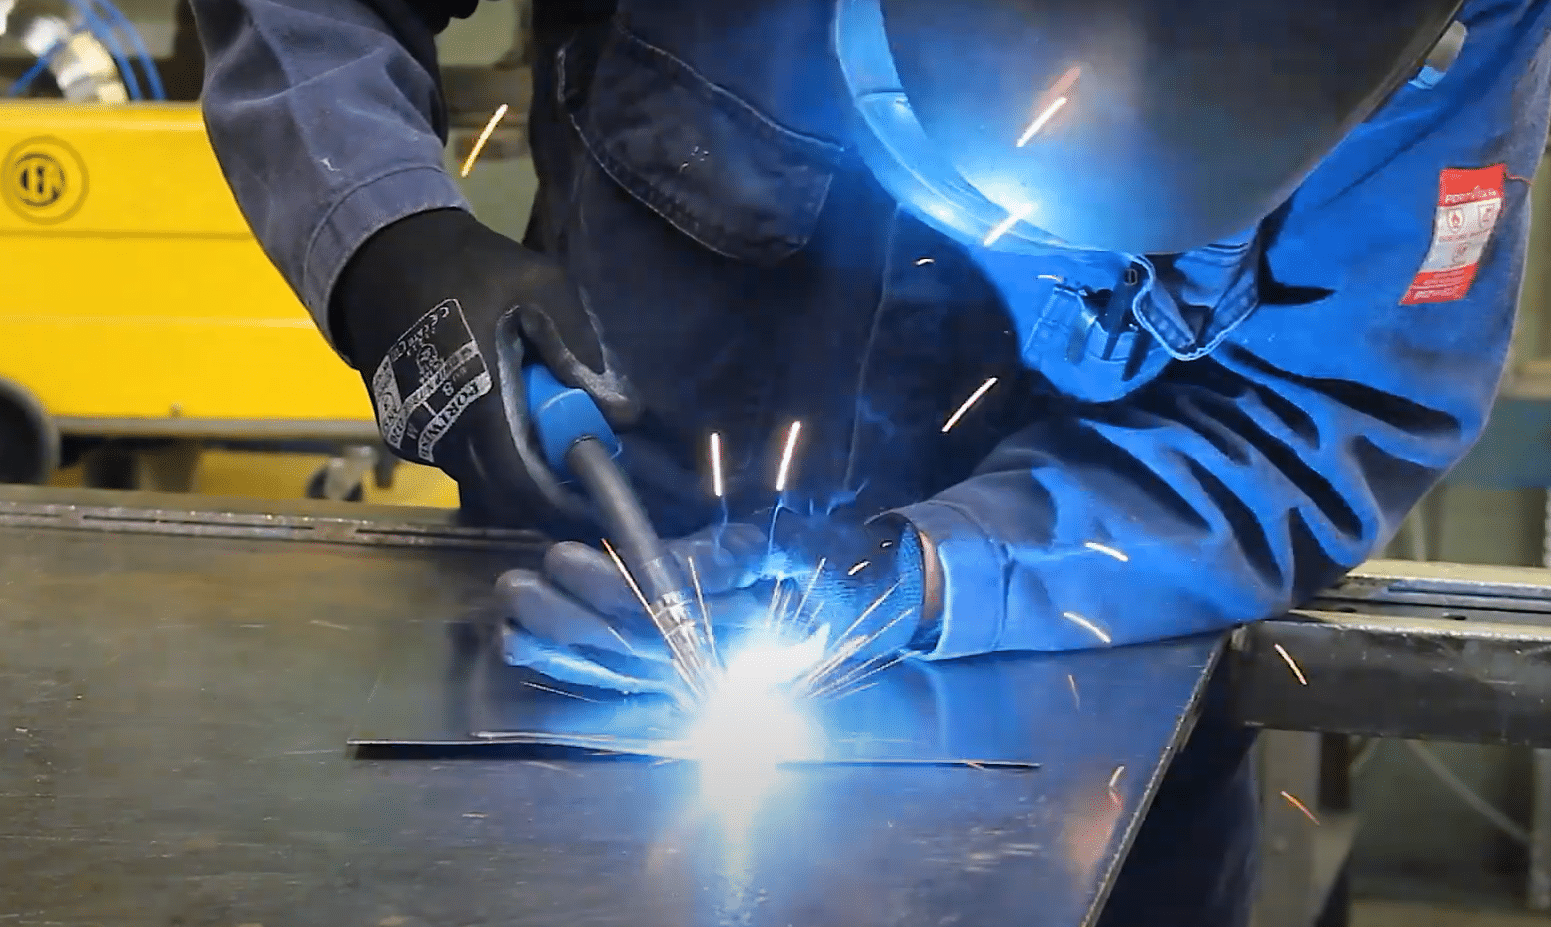
Alright, you’ve got your materials, you’ve got your filler. Now it’s time to bring in the sparks. And when you’re welding stainless to mild steel, the heat is a delicate balancing act. It’s like trying to get your toast just right. Too little heat, and you won’t get a good fusion. Too much heat, and you risk burning through the thinner material, or even worse, messing up the properties of the stainless steel.
Stainless steel generally likes a bit less heat than mild steel. It’s a bit more sensitive to being overheated. Mild steel, being tougher, can usually take a bit more of a beating. So, when you’re welding them together, you’re essentially trying to find a middle ground, a sweet spot where both can cooperate. Think of it as a gentle tango, not a mosh pit.
A good rule of thumb is to dial your amperage down a notch or two when you’re welding stainless to mild steel compared to welding two pieces of mild steel of the same thickness. You want to achieve good penetration into both pieces without causing excessive heat buildup. This is where practicing on some scrap pieces becomes your best friend. It’s like tuning a guitar – you fiddle with it until it sounds right.
If you’re MIG welding, you’ll also want to pay attention to your voltage. A slightly lower voltage can help control the heat and produce a cleaner weld. And for TIG welding, you’ll want to be judicious with your heat input. Don’t linger too long in one spot. Keep that torch moving, like you’re trying to catch a mischievous firefly.
One common mistake is to just crank up the heat, thinking more power equals a stronger weld. Nope! With stainless steel, you can actually make it weaker by overheating it. You can burn away some of those precious alloying elements that give it its strength and corrosion resistance. So, resist the urge to go full blast. Think finesse, not force.
The thickness of your materials also plays a big role. If you’re welding a thin sheet of stainless to a thick piece of mild steel, you’ll need to adjust your settings to compensate. You might need to focus your heat more on the thicker mild steel piece to ensure good fusion, while still being careful not to burn through the stainless.
Prep Work is Your Pal: Don't Skip the Basics
Before you even think about striking an arc, there’s the little matter of preparation. And this is where many a weekend warrior has stumbled. You wouldn’t try to paint a dirty wall, would you? Same applies to welding. Cleanliness is next to… well, good weldability.
First off, you need to thoroughly clean both surfaces. This means getting rid of any rust, mill scale, paint, grease, oil – anything that’s not pure metal. For mild steel, a wire brush or a flap disc on an angle grinder is your best friend. For stainless steel, you’ll want to be a bit more careful. Use a stainless steel wire brush (never use a brush that’s been used on mild steel, as you can contaminate the stainless!) or an abrasive pad. The goal is to get down to bright, shiny metal on both sides.
This is crucial because any contaminants can get baked into your weld, creating weak spots, porosity (little holes), and all sorts of nasties. It’s like trying to build a house on quicksand. It’s not going to end well.
Next, consider your joint design. For a strong weld, you want good joint access. For thicker materials, you might even need to bevel the edges to ensure full penetration. Think of it like making sure the two pieces have a good, solid hug, not just a side-hug. You want them to be able to really get in there and meld together.
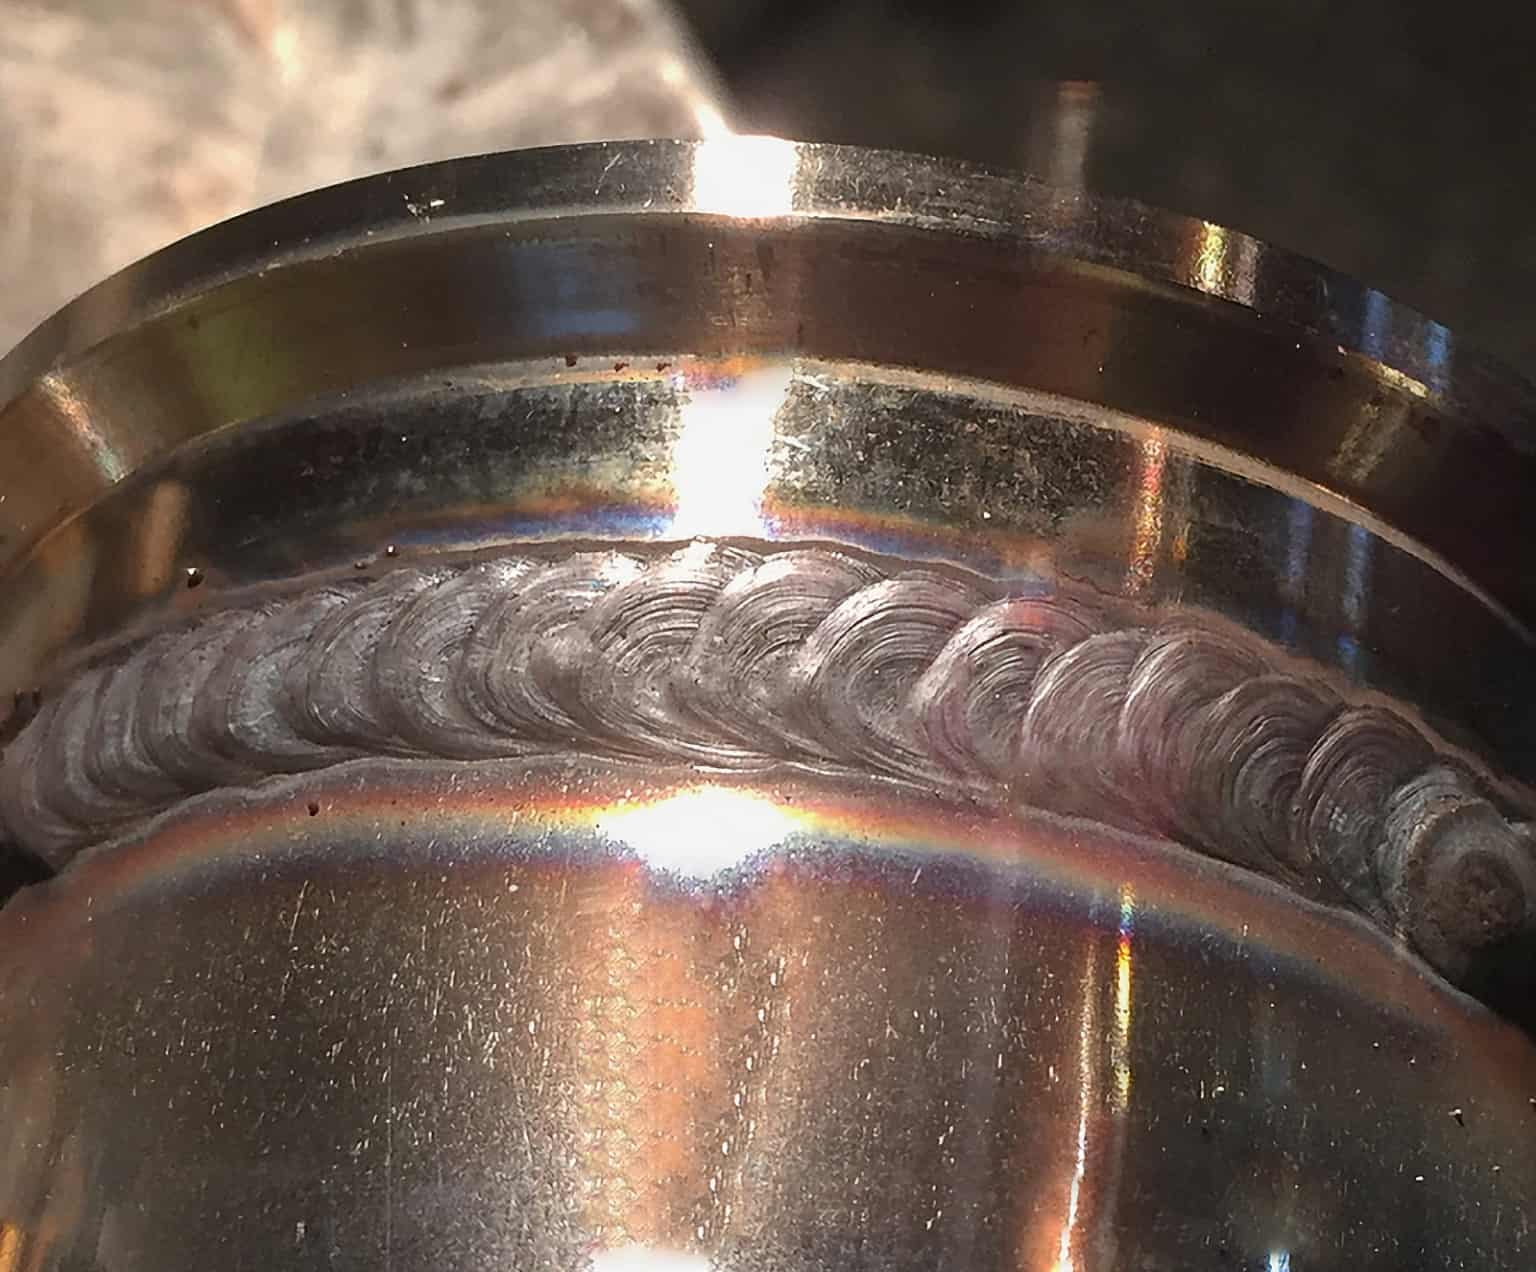
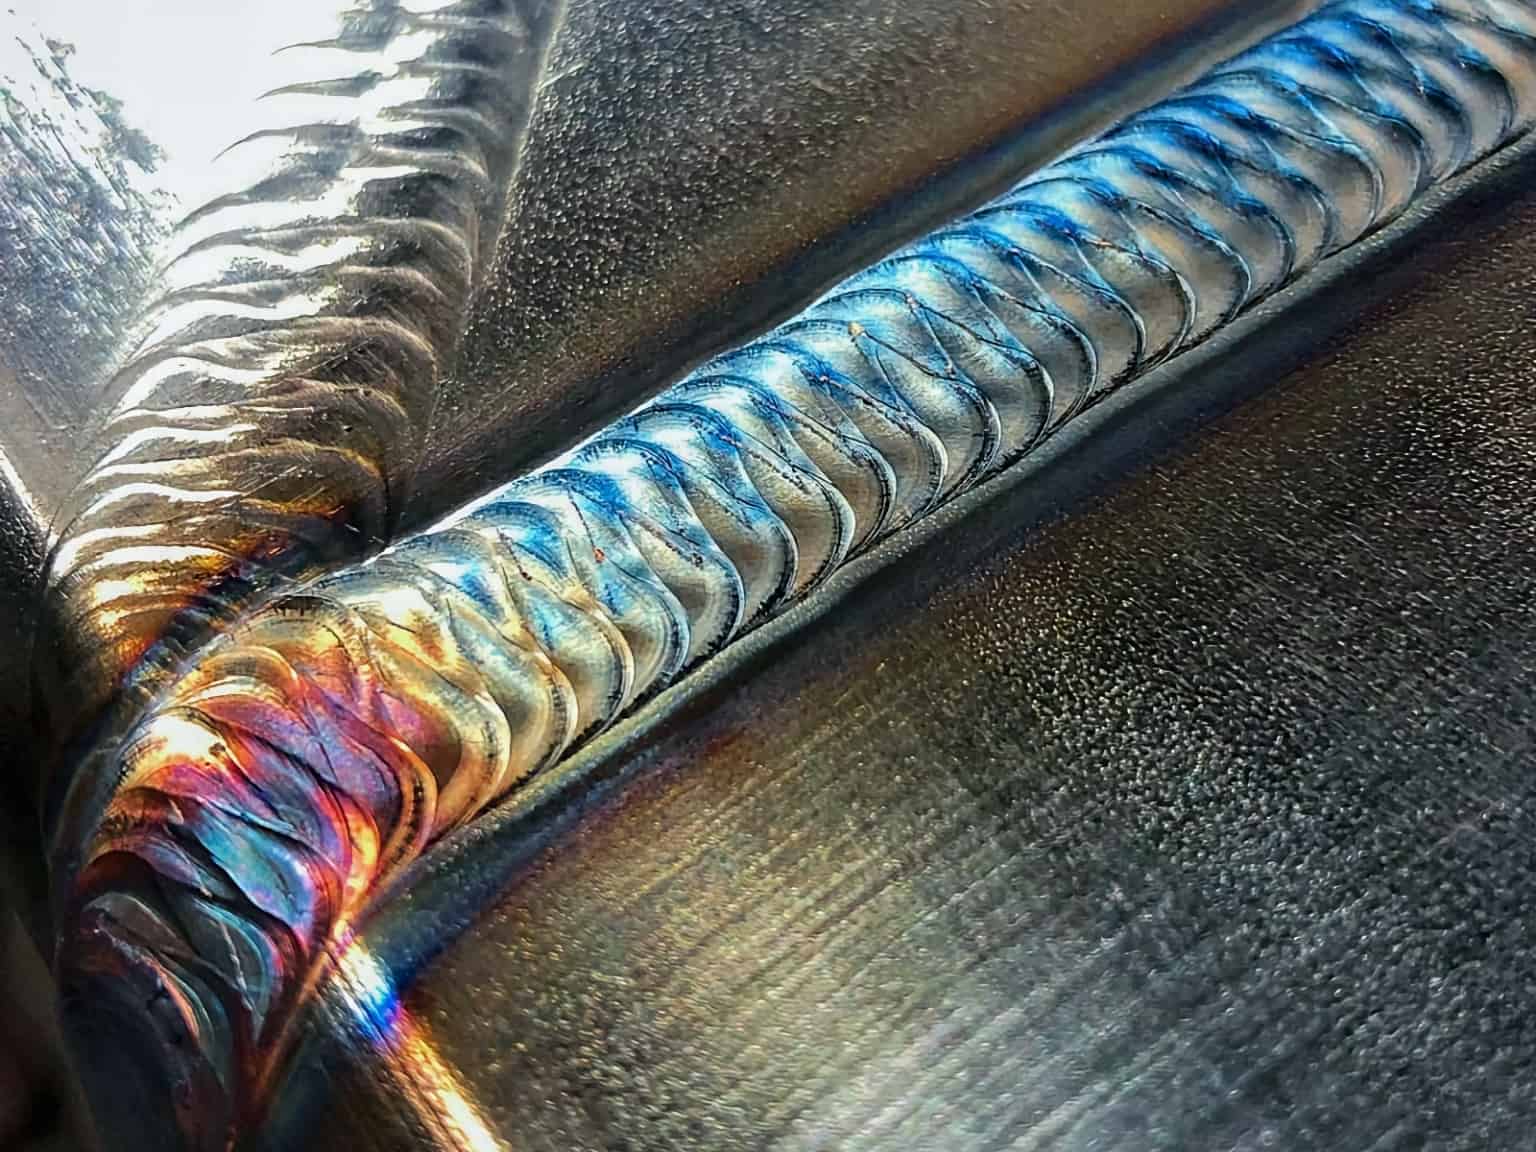
And for stainless steel, especially, it’s a good idea to purge with argon gas on the backside if you can. This is particularly true for TIG welding. It’s like giving the back of your weld a protective shield, preventing it from oxidizing and turning a nasty blue or black. This is what gives you that beautiful, clean silver weld on both sides, the kind that makes you want to frame your work.
If you’re not familiar with purging, it’s essentially flowing an inert gas (usually argon) behind the weld as you’re welding. This prevents the hot metal from reacting with the air. It’s a bit of an advanced technique, but if you’re serious about getting the best results, it’s worth looking into. For many common applications, however, good surface prep and the right filler might be sufficient.
The Finish Line: Post-Weld Bliss (or Not)
So, you’ve welded your stainless to your mild steel, and it looks… okay. You’re breathing a sigh of relief, maybe even doing a little victory dance. But before you declare your project a complete success, a few things to consider about the aftermath.
As we mentioned, carbon migration is still a potential issue, especially if the mild steel side is going to be exposed to moisture or corrosive elements. The weld itself, made with the appropriate stainless filler, will be resistant, but the heat-affected zone (HAZ) on the mild steel side might still be vulnerable. This is where a bit of post-weld treatment can be your friend.
If corrosion resistance is paramount, you might consider applying a stainless steel paint or coating to the mild steel side, especially around the weld area. This is like giving that vulnerable spot a final layer of armor. It’s not always necessary, but for projects that are going to live outdoors, it’s a wise move.
Also, be mindful of the discoloration that can occur around the weld. Stainless steel can turn various shades of yellow, blue, or even purple when it’s heated. This is called heat tint. While it doesn’t necessarily mean the weld is weak, some people prefer a cleaner, brighter finish. You can often remove light heat tint with a stainless steel polish or a mild abrasive pad. For more stubborn discoloration, pickling and passivation are advanced techniques, but for most DIY projects, a good polish will do the trick.
And finally, inspect your work. Look for any cracks, undercuts, or other defects. A good weld should be smooth, with good fusion. If something looks off, don’t hesitate to grind it out and reweld it. Better to fix it now than have it fail later when you’re showing off your masterpiece.
Welding stainless steel to mild steel might seem like trying to mix oil and water, but with the right filler, careful heat control, and a bit of preparation, you can achieve a strong, durable bond. It’s all about understanding the personalities of these metals and treating them with the respect they deserve. So go forth, spark up that welder, and create something awesome!