What Is The Span Tag In Html

Hey there, fellow web explorer! So, you've been diving into the wonderful world of HTML, huh? That's awesome! It's like learning a secret language that makes the internet do its magic. And today, we're going to chat about a little something called the <span> tag. Don't let the fancy name scare you; it's actually super chill and incredibly useful. Think of it as your HTML sidekick, ready to help you make small, specific changes to your text or other elements.
Imagine you're baking a cake. You've got all your ingredients, right? Flour, sugar, eggs, the whole shebang. Now, what if you want to add just a tiny bit of extra vanilla to one specific part of the batter? You wouldn't redo the entire cake, would you? No way! You'd just carefully add that extra splash of vanilla where you want it. The <span> tag is kind of like that splash of vanilla for your web pages.
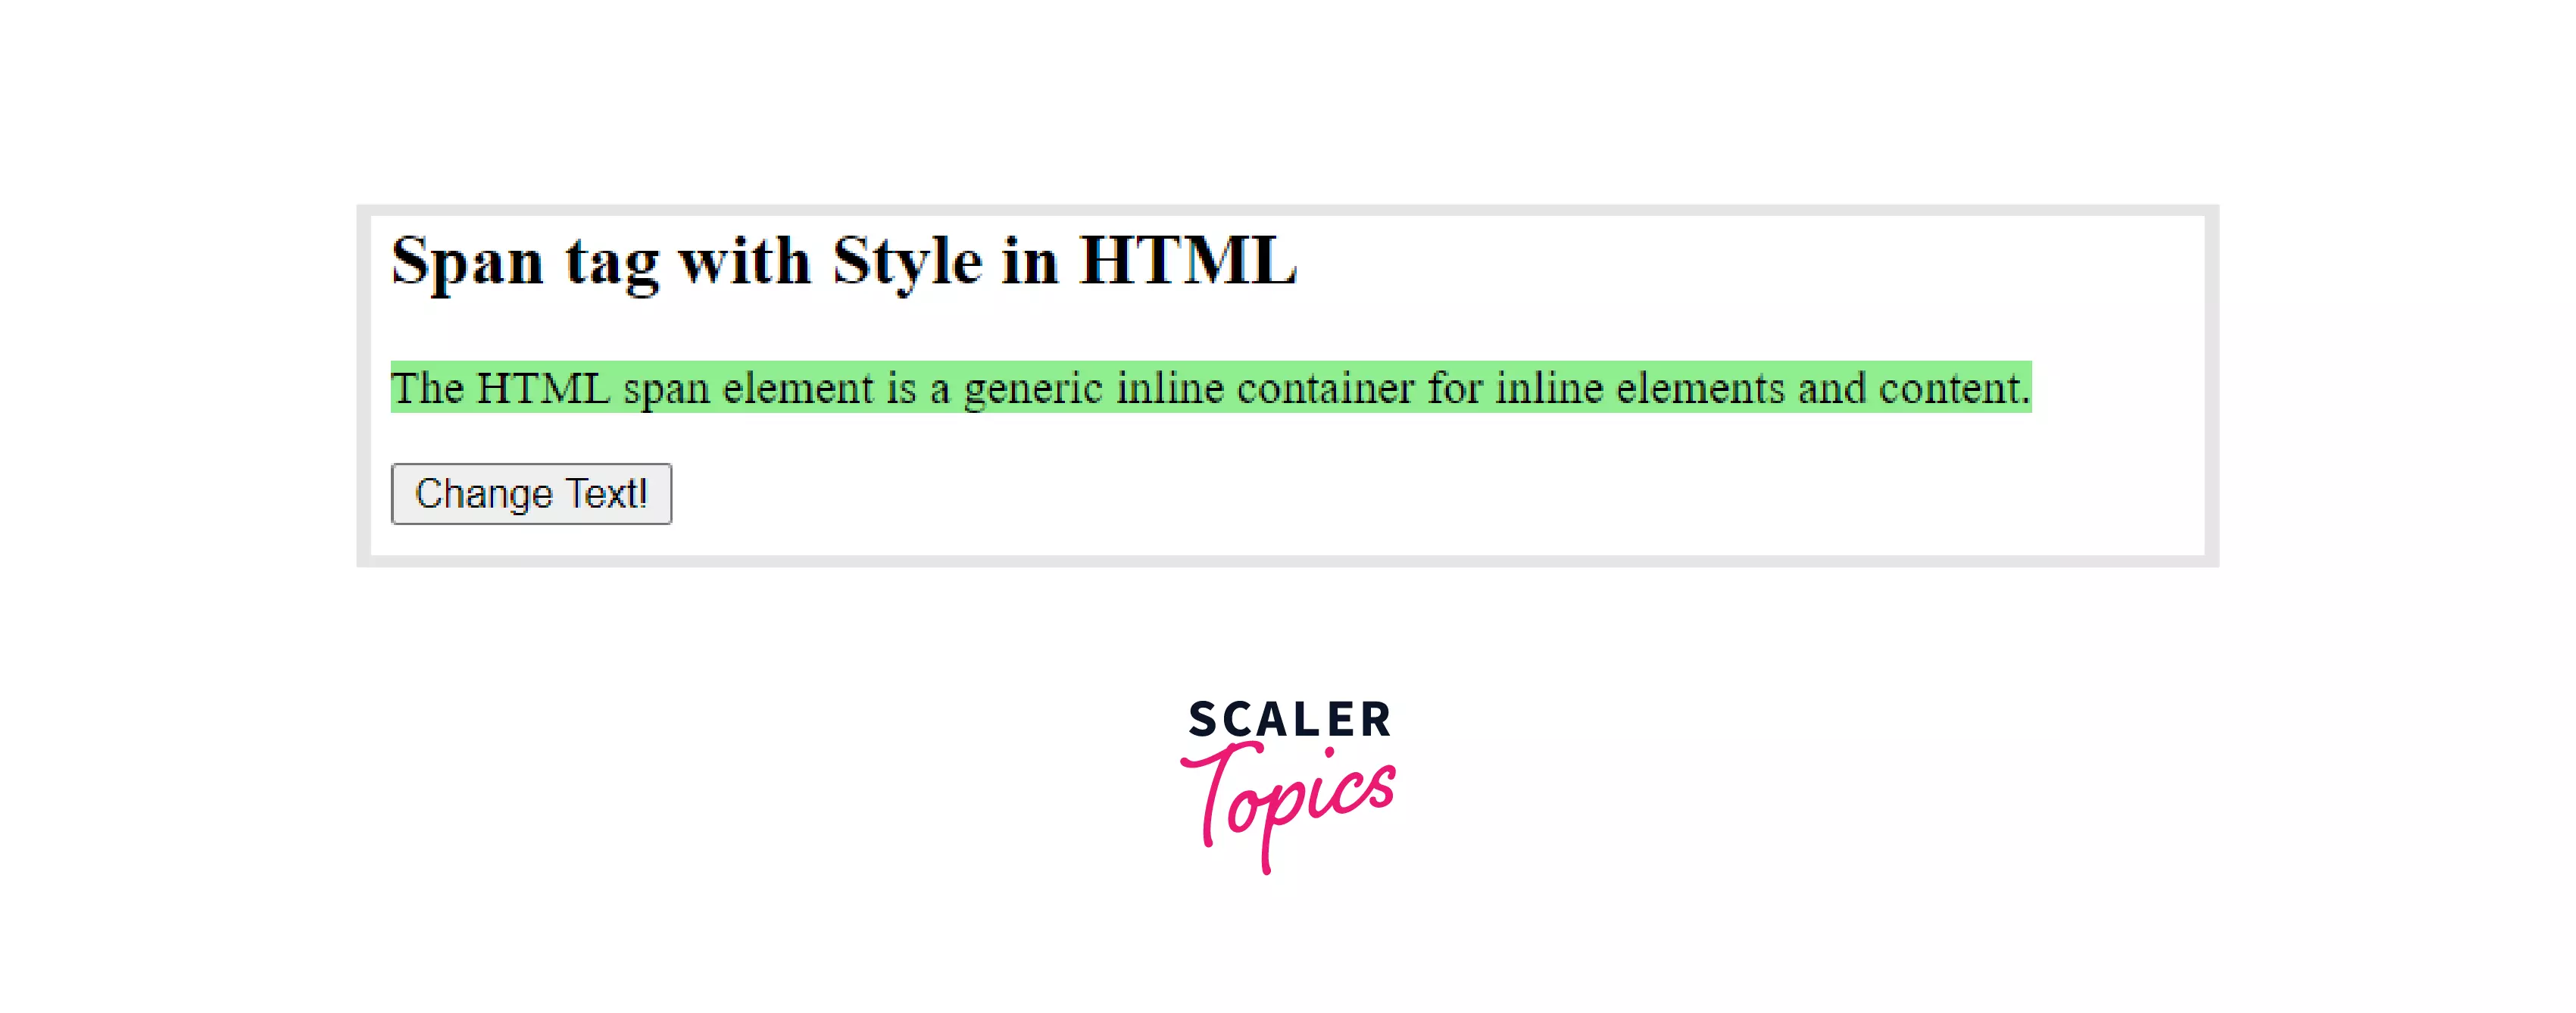
In plain English, the <span> tag is a generic inline container. Whoa, generic and inline? Sounds a bit like a bland party guest, right? But stick with me, because this "generic" guy is actually a rockstar when it comes to styling! It's "inline" because it generally doesn't create a new line or take up the whole width of the page like some other tags do (we'll get to those!). It plays nicely with the text around it.
So, why would you even need a tag that's so... well, generic? Great question! The beauty of the <span> tag lies in its flexibility. It's like a blank canvas. By itself, it doesn't do much visually. If you slap a <span> tag around a word like this: <span>super</span> cool, nothing will visually change on your webpage. It's just a regular, unassuming word.
BUT! (And this is a big, exciting "but"!) The real power comes when you combine it with something called CSS (Cascading Style Sheets). CSS is like the interior designer of your website. It's what makes things look pretty, colorful, and organized. The <span> tag is the perfect little label you can stick onto a piece of text so your CSS designer knows exactly which bit to jazz up.
Let's say you have a sentence, and you want to make just one word stand out. Maybe it's a really important keyword, or a word you want to emphasize with a different color. You can wrap that word in a <span> tag and give that tag a special name, which we call an ID or a class. Think of these as nicknames for your <span> tags, making them easy to find.
For example, imagine this sentence:
"The quick brown fox jumps over the lazy dog."
Now, let's say we want to make the word "fox" a vibrant shade of red. We can do this:
"The quick brown <span style="color: red;">fox</span> jumps over the lazy dog."
See that? We've wrapped "fox" in a <span> tag. And inside that tag, we've added a little instruction: style="color: red;". This is a super basic way to apply CSS directly. It's like telling the <span> tag, "Hey, you! And anything inside you? Make that red!"
This direct styling is handy for quick, one-off changes. But in the grand scheme of web development, it's generally better practice to use classes or IDs and keep your CSS in a separate file. Why? Because it keeps your HTML cleaner and makes your styles reusable. It’s like having a recipe book for your website's appearance instead of scribbling notes all over your ingredients.
So, let's talk about classes. A class is a way to group elements that share similar styling. You might have a class called "highlight". Then, you can use that class on multiple <span> tags throughout your page, and they will all get the same styling you've defined for "highlight" in your CSS.

Here's how that might look in your HTML:
<p>This is a <span class="highlight">very important</span> piece of information.</p>
<p>And here's another <span class="highlight">crucial</span> detail!</p>
And in your CSS file (let's call it `styles.css`), you'd have something like this:
.highlight {
background-color: yellow;
font-weight: bold;
}
Voila! Now, both "very important" and "crucial" would get a bright yellow background and be bolded. The <span> tag acted as the target, and the class "highlight" told the CSS exactly what to do to that target. It's like giving your word a little neon sign that says "Pay attention to me!"
What about IDs? IDs are similar to classes, but they're meant to be unique. You can only have one ID named "header" on a page, for instance. While you can use an ID on a <span> tag, it's more common for larger structural elements like `<div>` or `<header>`. For styling individual words or small phrases with <span>, classes are usually the go-to.
Let's recap: The <span> tag is your go-to for making small, inline style adjustments. It's like a tiny spotlight you can shine on specific parts of your text.
Think about all the cool things you can do:
- Change the color of a single word or phrase.
- Make specific words bold or italic (though `` and `` are often better for semantic meaning, `` with CSS gives you more visual control).
- Add a subtle background highlight to draw attention.
- Change the font size for a word or two.
- Even apply cool text effects like shadows or underlines!
It’s not just for text, either! You can actually put other HTML elements inside a <span> tag, though it’s less common for very complex nesting. For example, you could put an icon next to some text and style them together. But for most everyday tasks, think of <span> as your word and phrase stylist.
One common pitfall for beginners is confusing inline elements like `` with block-level elements like ` Let's do a quick example. Imagine you're writing a recipe and want to highlight the ingredients that are optional. And your CSS would look something like: See how neat that is? The <span> tags are only around the optional ingredients, and the `.optional` class makes them gray and italic. It's much cleaner than trying to figure out how to apply that styling directly within the list item itself without a specific tag. You can even use them for things like adding a special icon next to a particular type of link. Maybe you want all external links to have a little "external" icon next to them. And in your CSS: This makes your links more informative and visually distinct. The <span> tag is the unsung hero here, allowing you to apply that specific styling to just the icon. The key takeaway is that the <span> tag is incredibly versatile. It's a blank slate that you can paint with CSS. It gives you fine-grained control over how parts of your content look, without disrupting the overall structure of your page. It’s the little engine that could for micro-styling! So, next time you're building a webpage and you think, "Hmm, I wish *just this word was a different color," or "I need to make this phrase really pop," remember your friend, the <span> tag. It’s a simple but powerful tool that will make your web design journey much more colorful and controlled. Don't be afraid to experiment! Play around with different styles, classes, and text. The more you practice, the more you'll see the amazing potential of this little tag. Happy coding, and may your web pages always be styled to perfection!<h2>Delicious Chocolate Chip Cookies</h2><p>Ingredients:</p><ul> <li>2 cups all-purpose flour</li> <li>1 teaspoon baking soda</li>
<li><span class="optional">1/2 cup chopped nuts</span></li> <li>1 cup (2 sticks) unsalted butter, softened</li> <li><span class="optional">1/2 cup mini chocolate chips</span></li></ul>.optional { color: gray; font-style: italic;}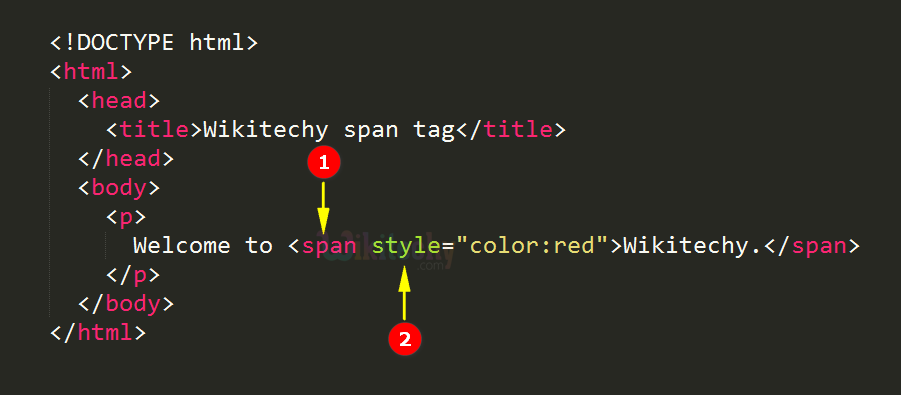
<a href="https://www.example.com">Visit Example.com <span class="external-link-icon">🔗</span></a>.external-link-icon { font-size: 0.8em; /* Make the icon a bit smaller / margin-left: 5px; / Add a little space between text and icon /}