
What To Do After Chickens Hatch In Incubator

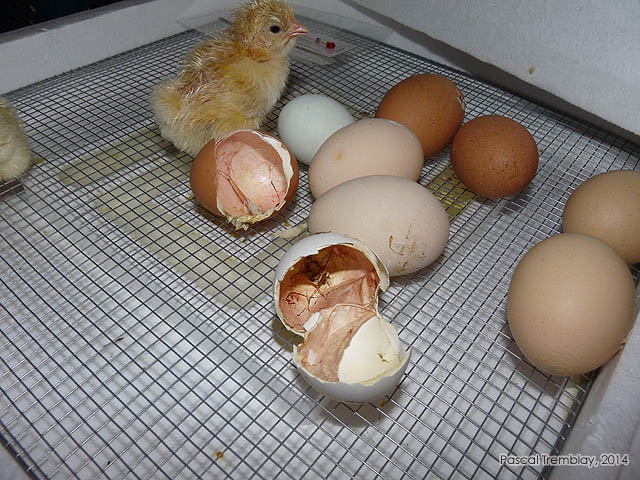
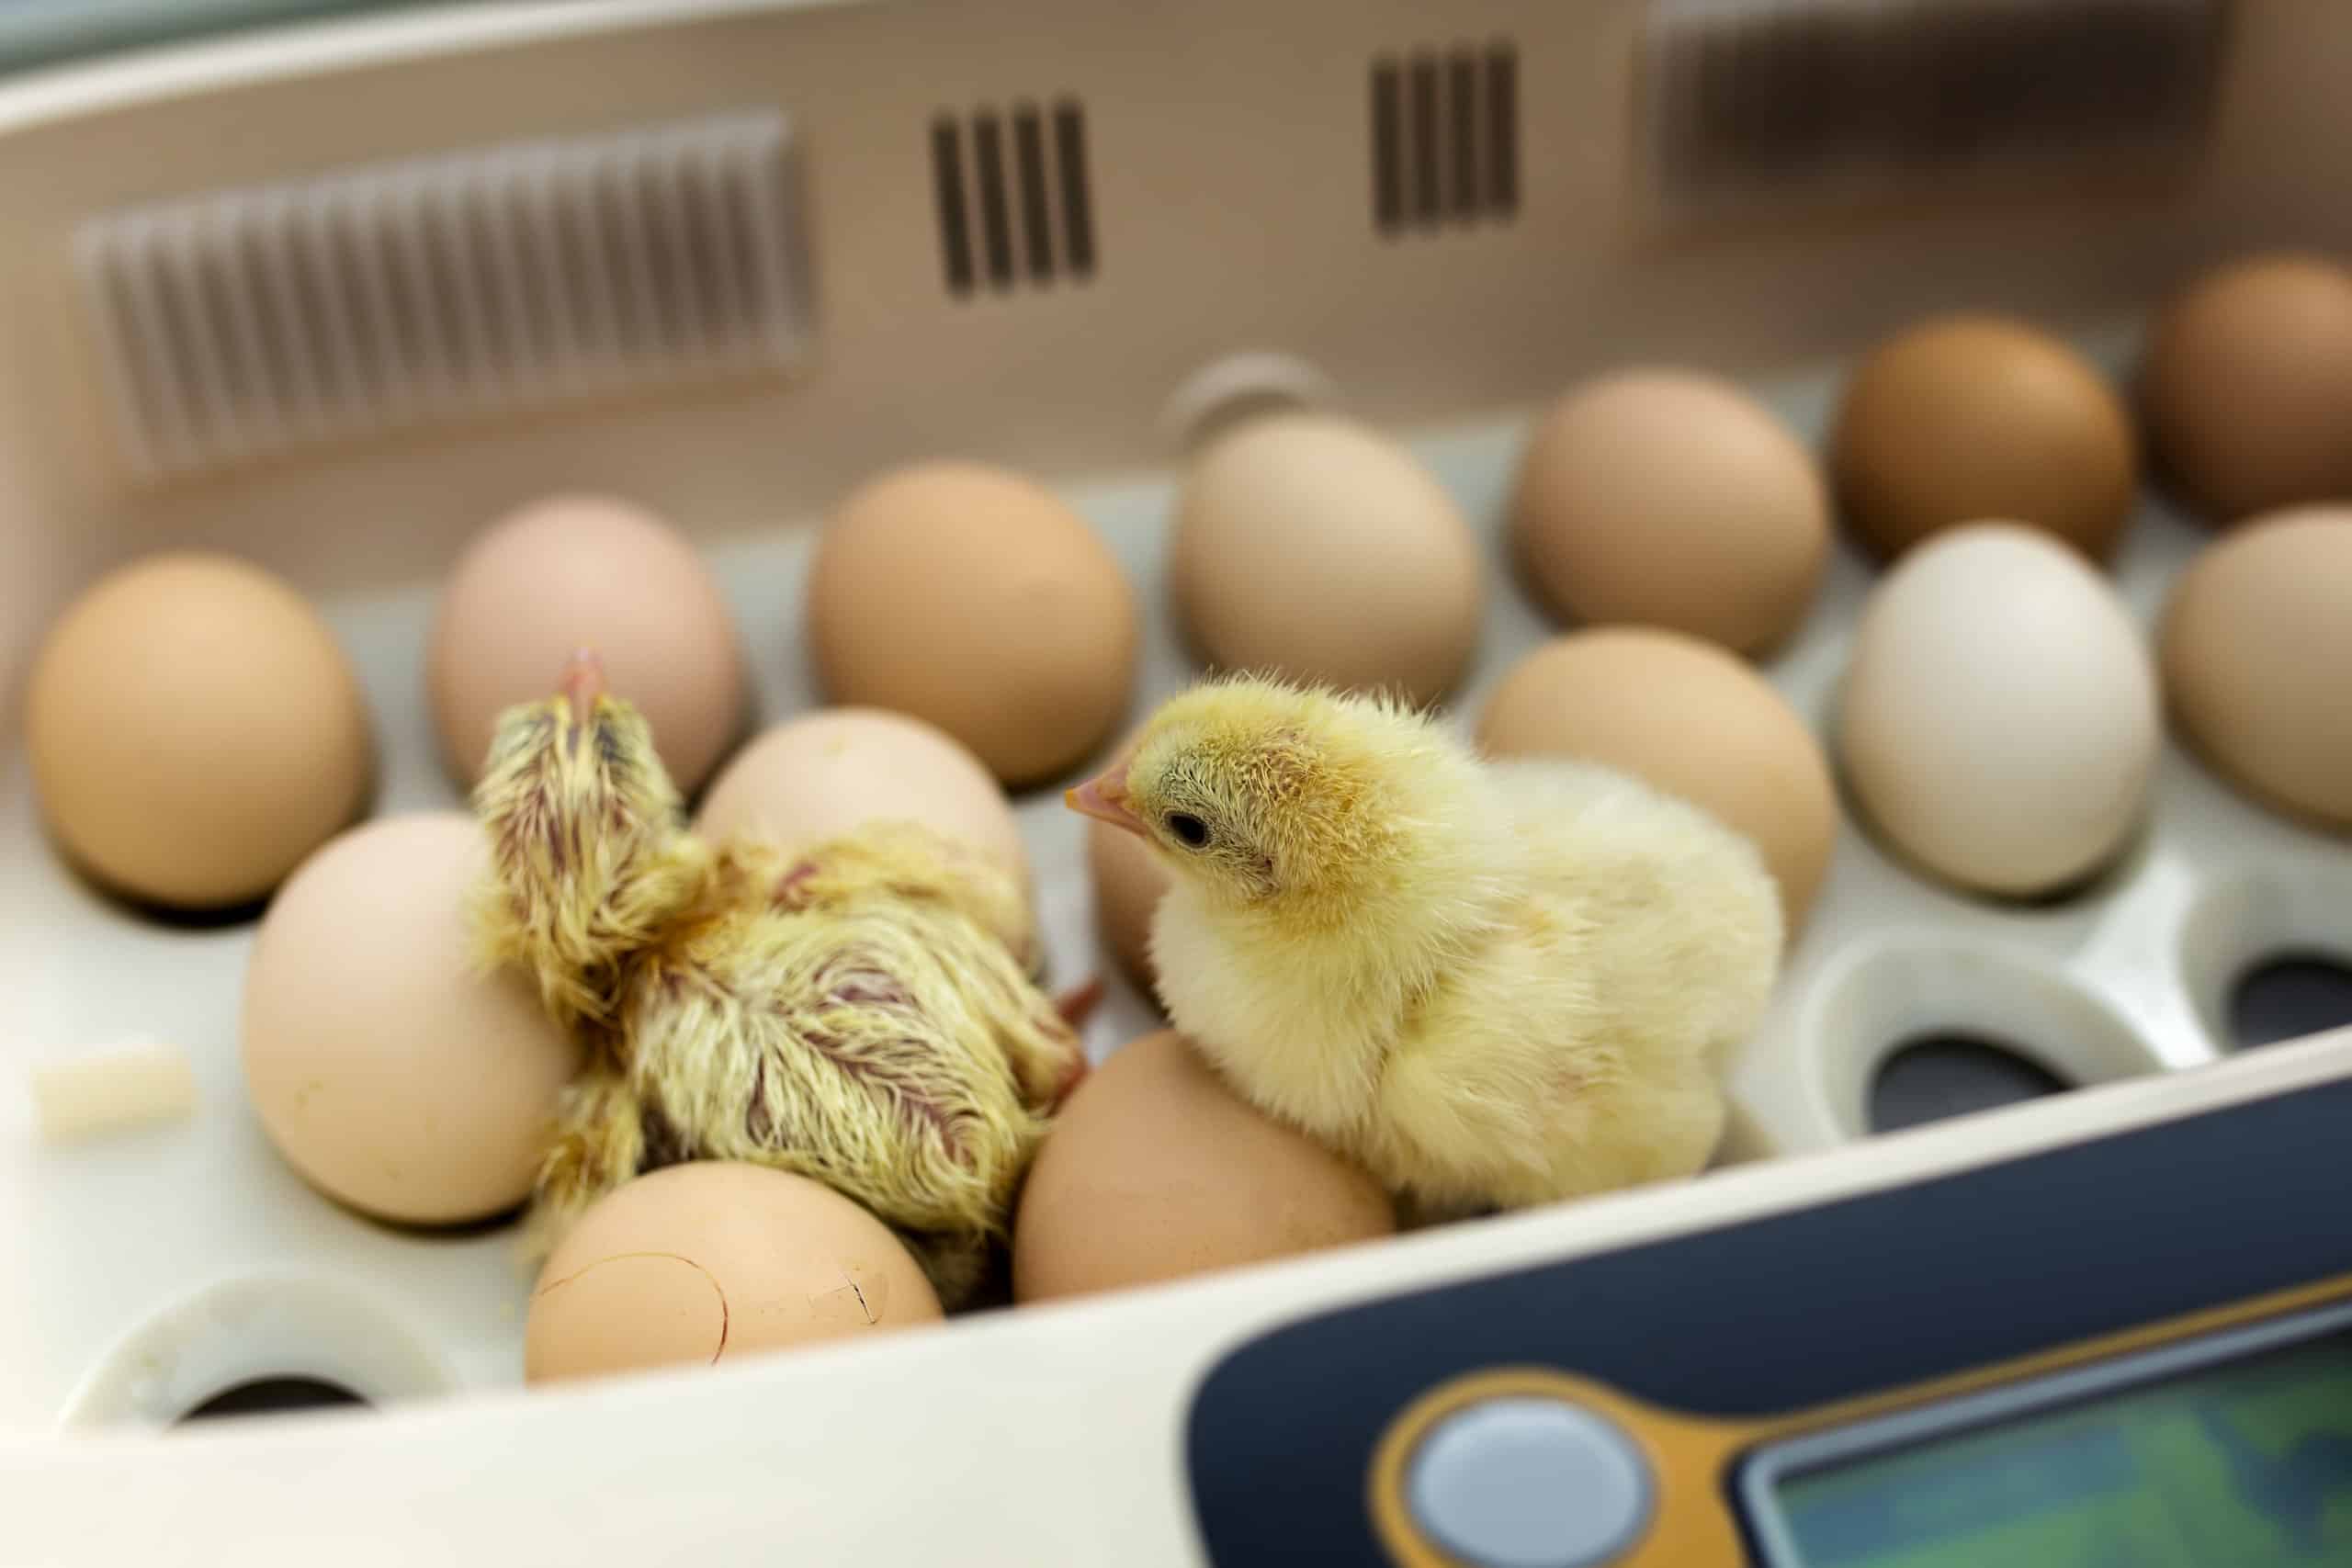
So, you've been staring at that incubator like it holds the secrets to the universe. You’ve checked the temperature, worried about humidity, and maybe even hummed little lullabies to those precious eggs. And then, it happens. A tiny crack, a wiggle, a muffled chirp… chicks are hatching! Congratulations, you’ve officially entered the wonderfully chaotic world of newborn fluffballs!
It’s a moment that’s honestly like witnessing pure magic. Think of it as nature’s ultimate surprise delivery, complete with tiny, peeping surprises. That little beak chipping away at the shell is more determined than your toddler trying to sneak a cookie before dinner. It’s a testament to life, and it's pretty darn inspiring, don’t you think?
Your New Little Wonders: What Now?
Alright, the big moment has arrived, and you're probably buzzing with excitement. Your adorable little chicks are emerging, and your first instinct is likely to scoop them all up and give them a million cuddles. And while that’s totally understandable, these little guys have just gone through a major life event. They’re a bit stressed, a bit tired, and a whole lot hungry and thirsty.
Think of it like bringing home a new baby. You wouldn't immediately toss them into a playground, right? They need a quiet, safe, and warm environment to get their bearings. Your newly hatched chicks are no different. They’ve just spent days inside that cozy, humid incubator, and the world outside is a big, bright, and sometimes chilly place.
The "Brooder" - Their First Cozy Home
This is where the humble brooder comes in. This is their nursery, their safe haven, their five-star resort for the next few weeks. You can make a brooder out of all sorts of things! A large plastic tote, a sturdy cardboard box, or even a small kiddie pool can work perfectly. The key is that it’s secure, easy to clean, and most importantly, warm.
Think of it like creating a little cozy nest. You want to keep them safe from drafts and any curious pets (yes, even your most well-behaved cat or dog can be a little too enthusiastic). The sides need to be high enough so they can’t waddle their way to freedom and get lost. And trust me, they will try!
Now, let’s talk about the star of the brooder show: the heat source. These little guys haven’t grown their fluffy down coat yet, and they rely entirely on external heat. A brooder lamp with a red bulb is your best friend here. Red light is often preferred because it’s less disruptive to their sleep cycles, allowing them to rest and grow properly. You want the temperature under the lamp to be around 90-95°F (32-35°C) for the first week. This is like giving them a perpetual warm hug.
How do you know if it’s right? Observe your chicks! If they are huddled tightly together directly under the lamp, it’s probably too hot. If they are spread out as far away from the lamp as possible, it's likely too cold. If they are scattered comfortably under and around the heat zone, you’ve hit the sweet spot. They’ll let you know!
Food and Water: The Essentials of Chick Life
Once your chicks are settled in their warm little hotel, it’s time to think about the most important things: food and water. They’ve just used up a lot of energy hatching, and they need to refuel. For the first 24-48 hours, you don't need to worry too much about food, as they’ll still be absorbing the nutrients from their egg yolk. But after that, it’s go-time!
You'll need chick starter feed. This is a specially formulated food that provides all the nutrients these growing fluffballs need. You can find it at your local feed store or online. It's usually in a fine crumble or mash form, making it easy for tiny beaks to eat.
Now, water. This is super important, and you need to be a little clever here. Chicks can easily drown in deep water. So, you need a special chick waterer with a shallow base. If you can’t get one, you can improvise. A small, clean terracotta pot saucer works well, or you can place a few clean pebbles or marbles in a shallow dish to create little islands for them to stand on while they drink. This prevents them from falling in and getting chilled or, worse, drowning.
Make sure the water is fresh and at room temperature. You might need to gently dip a chick’s beak in the water a few times to show them where it is. They learn quickly, but sometimes they need a little nudge. It’s like showing your toddler how to use a sippy cup for the first time!
Those First Few Days: Keeping an Eye on Things
The first few days are all about observation. You’re their guardian angel, their chief of chick care. You’ll want to check on them regularly. Are they eating? Are they drinking? Are they active and chirping? Or are they lethargic, quiet, or looking a bit… off?

A healthy chick is curious, active, and chirps with energy. They’ll be exploring their brooder, pecking at their food, and snoozing under the heat lamp. If you see a chick that seems weak, not moving much, or has its wings drooping, it’s worth investigating. Sometimes, it’s just a case of being a little slower to adapt, but other times, it could be a sign of something more serious.
A common issue in the first few days is something called “pasty butt.” This is when droppings stick to the chick’s vent (their backside) and can block it. It’s incredibly dangerous for them if left untreated, as they can’t eliminate waste. If you spot it, don’t panic! You can gently clean the affected area with a warm, damp cloth or cotton ball. Be very gentle, and if it’s really stuck, you can use a little bit of warm water. Once it’s clean, make sure the chick stays warm and dry. This is a quick fix, but it’s crucial to catch it early.
Why Should We Care About These Little Puddles of Fluff?
You might be asking yourself, "Why all this fuss over some tiny birds?" Well, besides the undeniable cuteness factor (which, let’s be honest, is a pretty compelling reason!), raising chickens can be incredibly rewarding.

For starters, they’re amazing at pest control. Think of them as tiny, feathered lawnmowers and bug zappers. They’ll happily munch on slugs, snails, grasshoppers, and all sorts of other garden nuisances. Your tomatoes will thank you!
And then there’s the freshest, most delicious eggs you’ll ever taste. Seriously, the taste difference between a store-bought egg and a backyard-fresh egg is like comparing a microwave dinner to a home-cooked feast. They are vibrant, flavorful, and you know exactly where they came from and what your chickens ate.
Beyond the practical benefits, there’s something incredibly grounding about connecting with nature in this way. Watching these little lives unfold, from a fragile egg to a curious chick to a productive hen, is a beautiful journey. It teaches responsibility, patience, and a deep appreciation for the natural world. It's a fantastic way to connect with your kids (or your inner child!) and learn together.
So, as you gaze at your peeping bundles of joy, remember that you’re not just caring for some birds. You’re nurturing new life, contributing to a more sustainable way of living, and welcoming a whole lot of personality and joy into your life. Embrace the chaos, enjoy the chirps, and get ready for some seriously amazing eggs. Welcome to the flock!