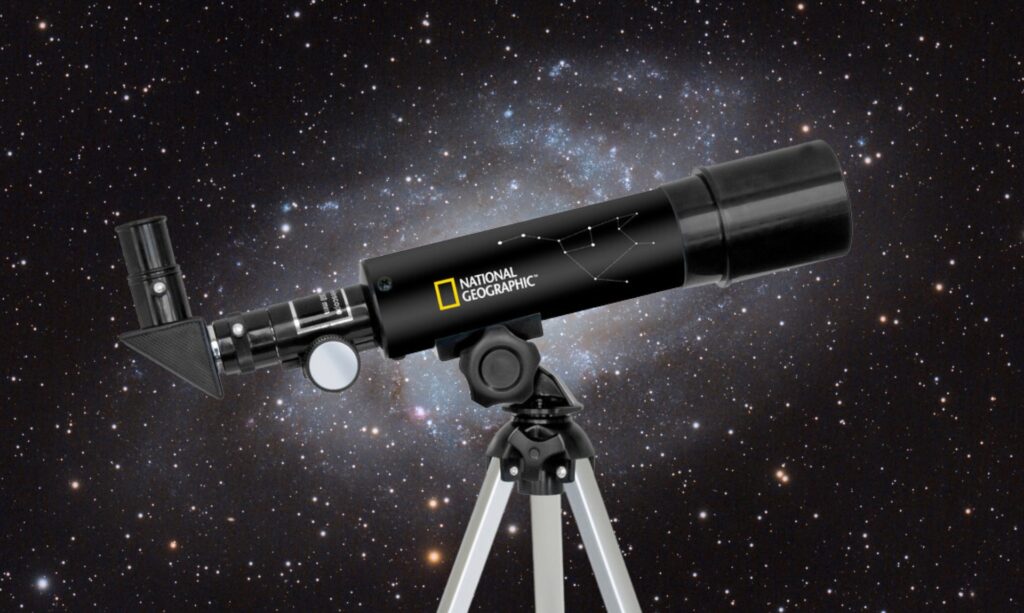
The National Geographic Telescope offers an ideal starting point for those venturing into the mesmerizing realm of deep-sky wonders. With this telescope, you can see breathtaking celestial objects such as the Orion nebula, Andromeda galaxy, or the Pleiades. Wondering how to operate your Nat Geo Telescope?

Here are some tips for getting the most out of your telescope:
Also Read
1. Setup
Before you use your telescope, you must ensure it is properly set up. Ensure the tripod is sturdy and secure and the telescope is firmly attached to the tripod. You should also adjust the angle of the telescope so that it is in the correct position for viewing the night sky.
How to Set Up the National Geographic Telescope
Setting up the National Geographic Telescope is a breeze, thanks to its nearly preassembled design. Just follow these simple steps:
- Unbox and assemble the tripod: Carefully unbox the telescope, ensuring the two inner boxes remain intact. Inside one of the boxes, you’ll find the spreader tripod plate, which also doubles as an eyepiece holder. Set up the tripod by extending its legs and inserting the spreader bar between them. Attach the accessory tray to the spreader bar, providing a convenient spot for storing your eyepieces and Barlow lenses.
- Assemble the mounting head: Take the sturdy metal mounting head and remove the bottom bolt. Place the head onto the tripod, then reattach and tighten the bolt from the bottom. Make sure not to overtighten, allowing for smooth movement. Thread the panhandle into the mounting head’s mouth hole to control the mount’s motion and serve as a lock for the altitude swivel. The azimuth lock knob can be found on the side of the mount head.
- Mount the telescope: With the mounting head securely fastened, take the tube with a dovetail mount on its bottom. Attach it to the mount using the provided knob.
- Attach the red dot viewfinder: Complete the setup by affixing the red dot viewfinder to the top of the telescope. Select the appropriate eyepiece for your desired viewing experience, insert it into the focuser tube, and tighten the screws to keep it firmly in place.
Now you’re ready to embark on celestial exploration with the National Geographic Telescope!
2. Locate Objects
Once your telescope is set up, you can locate objects in the night sky. To do this, you will need a star chart or star map. With this, you can find the coordinates of various stars, planets, and other celestial objects. You can also use a smartphone app to help you locate objects in the night sky.
3. Focus
Once you have located an object in the night sky, you will need to adjust the focus of your telescope to get the clearest image possible. To do this, you must use the focus knob on the telescope. Turn the knob until the object is in focus.
4. View
When the object is in focus, you should be able to see it clearly in your telescope. You may need to adjust the focus knob slightly to get the clearest image possible. Also, you may need to adjust the angle of the telescope to get the best view.
5. Observe
Once you can view the object clearly in your telescope, you can start to observe it. Depending on the type of telescope you have, you may be able to observe the object in greater detail. Make sure to take some time to observe the object and take notes of your findings.
6. Record
Once you have finished observing the object, recording your observations is a good idea. You can do this by taking pictures with your smartphone or using a sketchpad to draw what you have seen. This will help you remember your observations in the future.
7. Clean Up
When you are done using your telescope, clean it properly. This includes wiping down the lenses with a soft cloth and ensuring all the parts are back together correctly. This will help ensure your telescope is ready for the next time you want to explore the night sky.
Following these steps on using the nat geo telescope will prepare you to explore the wonders of the sky with the National Geographic Telescope.


