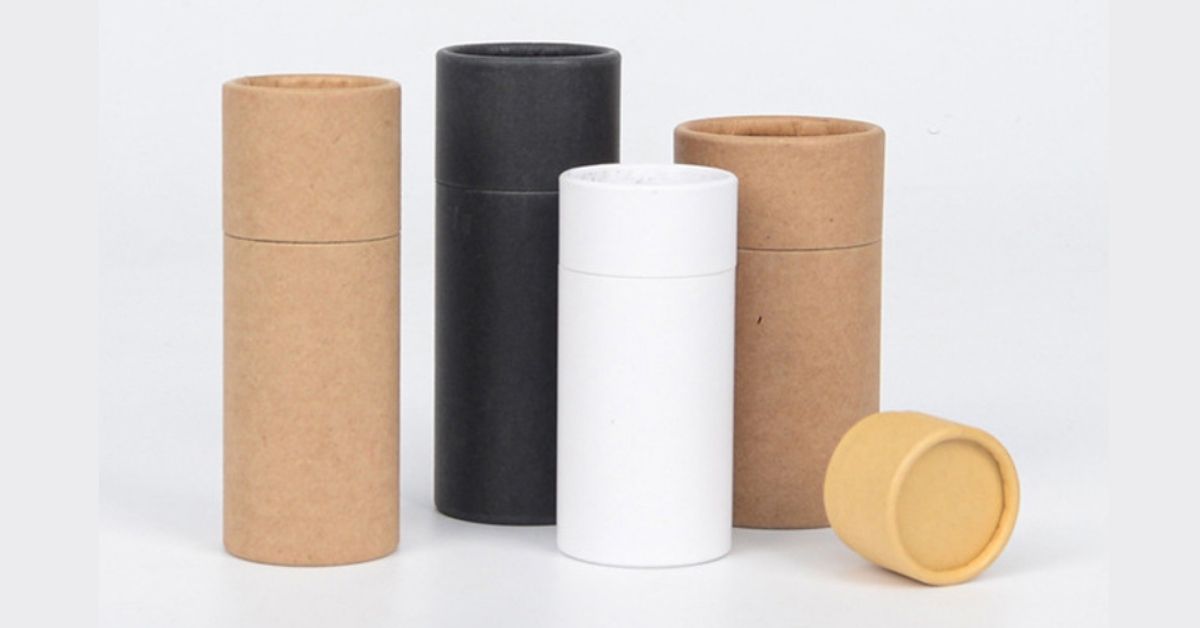
Ever wished you could make something that magically extends or retracts? Telescoping paper tubes are a fun and surprisingly versatile way to do just that! Imagine creating your own spyglass, a cool extendable wand, or even a miniature model of a telescope. With just some paper, glue, and a few simple tools, you can bring these ideas to life. This DIY project is perfect for crafters, hobbyists, and anyone who loves a bit of hands-on creativity.
Let’s get started!
Also Read
Before we begin, gather these essential supplies:
- Paper: Cardstock is a great all-around choice – it’s sturdy enough for most projects. Construction paper is more affordable and good for simpler crafts. The poster board is the thickest and best for larger, more robust tubes. You can even get creative with recycled materials like cardboard from cereal boxes!
- Adhesive: Good old white glue (PVA glue) is a reliable option, especially for beginners. Hot glue is faster but requires more caution. Glue sticks are handy for lighter projects. Masking tape can hold things temporarily, and clear tape can add extra reinforcement.
- Cutting Tools: Sharp scissors are a must. A craft knife or X-Acto knife is useful for precise cuts, but always use it with care and on a cutting mat. A ruler or straight edge will ensure your lines are nice and straight.
- Rolling/Shaping Tools: You’ll need something cylindrical to roll the paper around. Dowels, pencils, or even markers work perfectly. A rolling mat (like the kind used for baking) or specialized tube rolling tools can make the process even smoother, but they’re not essential.
- Measuring Tools: A ruler or measuring tape is essential for accurate measurements. A compass is useful for drawing perfect circles if your project requires them.
Step-by-Step: Building Your Telescoping Tubes
- Measuring and Cutting: The key to a smooth telescoping action is getting the sizes right. The inner tube needs to be slightly smaller than the outer tube. A good rule of thumb is to make the inner tube’s width about 2-3mm (1/8 inch) smaller in diameter than the outer tube. This allows for smooth sliding without being too loose. Measure and cut your paper rectangles accordingly. For example, to make a tube with a 2-inch diameter, you would cut a rectangle that is 6.28 inches long (circumference = pi x diameter). The width will determine the length of your tube.
- Rolling and Gluing: Take your first paper rectangle and wrap it tightly around your chosen cylindrical object. Make sure the edges align neatly. Apply glue evenly along one of the long edges of the paper. Carefully roll the paper, pressing the glued edge firmly to create a secure seam. Hold it in place for a few seconds until the glue starts to set. Let the glue dry completely before moving on. Repeat this process for the other tube, using a smaller cylindrical object for the inner tube.
- Creating the Telescoping Action: Now for the magic! Gently slide the smaller tube inside the larger tube. It should slide smoothly. If it’s too tight, you can lightly sand the outer surface of the inner tube or add a tiny bit of wax or lubricant. If it’s too loose, you can add a thin strip of paper or tape to the inner tube to increase its diameter.
- Reinforcement (Optional): If you want your tubes to be extra sturdy, you can reinforce them. Wrapping them with clear tape or adding internal supports made from rolled paper or cardboard can do the trick.
Project Ideas
- Crafts: Create a classic spyglass or telescope for imaginative play. Build a magical extendable wand for your next costume. Design unique decorative elements for scrapbooking or card making.
- Prototyping: Make simple models of telescoping antennas, camera lenses, or adjustable supports for your inventions.
- Organization: Design custom storage containers for pens, pencils, or other small items. Create extendable drawer dividers to keep your drawers neat and tidy.
Tips and Troubleshooting: Smooth Sailing (and Sliding!)
- A little wax or lubricant (like petroleum jelly or even a dry bar of soap) can help the tubes slide even more smoothly.
- If your tubes get stuck, don’t force them! Gently twist and try again. You might need to sand the inner tube a little more.
- If the seams come apart, simply reapply glue and hold them firmly until they dry.
- Always use sharp cutting tools with caution and supervise children when they’re using them.
Making telescoping paper tubes is a simple, affordable, and fun way to create all sorts of interesting projects. With a little practice and imagination, you can create everything from fun toys to useful prototypes and organizational solutions. So, grab your supplies and start exploring the world of telescoping possibilities!


