Rainbird 1 2 Drip Tubing
My neighbor, bless her heart, decided to become a gardening guru overnight. I’m talking full-on, apron-clad, trowel-wielding transformation. Suddenly, her balcony was a jungle, and mine… well, mine was still mostly a collection of forgotten watering cans and a defiant dandelion. One particularly sweltering afternoon, I saw her wrestling with a tangled mess of what looked suspiciously like spaghetti, but made of black rubber. She was muttering about "precise hydration" and "root zone delivery," words I usually associate with highly scientific experiments involving beakers and lab coats, not petunias.
Turns out, that spaghetti was her new irrigation system, specifically, Rain Bird 1/2 inch drip tubing. She eventually coaxed me into helping her with a particularly stubborn connection, and in the process, I learned that this stuff is actually pretty darn clever. It’s not just for the super-gardeners; it’s for anyone who’s ever stared mournfully at a wilting tomato plant or spent precious weekend hours lugging heavy watering cans. You know the feeling, right? That little pang of guilt when you realize you’ve either drowned your basil or turned it into a crisp?
So, let’s dive into this Rain Bird 1/2 inch drip tubing business, shall we? Forget the intimidating jargon. Think of it as giving your plants a sophisticated, spa-like drinking experience, delivered directly to their thirsty roots. No more surface evaporation, no more water wasted on leaves that don’t need it, just pure, targeted hydration. It’s like sending your plants a personalized water delivery service. Pretty neat, huh?
The Humble Beginnings of Thirsty Plants
Before we get too deep into the magic of drip irrigation, let’s have a little chat about why it’s such a game-changer. For ages, we’ve been taught to water our plants by… well, watering them. You grab the hose, you spray around, and you hope for the best. Sometimes it works. Other times, you end up with a swampy mess around the base of your prize-winning rose, while the rest of the bush looks like it’s auditioning for a desert documentary. Sound familiar? Yeah, me too.
And then there’s the sheer effort. Especially if you’ve got a decent-sized garden. You’re lugging those heavy watering cans, or dragging that unwieldy hose around, constantly battling kinks and trying to remember which plant needs how much. It can feel like a full-time job, can’t it? Especially when all you really want is a beautiful, thriving garden without all the backbreaking labor.
This is where the genius of drip irrigation, and specifically this Rain Bird 1/2 inch drip tubing, comes into play. It’s all about efficiency. It’s about delivering water exactly where it’s needed, when it’s needed, and in the right amount. It’s a philosophy of gardening that says, “Let’s be smart about this, people!” And honestly, as someone who’s definitely more enthusiastic than expert, smart sounds real good.
What Exactly Is This 1/2 Inch Tubing?
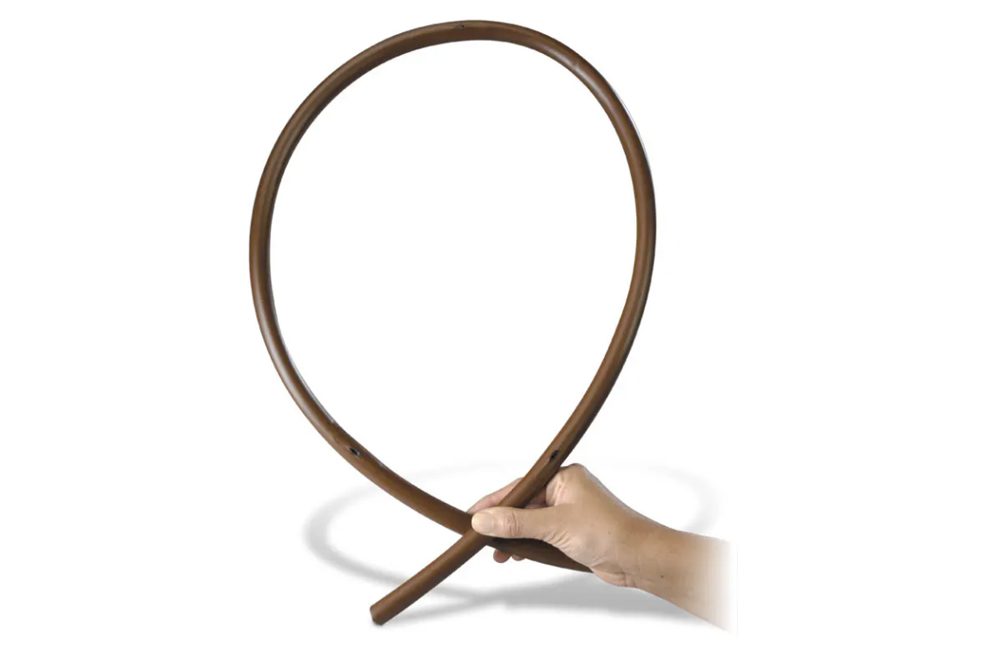
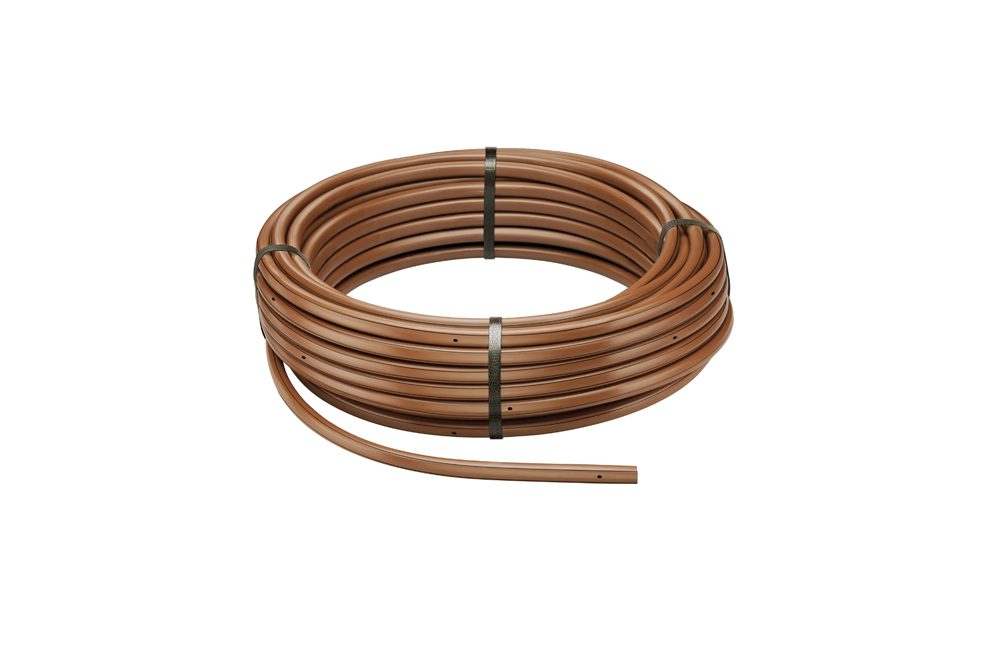
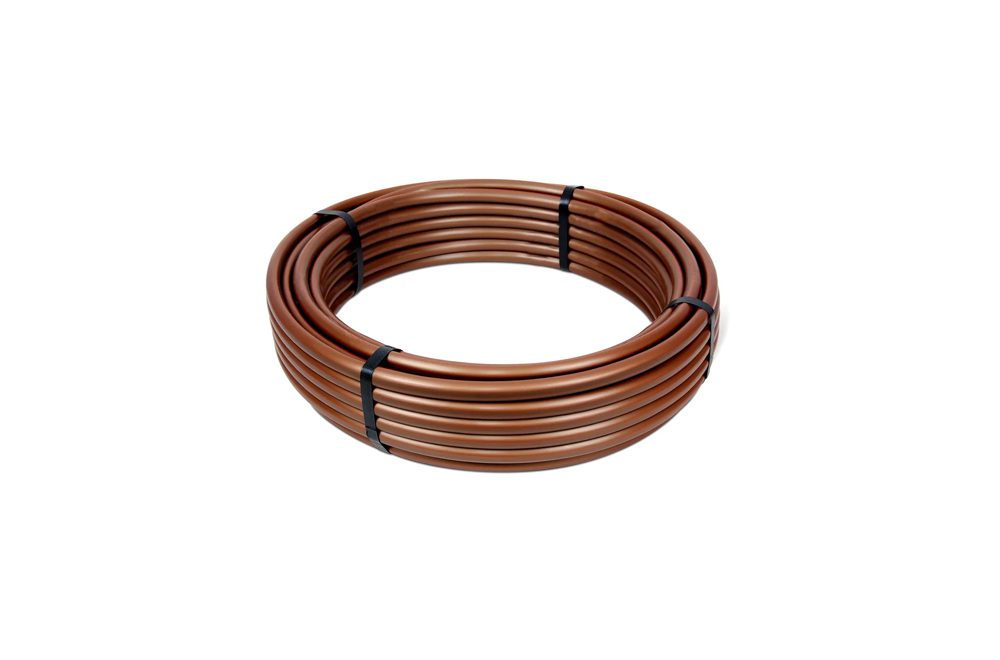
Okay, so we're talking about Rain Bird 1/2 inch drip tubing. The “1/2 inch” refers to the outer diameter of the tubing. This is pretty standard for the main lines in a drip irrigation system. Think of it as the highway that carries the water from your spigot (or more likely, your timer) to all the little side streets that lead directly to your plants.
It’s typically made of polyethylene, which is a fancy way of saying it’s a tough, flexible plastic. It’s designed to withstand the elements – sun, rain, maybe even a rogue squirrel or two. It can be buried shallowly or laid on the surface, depending on your preference and what looks best in your garden. My neighbor opted for laying it on the surface, weaving it between her plants like a very organized, very thirsty snake.

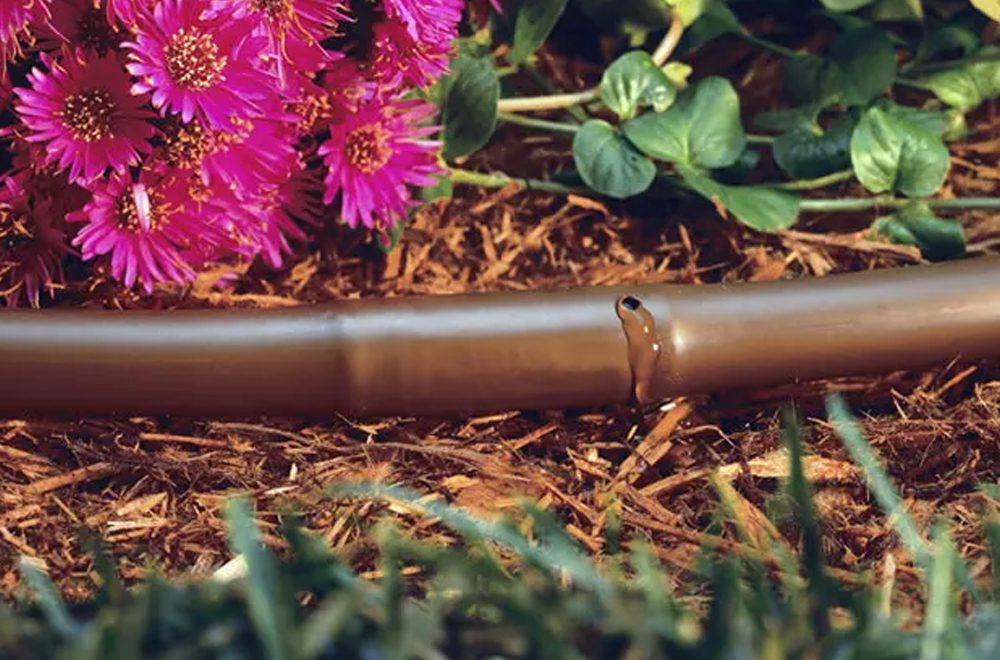
The key thing to remember about this main tubing is that it doesn’t actually drip itself. (Mind-bending, I know!) It’s the transport system. What makes the magic happen are the emitters or drip holes that you’ll punch into this tubing later, or the pre-punched tubing itself. You can buy it with pre-set emitter spacing, or you can buy it blank and punch holes wherever you need them. This is where the customization comes in, and where things start to get really interesting. More on that in a bit!
Why Go Drip? The Perks Are Pretty Great.
Let’s be honest, nobody gets excited about leaky hoses or water bill shocks. This is where drip irrigation really shines. The biggest benefit, and I’m talking big benefit, is water conservation. Because the water is delivered directly to the root zone, you’re not losing a ton of it to evaporation from the hot sun or to runoff that just ends up going down the drain.
Think about those scorching summer days. If you’re spraying your plants with a hose, a good chunk of that water evaporates before it even has a chance to soak into the soil. Drip irrigation is like putting a tiny, personal umbrella over each drop of water, ensuring it gets to where it’s meant to go. This is a huge win, not just for your wallet, but for the environment too. Every little bit counts, right?
Then there’s the healthier plants aspect. When you water from above, you can encourage fungal diseases on leaves. Drip irrigation keeps the foliage dry, significantly reducing the risk of those nasty leaf spots and blights. Plus, by consistently providing the right amount of moisture to the roots, you’re promoting stronger, more robust growth. Your plants will thank you by… well, by looking amazing. And isn’t that the ultimate goal?
And the convenience! Oh, the convenience. Imagine this: you set up your system, connect it to a timer, and then… you relax. The system takes care of the watering for you. You can go on vacation, sleep in on a Saturday, or just enjoy your morning coffee without that nagging feeling that your plants are silently screaming for a drink. It’s freedom, people! Pure, unadulterated gardening freedom.
Is It a DIY Dream or a Weekend Nightmare?
This is where a lot of people get a little intimidated. “Drip irrigation? That sounds complicated!” And I get it. I looked at my neighbor’s setup initially and thought, “Nope, not for me.” But honestly, with Rain Bird 1/2 inch drip tubing, it’s surprisingly manageable. It’s not rocket science, I promise. Think of it more like adult LEGOs for your garden.
The system is designed to be modular. You buy the main tubing, you buy connectors (tees, elbows, couplings – they’re all pretty intuitive), and you buy emitters or punch your own holes. You can plan it out on paper (or in your head, if you’re feeling brave) and then start assembling. It’s a bit like connecting puzzle pieces, and the satisfaction of seeing it all come together is actually pretty rewarding. My neighbor even admitted it was “rather therapeutic” once she got past the initial tangled spaghetti stage.
Of course, like any project, there’s a learning curve. You might need a special tool to punch the holes cleanly, and figuring out the right emitter spacing for different plants can take a little trial and error. But Rain Bird provides a lot of helpful resources, and there are tons of online tutorials. Plus, you can always start small. Try it out on a single raised bed or a few pots before you go all-in on your entire yard. That’s what I’m planning to do. A little controlled experiment, you know?
Connecting the Dots (Literally!)
So, how does this Rain Bird 1/2 inch drip tubing actually work its magic? It’s all about the connections. You'll typically connect the main tubing to your water source using a backflow preventer (super important to protect your drinking water!), a filter (to keep debris from clogging everything), and a pressure regulator (drip systems work best at lower pressures). Then, you run your 1/2 inch tubing where you need it.
From this main line, you have a few options. You can punch holes directly into the tubing and insert emitters. These are little devices that control the flow rate of water. You can get them with different flow rates (gallons per hour) and different watering patterns. For example, you might use a low-flow emitter for a small succulent and a higher-flow one for a thirsty tomato plant.
Another popular option is to use barbs or connectors that you punch into the 1/2 inch tubing, and then attach 1/4 inch micro-tubing to those. The micro-tubing is then run to individual plants, and you can put a drip emitter at the end of the micro-tubing. This gives you even more precise control, allowing you to snake that tiny tube right to the base of each and every plant, even if they’re spaced a bit unevenly. It’s like having a miniature, personalized watering system for each individual plant. Fancy!
The genius of the 1/2 inch tubing is its ability to act as the backbone for all these smaller, more delicate watering solutions. It’s the main artery that supplies the essential fluid, and the emitters and micro-tubing are the capillaries that deliver it precisely where it’s needed. It’s a wonderfully intricate, yet surprisingly simple, system when you break it down.
What Plants Will Love This System? (Spoiler: Most of Them!)
Honestly, the list of plants that won’t benefit from drip irrigation is probably shorter than the list of plants that will. Think about it: vegetable gardens? Absolutely. Tomatoes, peppers, cucumbers – they all love consistent moisture. Flower beds? Yes! Your prize-winning roses, your delicate petunias, your vibrant zinnias – they’ll all appreciate the targeted watering.
Shrubs and trees? Definitely. Establishing new trees and shrubs is so much easier and more successful with drip irrigation. It ensures their young root systems get the consistent water they need to thrive. Even potted plants and containers can benefit from this system. You can create mini drip loops for your patio pots, making sure they don't dry out on those hot days.
The only real caveat might be plants that prefer to dry out significantly between waterings, like some succulents or cacti that are prone to root rot if overwatered. But even with those, you can adjust the emitter flow rates and watering schedules to accommodate their specific needs. It’s all about tailoring the system to your plants, not the other way around.
My Neighbor, the Drip Evangelist
So, back to my neighbor. She’s now the unofficial drip irrigation guru of our street. She’s got her tomatoes looking like they’re ready for a botanical magazine cover, her herbs are practically leaping out of their pots, and her once-sad-looking hydrangeas are now bursting with color. She’s even started giving impromptu workshops on her balcony, complete with diagrams and a very enthusiastic explanation of why her water bill is surprisingly low.
I have to admit, seeing her success has been incredibly motivating. It’s the difference between a struggling garden and a thriving one. It’s about making gardening more accessible, more efficient, and frankly, more enjoyable. The Rain Bird 1/2 inch drip tubing is the unsung hero in her transformation, the sturdy backbone that holds it all together.
I’m now officially on a mission. My own neglected corner of the yard is about to get a serious upgrade. I’ve been browsing online, looking at starter kits, and mentally mapping out my own spaghetti-like network. I’m thinking of starting with my vegetable patch first. Those hungry little cucumbers deserve the best, right?
Ready to Get Your Hands (Slightly) Dirty?
If you’re tired of the watering grind, if you’re looking to save water, or if you just want healthier, happier plants, I honestly think exploring Rain Bird 1/2 inch drip tubing is a fantastic idea. It’s a system that’s been around for a while because it works. It’s adaptable, it’s efficient, and when you get it set up, it’s incredibly satisfying.
Don’t be intimidated by the initial setup. Think of it as an investment in your garden’s future. You’re not just buying tubing; you’re investing in less stress, more beautiful blooms, and tastier homegrown veggies. And who can argue with that?
So, next time you’re staring at a wilting plant or lugging a heavy watering can, remember the humble spaghetti of the garden world. It might just be the solution you’ve been looking for. Happy watering!